The No Tears Needlepoint Pillow
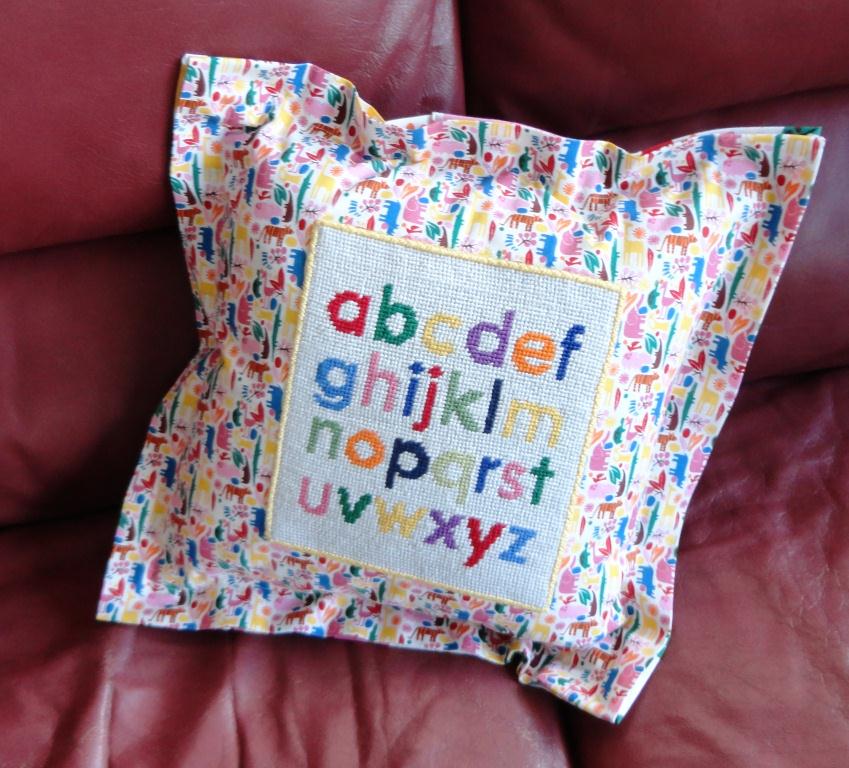
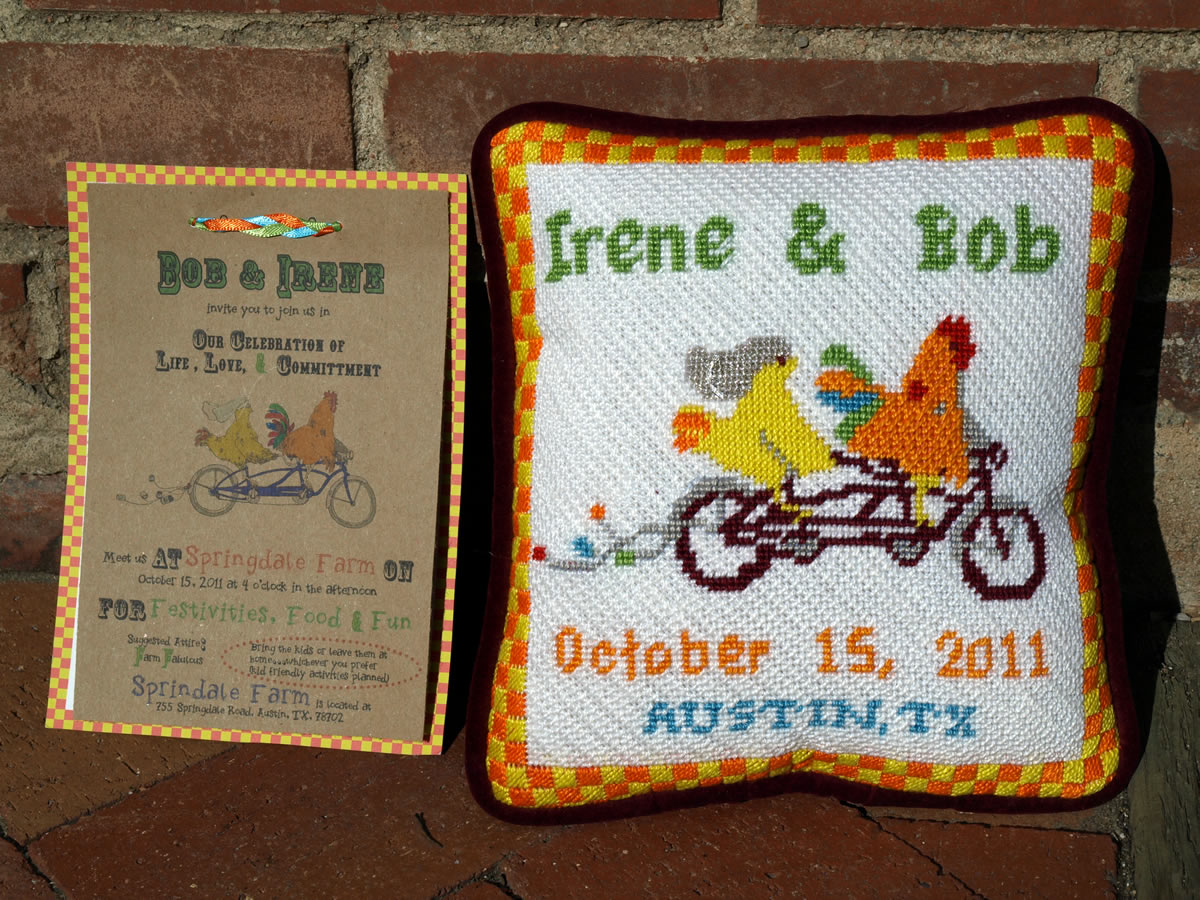
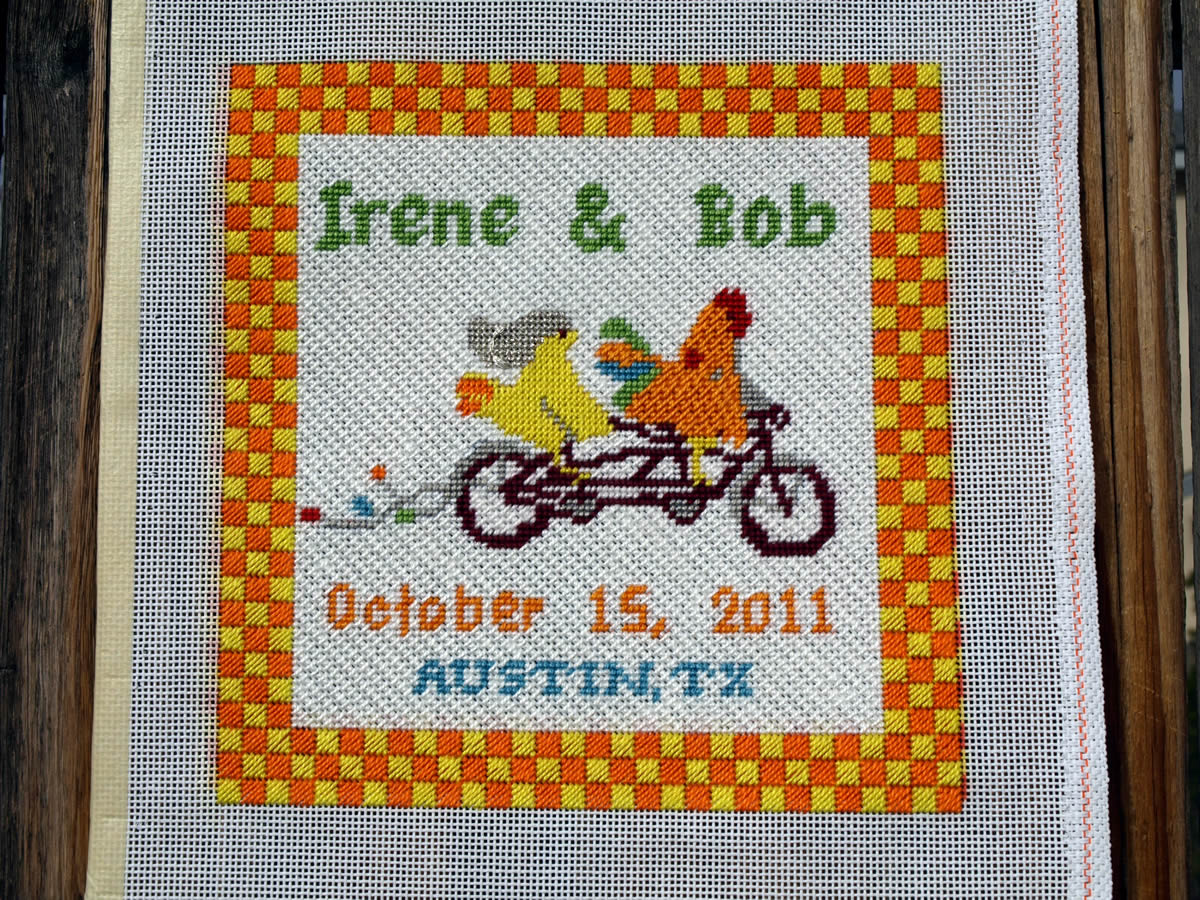
As I mentioned in my earlier post An Elegant Finished Edge, I had come up with a use for the odd-shapped design that we had designed for our first test custom needlepoint canvas. This 6″ x 7″ canvas is now the center piece of a 12′ x 12′ pillow for my granddaughter’s nursery.
As you can see, this pillow does not have piping — the most difficult and frustrating part of needlepoing pillow finishing. Also, there is no zipper, no turning inside out, and IT IS EASY! It is a modified pillow sham which fits over a 12″ x 12″ pillow form.
Materials for the pillow are:
- 12″ x 12″ polyester-filled pillow
- 1/2 yard 42″-45″ fabric
- 1/4 yard Velcro (optional)
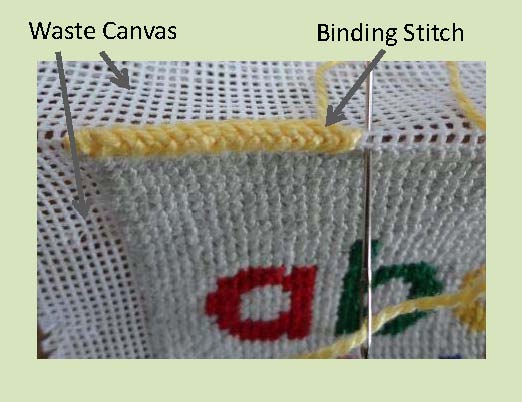
- finished needlepoint canvas that is smaller than 12″ x 12″ and whose edges have been bound
Directions:
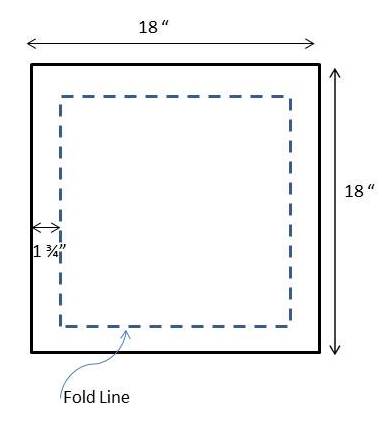
- Cut one 18″ x 18″ front.
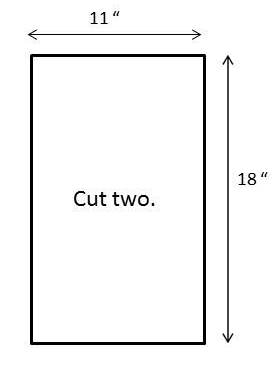
- Cut two 11″ x 18″ piece for left and right sides of back.
- Position finished needlepoint canvas in the center of the front. Stitch in place by machine using zig-zag stitch or by hand using an overcast slip stitch.
- Sew 2″ hem on left back side and narrow hem on right back side as shown below. (Optionally sew Velcro as shown.)

- Place left back over right back to create a 18″ x 18″ square.
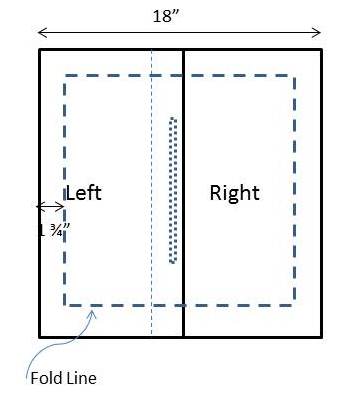
- Fold under 1 3/4″ on all four sides of front and back and press with steam iron, mitering each corner.

- With wrong sides together, stitch around 1 1/4″ from the edge.
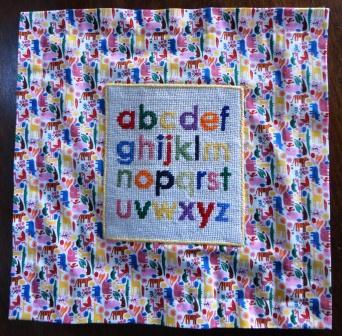
- Stuff pillow form into completed pillow sham.
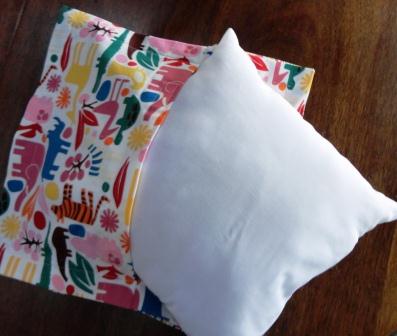
This method works well for a casual cushion and especially well for a child’s pillow because the finished needlepoint can be easily removed and the pillow sham washed.


Recent Comments