By Peggy Bond
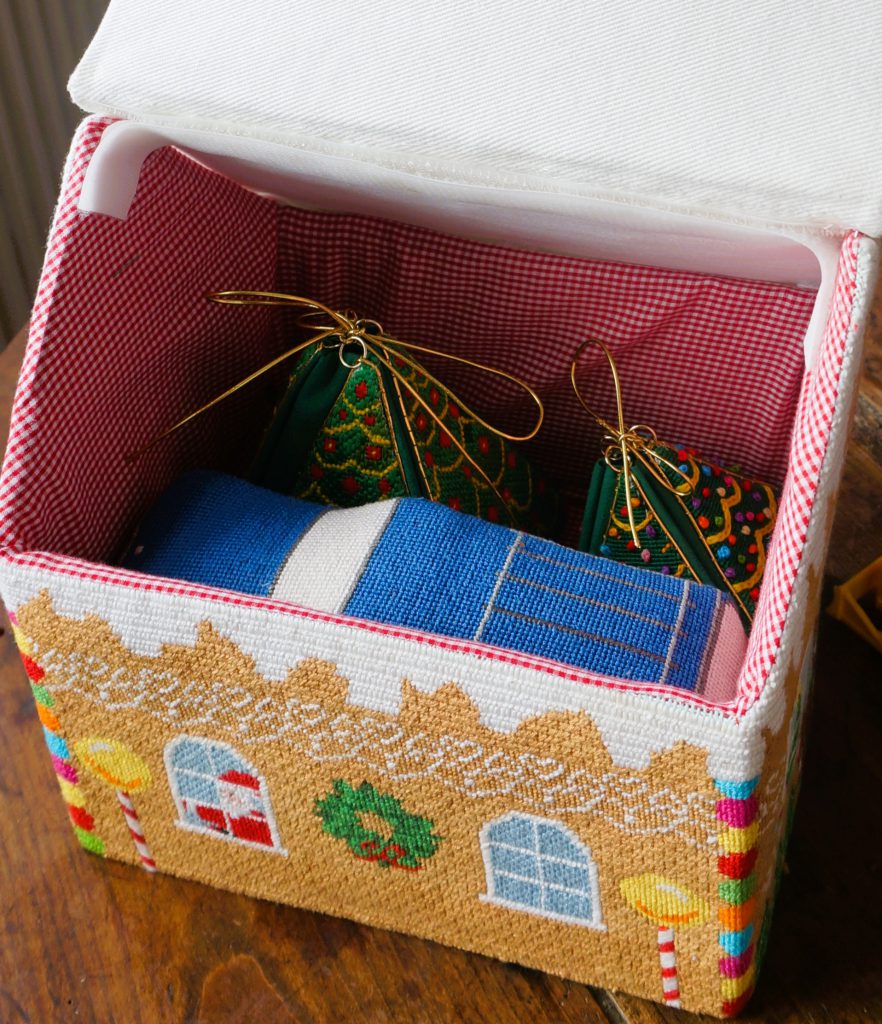
The Treasure Trees grew from my desire to add something to my Christmas gingerbread house display. I already had Santa’s New Ride, but the mantel had more room. Now we have three dimensional needlepoint kits, featuring our Small Treasure Trees in and Large Treasure Trees!
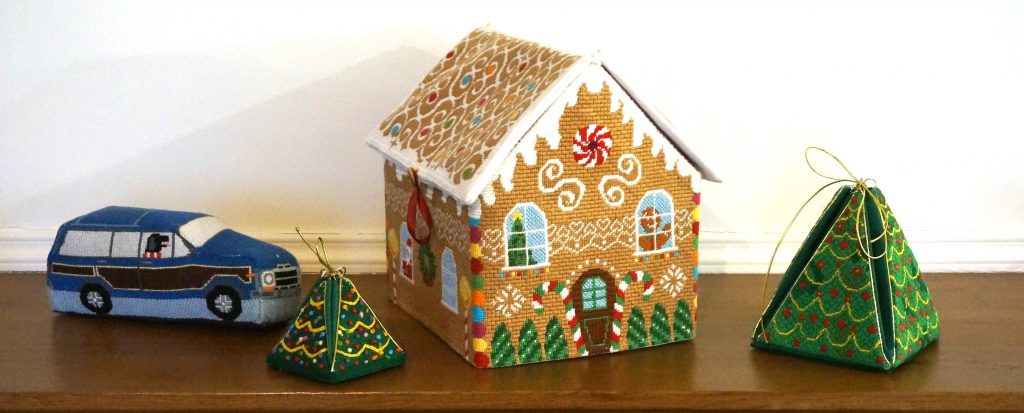
Trees are created using 4 needlepoint isosceles triangles that form a pyramid. A tree could be assembled by sewing the sides of the triangles together and filling with polyester stuffing in a manner similar to the construction of Santa’s New Ride, but I wanted the trees to be like the Gingerbread house, something that opened and could contain Christmas surprises – Treasure Trees.

Elements for assembly are:
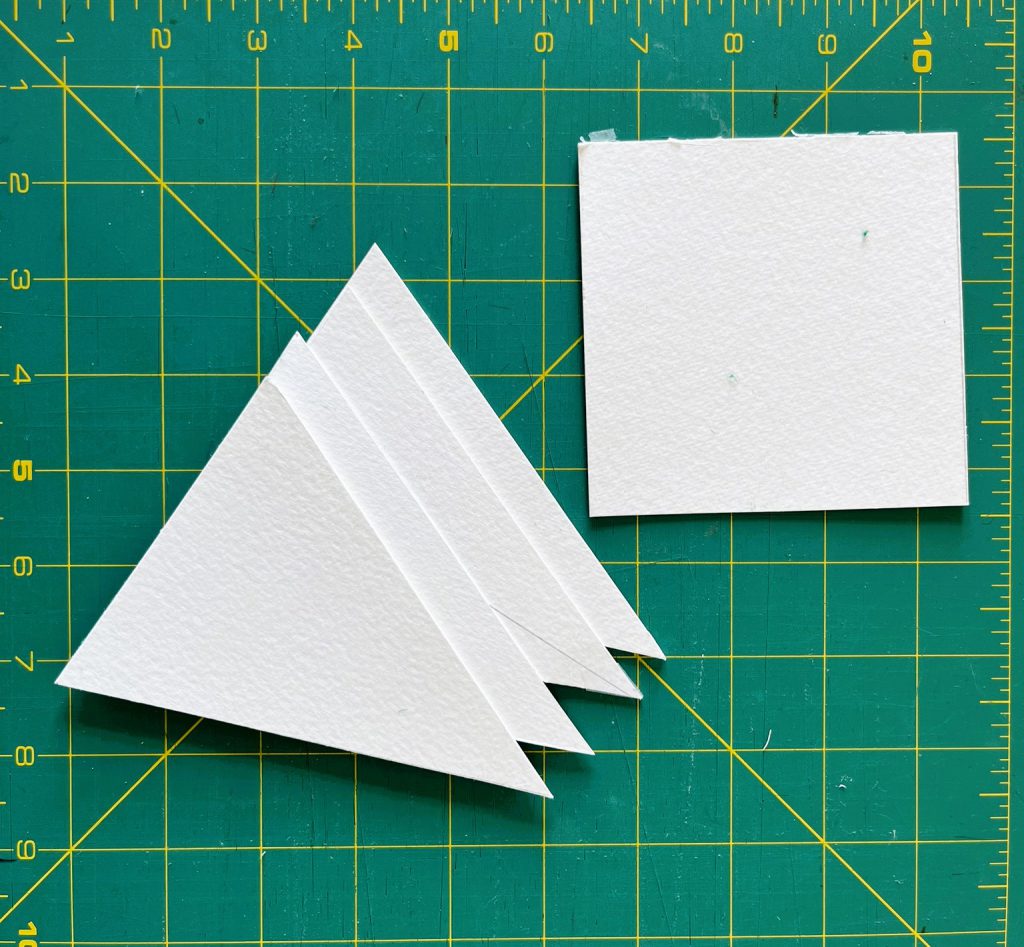
- Lightweight cardboard to keep the tree rigid – 4 triangles to match the needlepointed canvases and a square the size of the base of a triangle.
- Lightweight cotton fabric: one piece (the lining) twice the height of the triangles plus 2 inches and 4 times the base of the triangle plus 2 inches and a second 1-1/2 inch larger than the cardboard square.
- Felt or cork square the same sizes as the cardboard square for the base of the tree.
- 4 rings and cording for the trim and tie.
Trim the tree triangle leaving 3/8-inch edge which are turned under and steamed in place. Points will require additional trimming so that blank canvas is not visible. Fold the cotton lining piece in half along the length and press. Open the lining flat. Working from the center, position the tree on the lower half of the lining with tops at the fold crease. The bases of the trees should not overlap. Allow space for the cording trim as well.
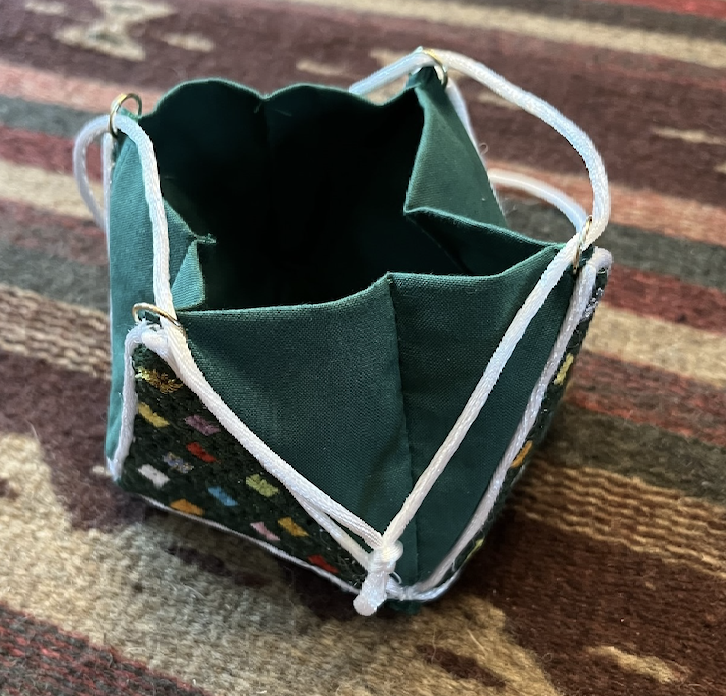
Sew by hand or machine the cording and trees in place through only one layer of the lining. Fold the lining to sew the edges together, making sure the bases of the two outer tree triangles match. Trim the seam to ¼ inch and press open. There will be a tube. Turn over the half tube that does have the triangles so that the raw edges match. Trees will be inside with their tips with slip rings reaching above the fold.
Top view of edge stitching
Cover the cardboard square with cotton square gluing or lacing the raw edges on the backside. This will be the inside base of the tree. Miter folds at the base of triangles to form a box and whip stitch. Insert the covered cardboard square. Glue a square of felt or cork to the base of the tree and string cord through rings.
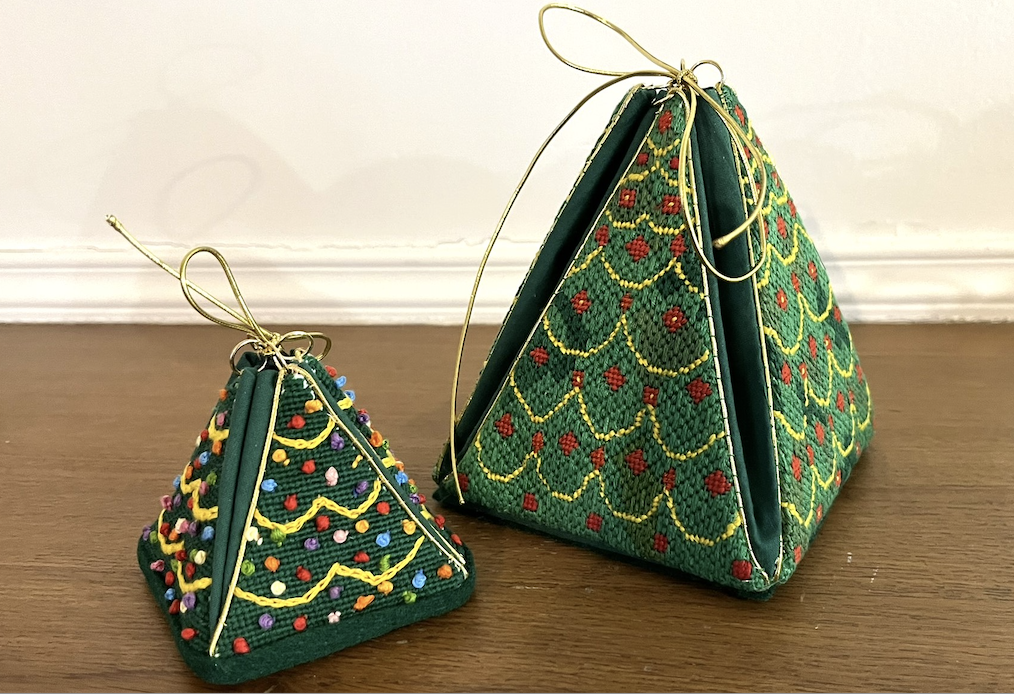
Your Treasure Tree is done!
Treasure Trees can come in any size. Shown in the photos here are the small 2-1/2 inch tree which could hold very special surprise and hang on the Christmas tree and a larger 5 inch tree is much more a mantle decoration and can hold surprises and/or candy treats.
When Christmas is over, they can stack together like nested Russian doll or hop into the Gingerbread house with Santa for safe keeping.
Stitch something unique this holiday season!



Written by Karen Mason
Leave a comment