Official blog of www.NeedlePaint.com
where you can design your own Needlepoint!

NeedlePoint Kits and Canvas Designs | Design your own Needlepoint Kit!

Archive for the ‘Needlepoint’ Category

E-Reader Needlepoint Cover

According to shopping reports, Christmas 2010 was the Christmas of the e-reader, and I was the recipient of one – a Barnes & Noble color Nook. On Christmas day with e-reader in hand, I was not only excited about the present but itching to get started on a new project – a personalized  needlepoint cover for my Nook.

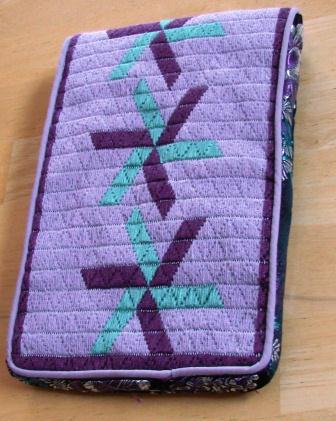
I blocked out a simple three-color pattern for 18-mesh canvas and decided to use a trianglepoint stitch made popular by Sherlee Lantz in her 1976 book Trianglepoint, because it covers the canvas quickly and I wanted to get the cover finished before I scratched the screen of my new Nook. The canvas was the same width of the e-reader and an inch longer.  I planned the cover to be like a narrow box with a flap at the top which would fold over the top and fasten to the back with two snaps.

I was in such a hurry to start that I forgot to photograph the canvas before I started. Sorry!

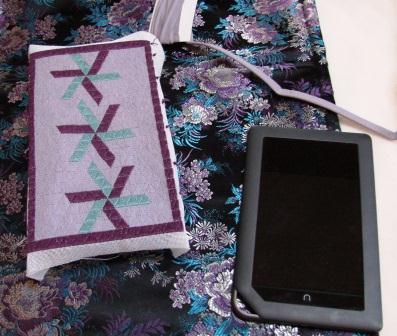
The photo above shows the finished canvas with the piping, backing and gusset fabric, and white fleece for lining which I used. The fleece lining serves a dual purpose. It protects the screen from being scratched and it also cleans the screen as the Nook slides in and out (Figure 2).

If I were to make this design again, I would extend the length of the needlepoint cover by another inch to have a longer flap. But mine is done now and I am a happy traveler with it.

I have to confess that I don’t read all my books on my e-reader, and I probably never will. But I travel a lot, and when I travel I always take books and needlepoint along. Now, my suitcase is lighter with reading materials on the Nook, including my essential needlepoint reference book The Needlepoint Book by Jo Ippolito Christensen
Needlepaint Traditions

Most of us have our favorite causes to which we devote time, energy and often money. One of mine is The Colorado Trail, a 500-mile Denver to Durango hiking trail that was built by and is maintained by volunteers. With the launch of Needlepaint .com, I decided that the Colorado Trial logo would look great on a custom needlepoint pillow and would made a wonderful door prize that the annual Christmas party in Golden, Colorado.

The logo is a simple stylized green mountain on a white background. Maybe a little too much white for a pillow?

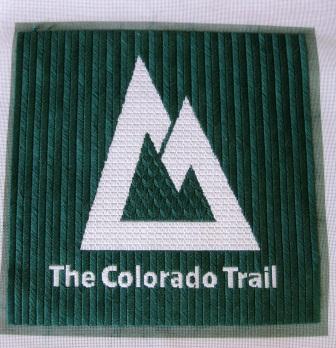
So, why not needlepoint it in reverse! (needlepaint screen shot)

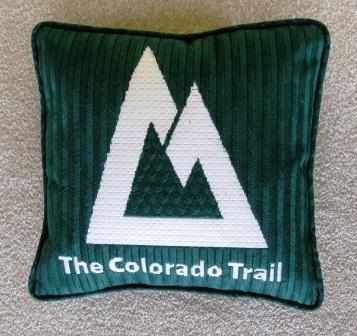
This was a perfect project for something other than the traditional continental stitch. The lettering was done in an embroidery-styled satin stitch, working where possible with vertical and horizontal stitches to cover the canvas completely. The white mountain was done in the Shingle stitch, the green center of the mountain in Leaf #3 stitch, and the background in Giant Knitting from The Needlepoint Book by Jo Ippolito Christensen.

The pillow was finished with matching green cotton piping and backing over a 10-inch polyester-filled form from JoAnn Fabrics .

The finished pillow made it to the 2009 Colorado Trail Christmas Party. It was not given away but auctioned off bringing in $200.00. In 2010 another Colorado Trail volunteer came forward to needlepoint a second pillow which was also auctioned. We may have started a tradition. Why not do it for your favorite group?

Cool Needlepoint Pillow Kit Concepts

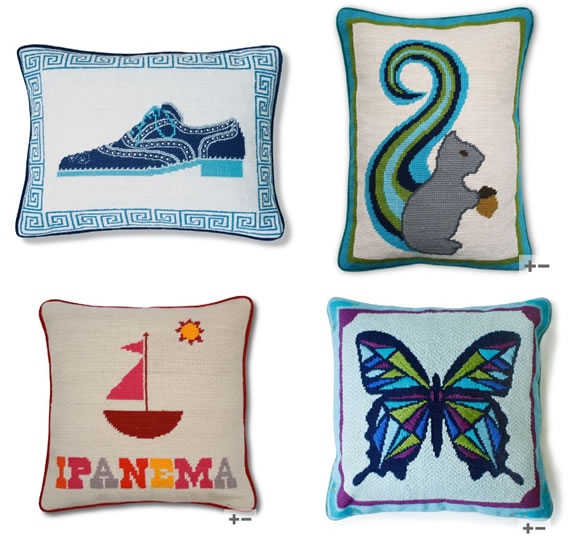
I went into a Jonathan Adler store a few months back, and the pillows there still stick out in my mind.  I love them!

Attached are a few of my favorites, but what is great for needlepointers, is that you can use these ideas to create your own  custom needlepoint kit.

Needlepoint Pillows from Jonathan Adler

Look below to see what I designed.  I could imagine lots of ways this could go.  Kids names, lake names, or your city name!

A NeedlePoint Pillow for the a Summer Home

As far as pillows go, we don’t supply pillow kits yet, but I do have some website links that are very helpful.

This ehow article is pretty informative.  One important thing to note is that the canvas size should be slightly larger than the pillow form.  So if you want a 16 x 16″ pillow, you’ll want to order a 16.25 x 16.25″ canvas…

Another suggestion I have, is to follow Jonathan Adler’s lead, and use velvet for the back. 

Anybody who wants help designing a pillow, I’d be happy to talk and do the design that you want, free of charge if you are buying a kit! Our phone number is on our website.

For Pillow Forms, the best sites I’ve found are Fabric Farms and JoAnn Fabrics

Free Stitch Guide!

Barbara Bergsten Designs has posted a PDF file showing her newest needlepoint stitch guide on her blog.

“This canvas is a great class canvas. The stitches are set up easy to more difficult. The finished needlepoint becomes a great reference for decorative stitches and samples of overdyed threads.”

There are a lot more guides on her website: http://www.barbarabergstendesigns.com/stitch_guides.htm

I believe you can purchase her guide kits through needlepoint retail stores, of which she has a list, and many have websites.  But, the FREE PDF file looks great for people who would like to learn new types of stitches.  Check it out!

Retro Needlepoint Design Inspiration

Coming up with cool ideas for needlepoint kits is not always easy.  As great designs come in, I’m always amazed how creative people are!

From my side, I’ve always appreciated the internet for its ability to help spur great ideas, so going forwards, as we come across fantastic websites for needlepoint designs, we’ll put them in a specific category called ‘NeedlePaint Inspiration’.

So where to start?

I recently found a pretty fun website where artists put up their work, it is very modern and fun. http://tewi.us/tegaki/ I found this site via Mr X Stitch’s contemporary needlecraft blog.  Also, we’ve had some traffic coming from Sprite Stitch, which is a website that people can show their love of stitching and older video games.

This site Tewi.us,  is almost all animated images, so  I pulled out a few colorful ideas to try on NeedlePaint.

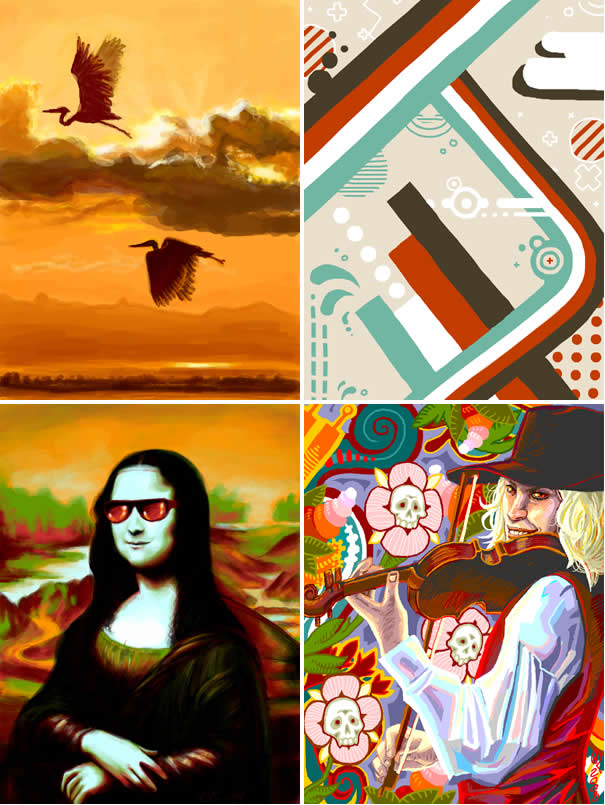
Original Images

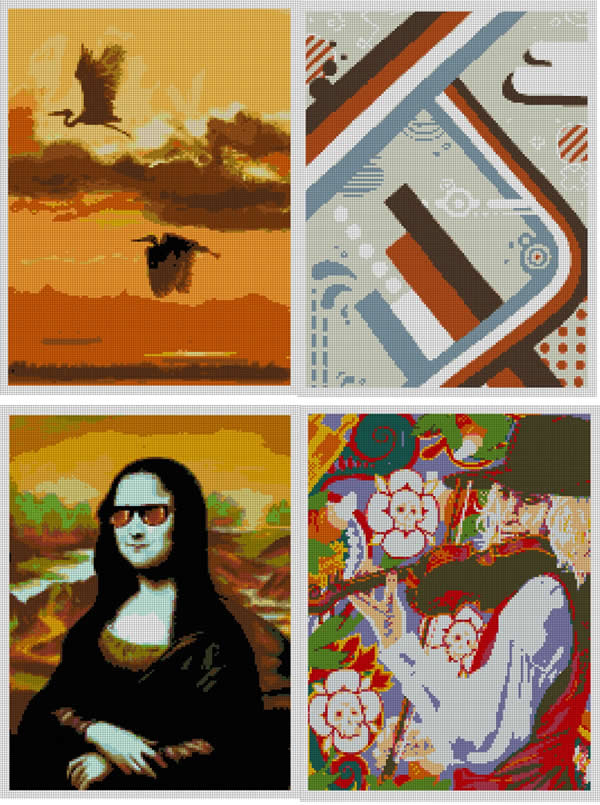
NeedlePaint Canvas Previews

The canvases came out really well, I did 12″ high, with 14 mesh, and all the kits use below 20 colors.

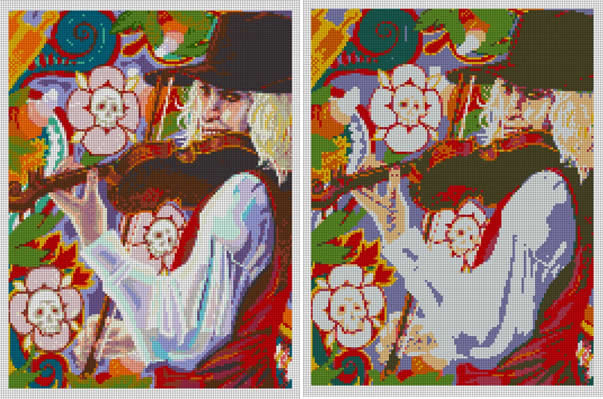
I did have one interesting thing to show to our users, which was on the violin player.  Originally, the website selected 40 colors, (see left), but I figured that would be very hard, so I reduced it all the way to 11 colors and it still comes out great! (see right)

Left Image has 40 colors, right has only 11!

Awesome Turtle Needlepoint

I was inspired by one of our customers beautiful needlepoint kits.

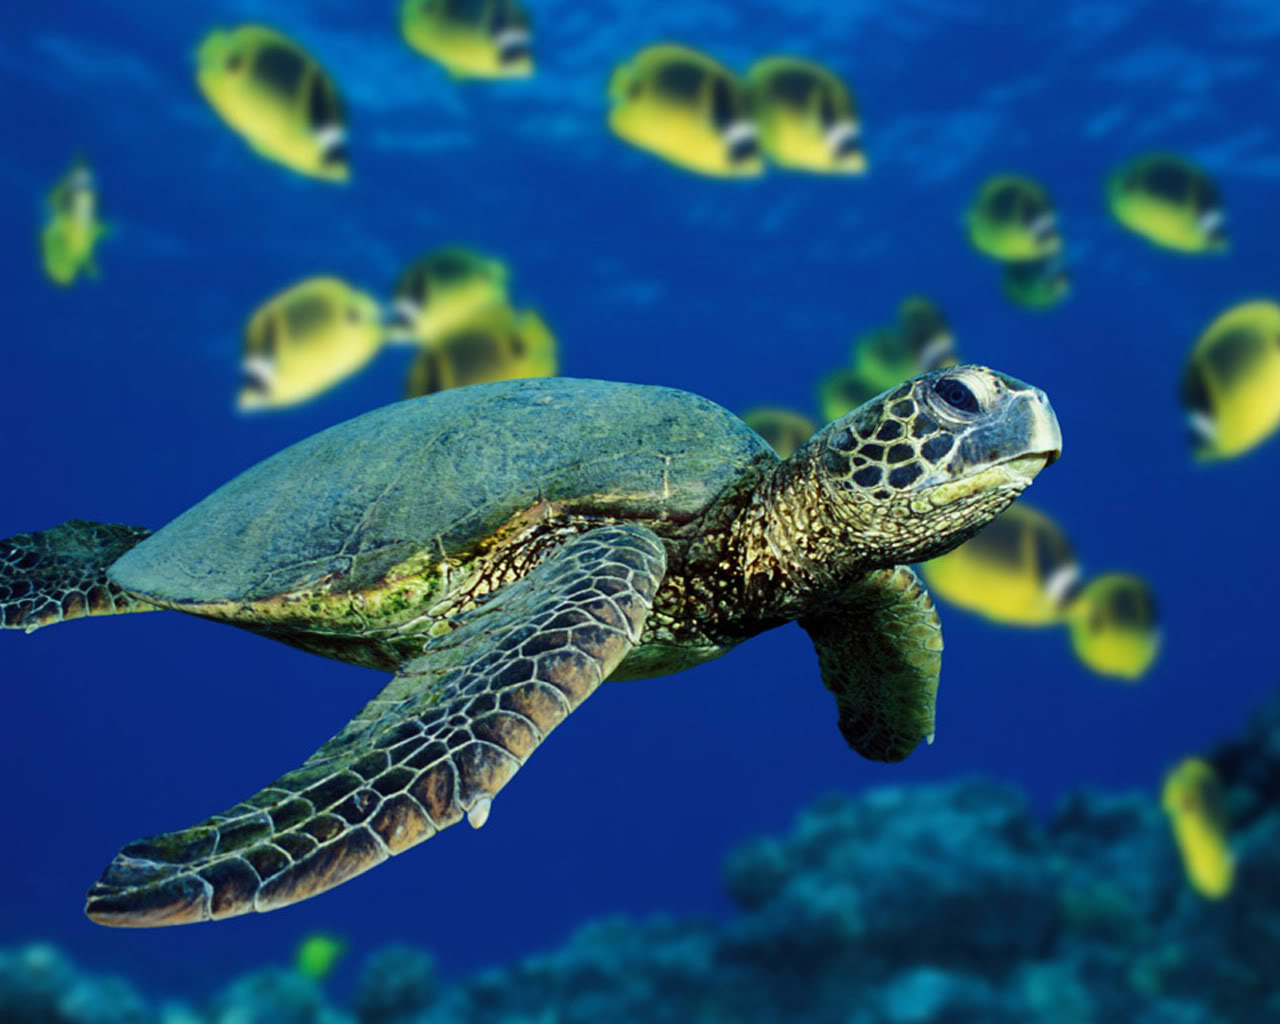
It was a beautiful turtle, gliding in the ocean, and the image came out amazing.  I’m hoping that once they finish the canvas, they will send us images, but in the meantime, I went looking for some pictures to see how it would turn out.

I found an image on photo bucket which I uploaded to NeedlePaint.com (the original image was 1280 x 1024 pixels)

Image from PhotoBucket.com

I decided to stick with NeedlePaint’s recommendation, and left the size, color, and canvas mesh as original, and look how good it came out!

Preview of a NeedlePoint Turtle!

There are lots of opportunities for new projects.  Just pick your favorite animal, and do a google image search.

Dog NeedlePoint Kit Tips

Dog Needlepoint Kits have to be one of the most popular themes at NeedlePaint.  Not only do we put them on our homepage, but our craft space and warehouse also is dog friendly with normally 1-3 dogs here on any given day.

As they are such great friends, I’m writing today to help people who have amazing photos of their dogs to select the best photos for needlepointing.

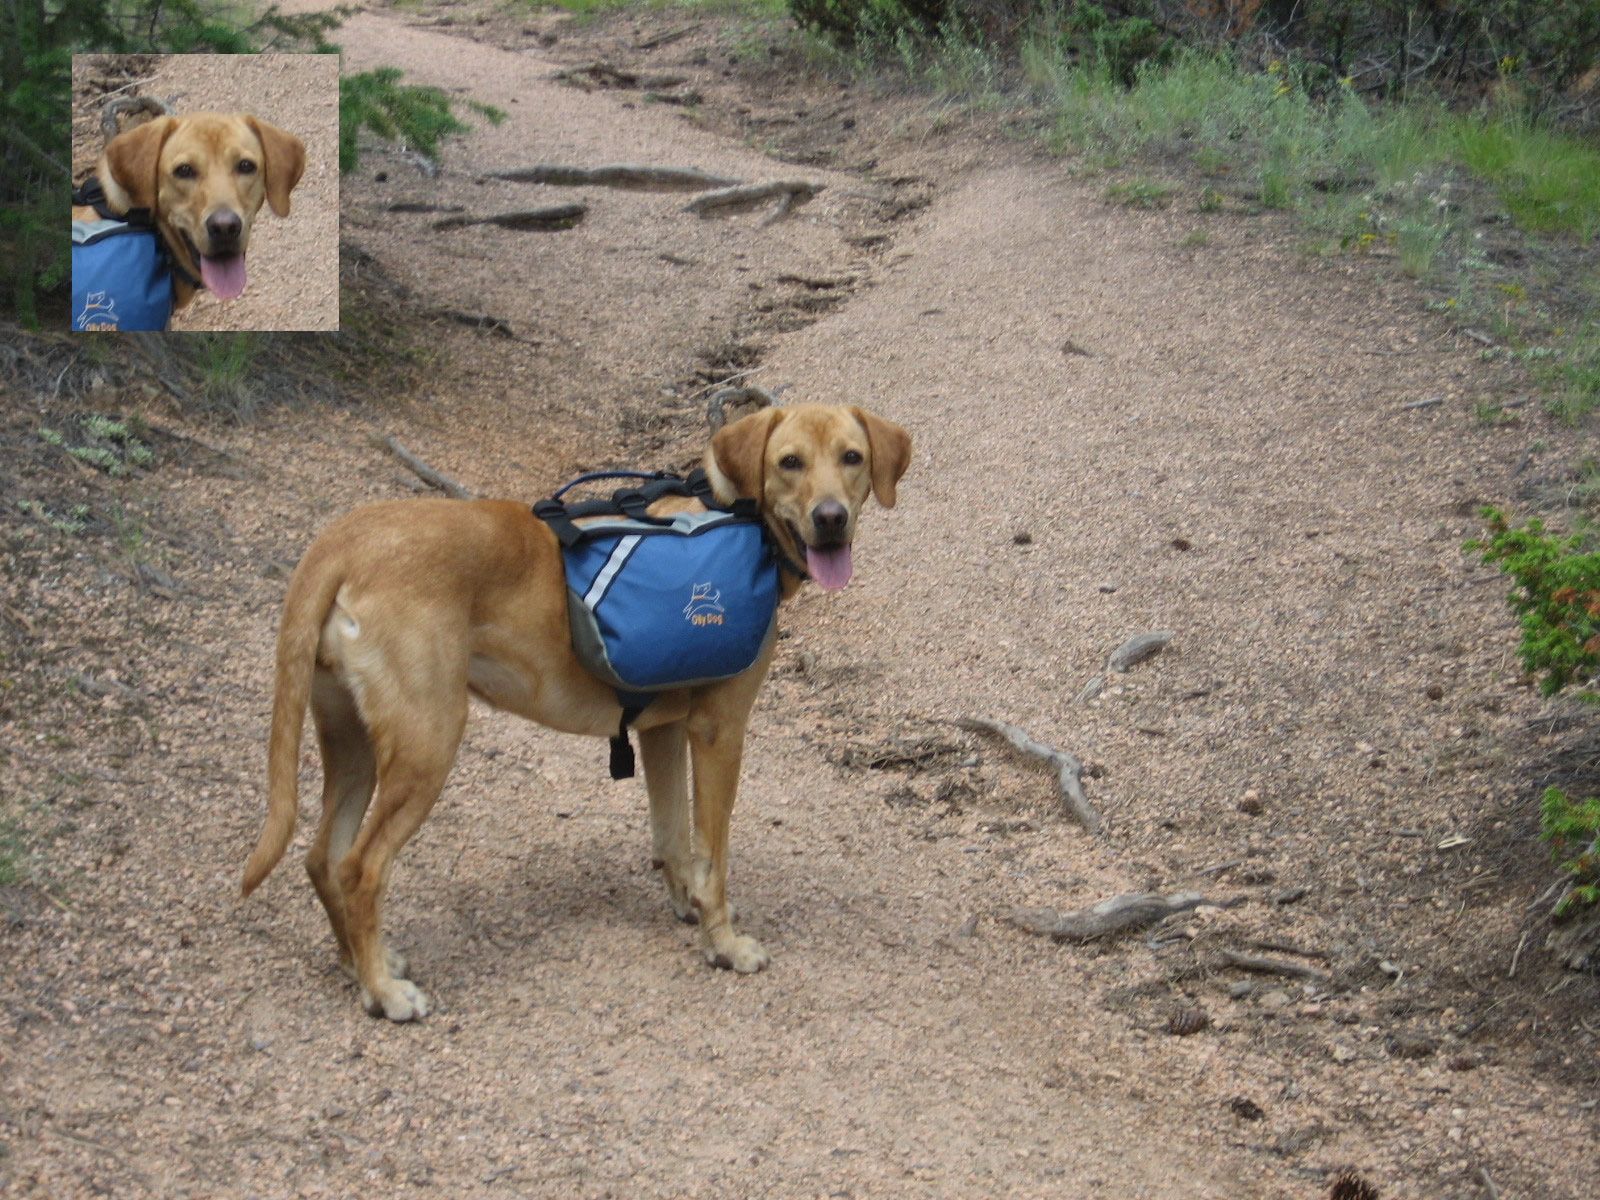
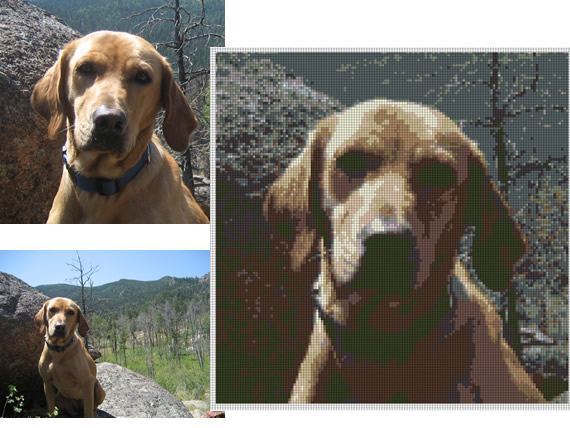
First of all, face images look best, but you do NOT need an actual close up photo.   So, I cropped the image of only Rusty’s face to 267 x 277 pixels. (upper left)

Rusty on a Hike

Rusty as a 10 x 9.5" NeedlePoint Canvas Preview

OK, so that is not as good as I hoped.

But, I think there is a lesson here.  Lets go back to the original image.  The background is very similar color to the dog, which when transferred to needlepoint, will loose a lot of contrast.  Also, the shadow below the dogs nose effects the dogs face on the canvas.

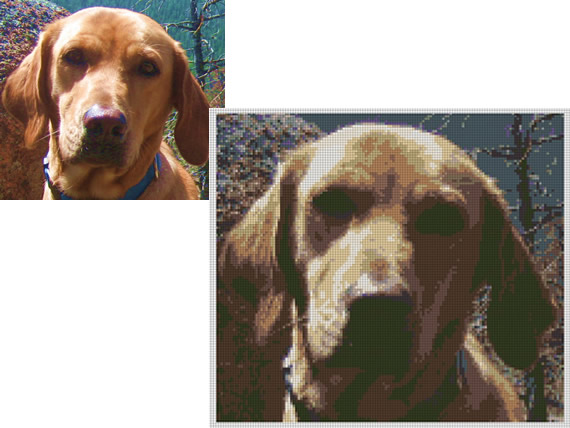
So, lets try another.  This one is a closer image, again, the top of the head came out well, but the bottom of the image is too dark.


Another Rusty, Closer Up! The cropped image was 533 x 531 Pixels

Hmm.  Still not what I want.  I think trying to focus even closer on the face may help.

Our Best Rusty Today

Yep, it looks better.  So, cropping very close to the face looks better to me.  This is a 10 x 9″ canvas preview, with 16 colors.  The cropped image was 408 x 363

Overall, I have to say, that I tried a lot of uploading today and I learned a few things.

#1.  Photo Image size should be at least 250 pixels x 250 Pixels for a 10″ x 10″ canvas

#2.  Images with a contrasting background seem to look better.

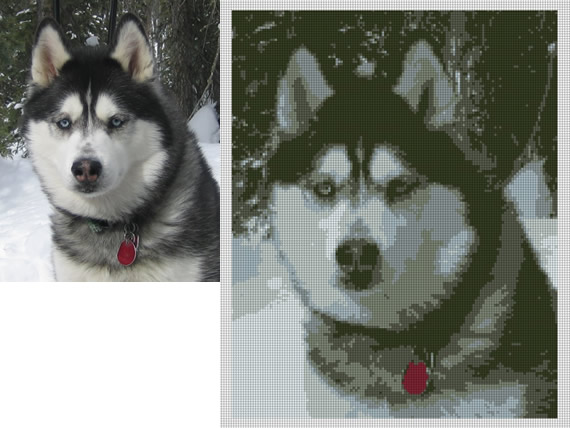
#3.  Dogs with markings really look great!  See the image of my friends husky.

Bear - Cropped Image size 311 x 390 pixels

On a final note, we are soon adding DMC threads to our site.  This will also help our current situation, because DMC offers more colors, especially in the lighter pinks, browns, and creams.  We’ve noticed improvement on images of people, which is the main reason for this, but I think Rusty will also look better!

If you are using NeedlePaint and having trouble, you can email me your image, and I will adjust it and try to help!  My email address is seth (at) needlepaint.com

Lake Picture Turned into Needlepoint!

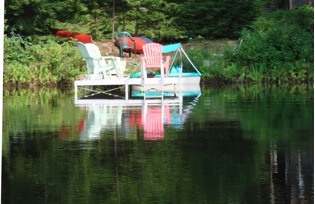
Dock 1

Written By: Peggy Bond

It has become a summer ritual at my lake in Maine to print an annual picture of my neighbor’s dock. This summer I decided to do a needlepoint picture instead of a glossy photo print using Needlepant.com so I could do a needlepoint picture instead.

I had 2 photos from which to choose.

After viewing them on the Needlepaint web site, I decided that Dock1 had too much going on in it. There was too much going on in the background. The blue and white paddle boat wasn’t recognizable, the green plastic chair disappeared into background, and the kayaks were distraction.

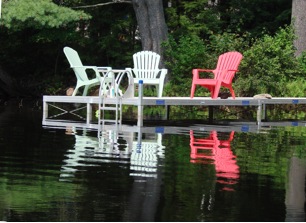
Dock 2

Dock2 by comparison was simple with the focus on the pink and white chairs with a good reflection in the lake. The background was not too detailed and the preview on Needlepaint.com reminded me of an Impressionist painting.

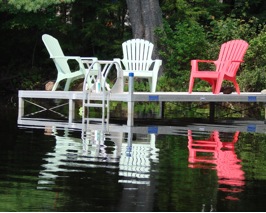
Next I decided that I wanted my finished Needlepoint canvas to be an 8 x 10 and on 14- point canvas. I made a copy of the photo and I used a photo editor to crop the copied picture to the 8 x 10 proportions. I cropped out as much of the background as possible, making the chairs the major element of the piece.

Dock 2 Cropped

Then I went back to Needlepaint.com and upload Dock2-cropped:

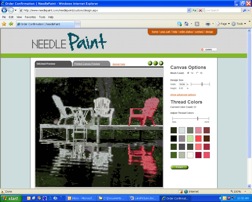
The first Needlepaint preview displayed the canvas with 20 colors. Although it looked great, I could see that it would be too difficult to needlepoint. There were too many different greens whose colors were so close that I would not be able to keep the colors straight. Also, these slight variations were not necessary.

NeedlePaint Preview 20 Colors

So I moved the Adjust Thread Colors slider on the website toward “Less”, and finally settled on a thread count of 10 with colors which were very close to the original preview. (Each time I moved the slider, the number of colors changed as did some of the colors. I tried many, many variations and even uploaded the picture several different times before I got exactly what I wanted. I just kept trying until I got my final choice.)

This canvas gave me enough definition to capture the idea of  the photo and to produce a canvas on which the colors would be easy to follow. And, it was the Impressionist effect which I wanted.

I ordered this canvas with thread. My Needlepaint shipment arrive

Complete Lake Photo Needlepoint Kit

with the following:

  • the color-printed canvas with my dock picture,
  • a gridded color print-out of my picture,
  • color-coded thread guide,
  • 6-strand Presencia embroidery threads to complete my canvas, and
  • a tapestry needle.

I put the canvas on my stretcher and was ready to go.

I started out being very careful to follow the gridded color print, but then I realized that I was Needlepainting this canvas. I could do use my pallet of threads to enhance or smooth over areas of the print. This meant that I didn’t have to worry

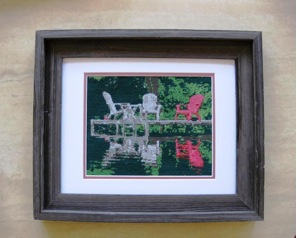
Finished Needlepoint of the Dock!

about the one light green stitch that was in the middle of the dark green. Or, if I wanted more light green in an area I could put it in. There was enough thread to make these changes as Needlepaint gave me full skeins of each color even it I only had a few stitches in that color. Also if I needed more, I could request more. I did need more dark green. I emailed Needlepaint and the thread arrived 4 days later in the mail. WHAT FUN!  IT IS PAINTING WITH THREAD with a little help from the printed canvas.

Once finished, I mounted it on Self-Stick Artboard (acid free).

Then I framed it with two contrasting matt boards. A wonderful memory of Summer, 2009.