How to Design a Needlepoint Wedding Ring Bearer Pillow
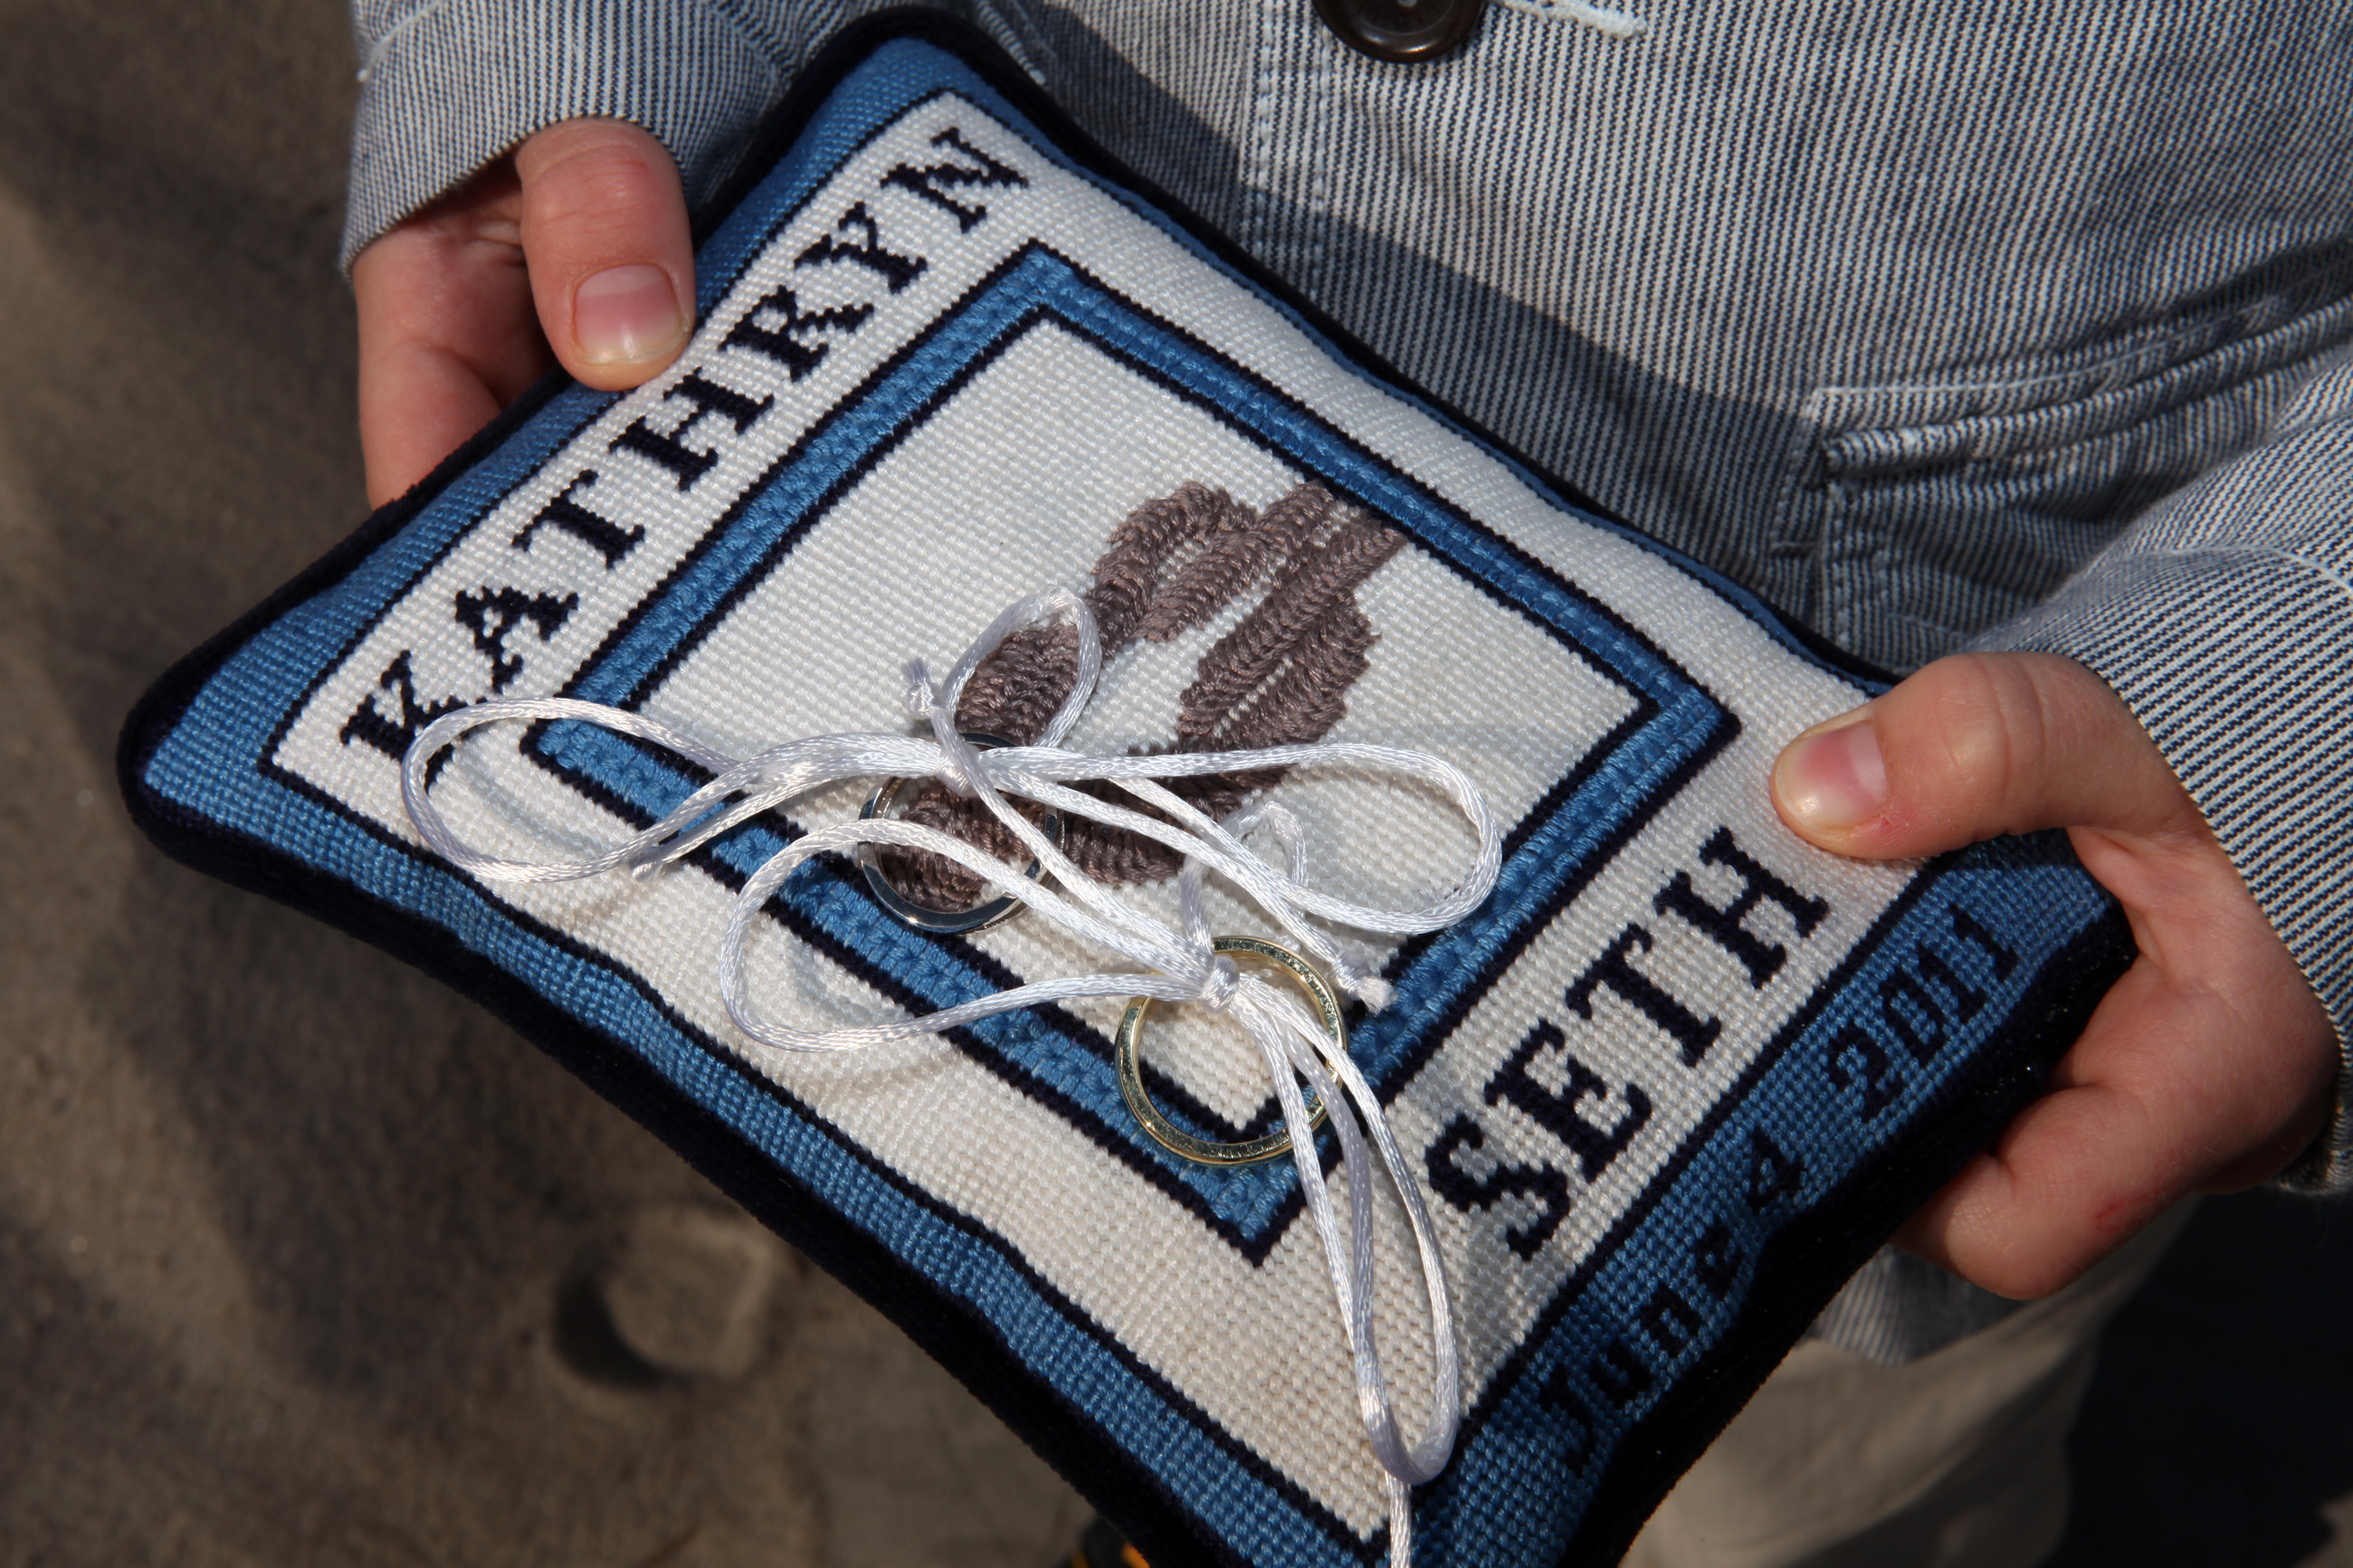
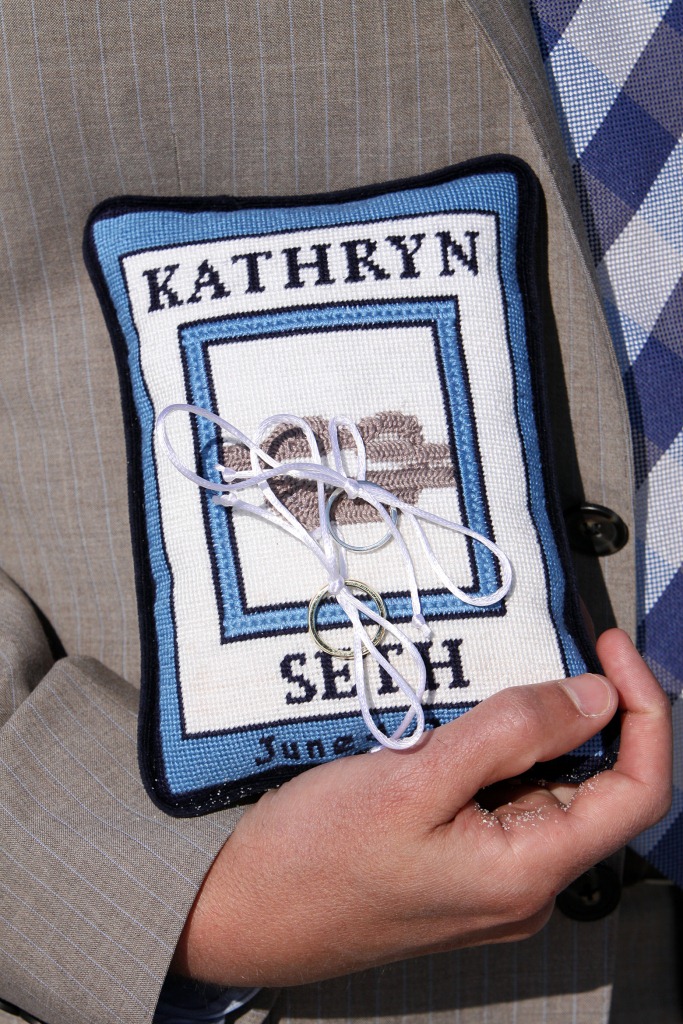
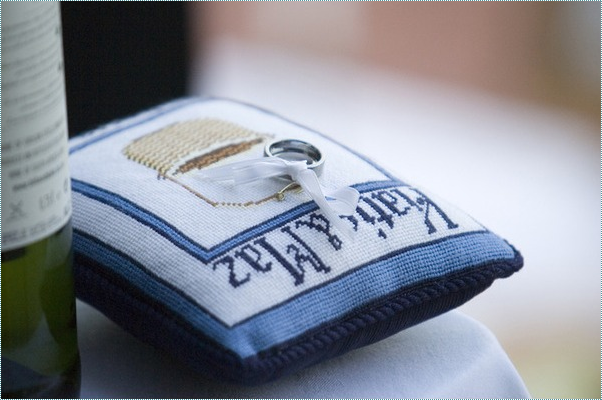
 Next summer’s weddings are fast approaching. While most “save the dates” and invitations have still not been created, the forward-looking needle pointer will want to consider getting ahead of the game and start a personalized needlepoint ring bearer pillow. An experienced needle pointer should find a wedding ring pillow to be a fun project since it is small enough to be finished in a few weeks, and it’s very affordable.
Some tips on where to start:
# Has the couple already created their wedding invitation? Often the invitation can be used as the inspiration for the design and colors that go onto the pillow. For example, if there is a flower on their invitation, that flower could go on the pillow. You can either try to draw it onto the canvas yourself, or you can email a picture of the invitation to the designers at NeedlePaint.com, and they will prepare a preview, free of charge.
# If there is no invitation to look at yet, consider looking at our personalized needlepoint shop at www.needlepaint.com. Most of our needlepoint kits include space for the bride’s and groom’s names and a date. The colors can be adjusted to match any color theme.
# Talking to the bride or her parents before selecting the colors can be very helpful. A well designed ring bearer pillow will be one of the best gifts the couple receives, as it will be used during the ceremony, and will always bring them back to their special day as a piece of decoration in their home.
Once you have decided on a design, you will need to select the type of thread. NeedlePaint.com currently stocks DMC cotton embroidery floss. They have hundreds of great colors and are very easy to work with. But if you prefer wool or pearl cotton, then you can also work your canvas with these.
After you have your needlepoint kit figured out, you can order it online, taking only 2-7 business days for your custom needlepoint canvas to be made. The next steps are simple enough for all level needle pointers, including those that are trying needlepoint for the first time!
There are a number of stitches when needlepointing, some being quicker than others. The classic stitch is the continental; but if you have some large areas to cover, you can really add to your design by picking out a fancy stitch. Often these stitches take less time, and will make the pillow sparkle. Please look at NeedlePaint’s blog to see some examples of all types of stitches.
Once the canvas has been finished, it is time to make your needlepoint canvas into a pillow. You’ll need some fabric for the background, and probably want to add a small bit of piping. A quick search on the internet for “make a pillow” will make this part easy, even for inexperienced crafters. Or, if you contact us, we can email you links to videos we like. If you decide you want somebody else to make your pillow, NeedlePaint does offer this service to its customers.
Almost done! Just one more detail. To attach the wedding rings to the ring bearer pillow, you will want to be sure you use something secure. Some suggestions are safety pins, ribbon, or even a piece of twine. Any method is OK, but be sure to test it before the wedding day, to be sure the rings can’t come off.
We hope you’ll share your needlepoint ring bearer pillows with everybody! You can upload your ideas to our Facebook page at http://www.facebook.com/NeedlePaint









Recent Comments