Do you want a unique needlepoint canvas that has special meaning for you or the person you are making it for? Creating custom needlepoint canvases has never been easier. There are some great websites out there explaining how to paint a needlepoint canvas. But, if you are interested in designing your own canvas and then having someone else make it for you, then you should read this.
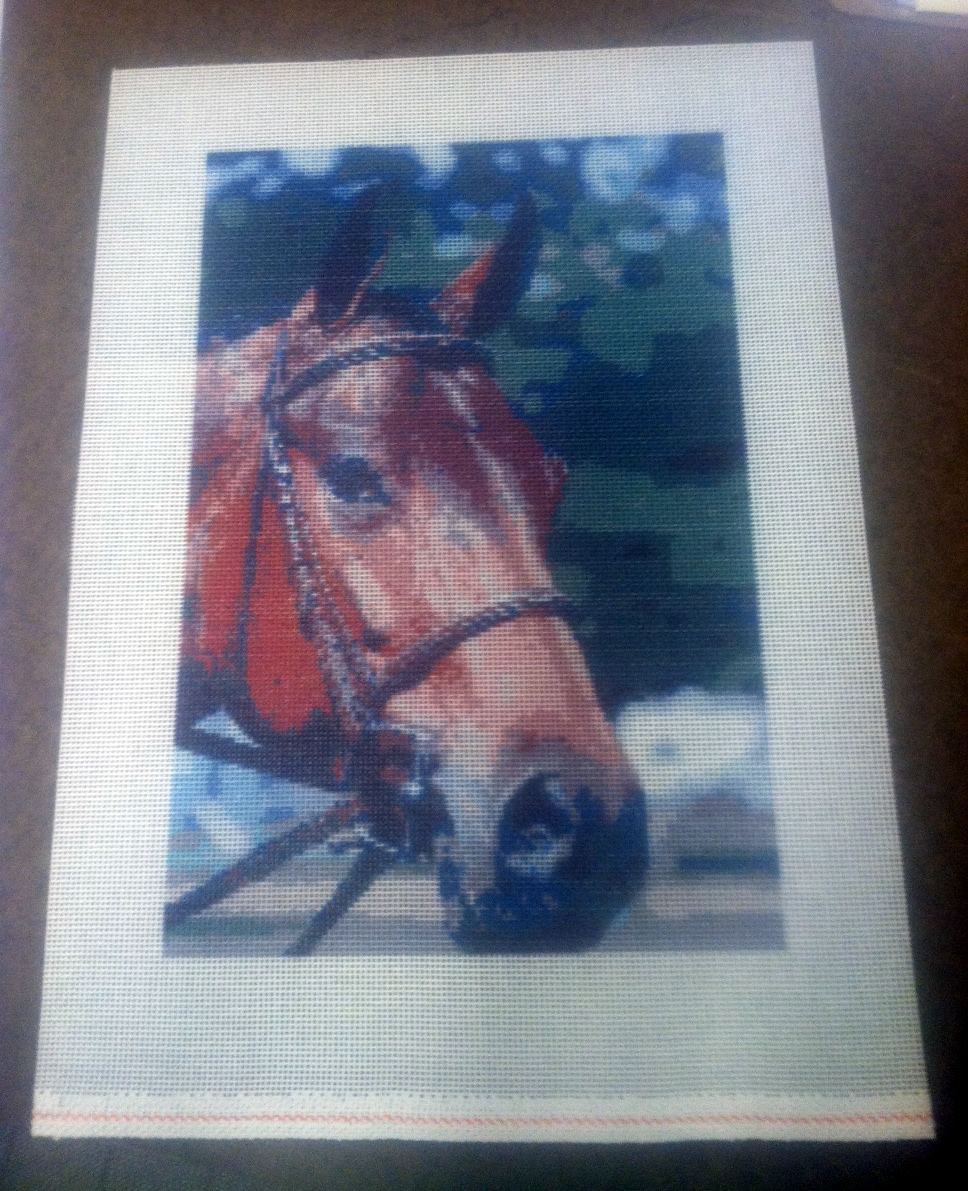
Basically, Needlepaint.com allows users to design a needlepoint canvas online, and preview the design before placing an order. Please note, our canvases are not hand painted, as we find that we can get more accurate photo details using digital artwork than doing it by hand.
Step One – Pick a Design and Idea
Hopefully if you found this blog, you already have something in mind. If you want more needlepoint design ideas please review our entire blog.
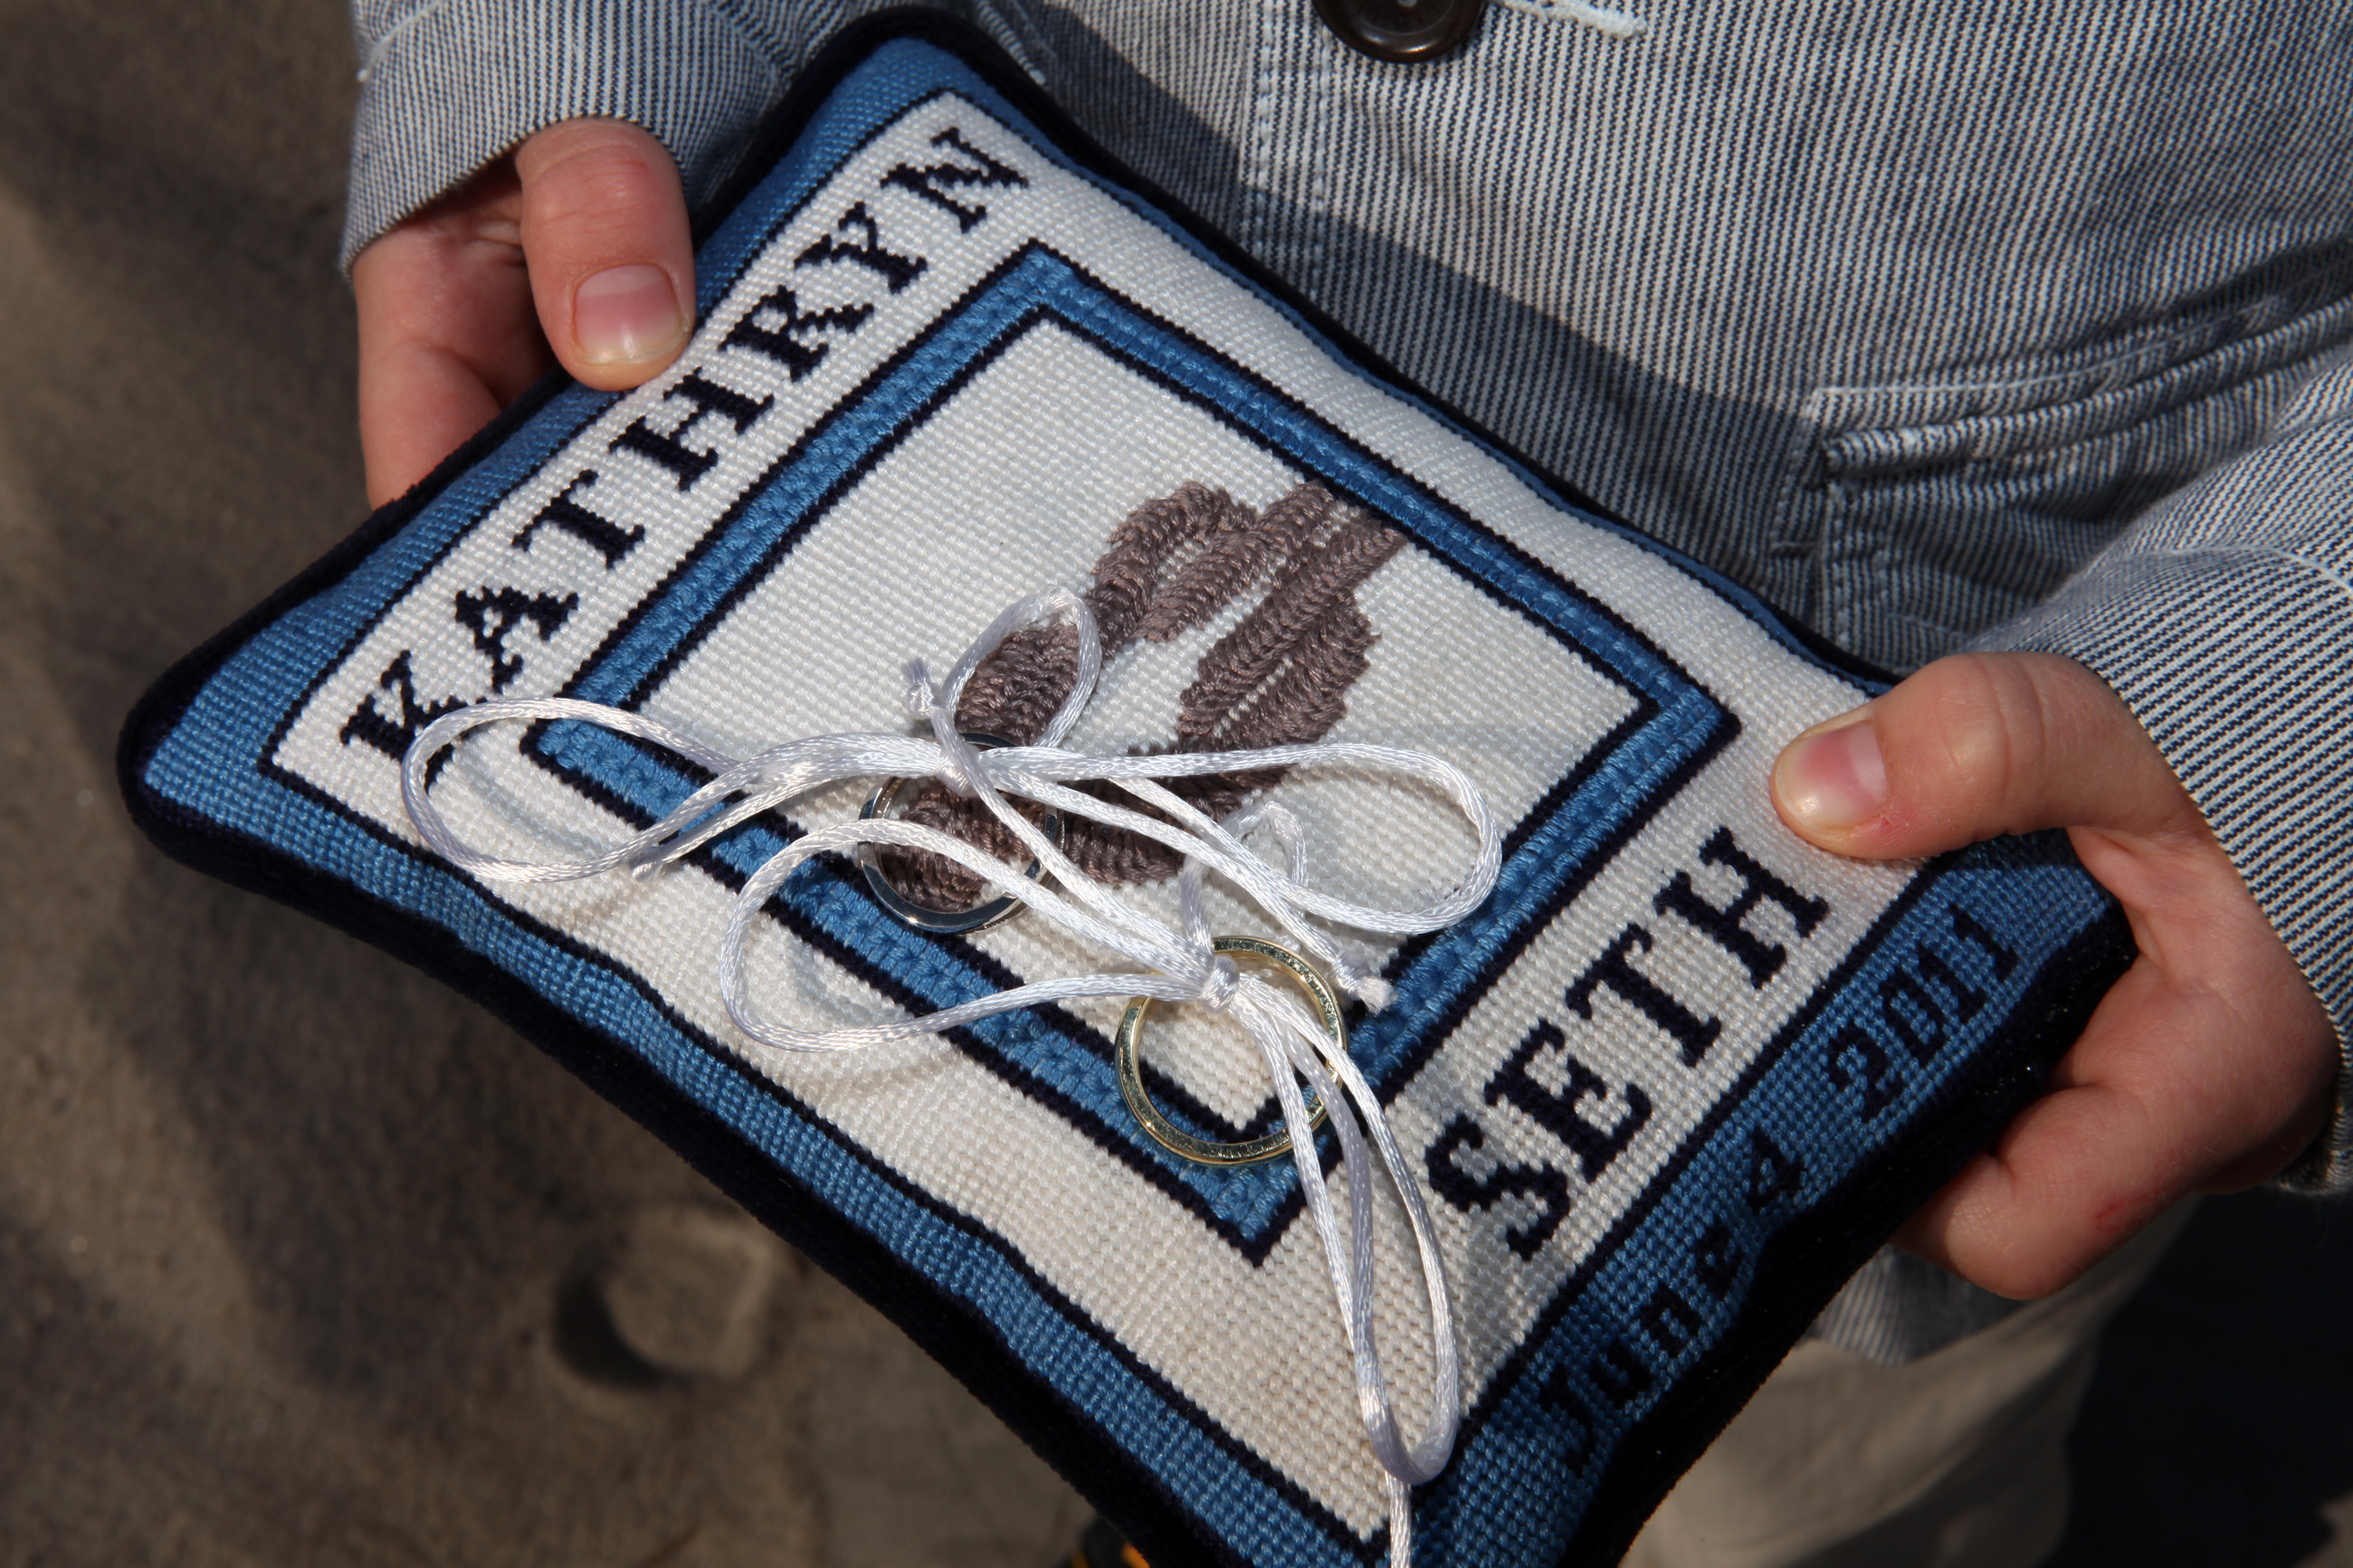
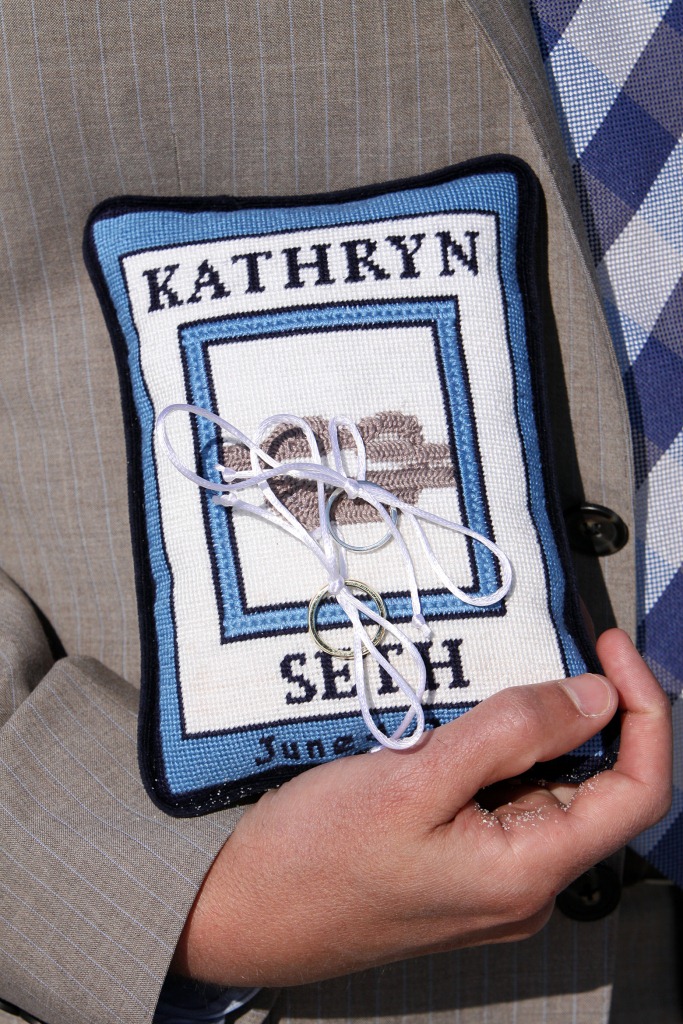
Our most ordered designs are: Dogs, Cats, Kids and Houses. Other favorites are: Needlepoint Ring Bearer Pillows and Needlepoint Kindle Covers
Really any artwork or photo will work, as long as it is saved as a .jpg, .png or .gif file on your computer. If you have a photo that is not yet digital you can go to a local copy store and have them scan it and save it for you, or you can mail it to us. If you want us to help do the digital artwork for you, please contact us.
Step Two – Select the size and product you want to make
For most photo’s, you may not want to stitch the entire image, but the exact size is not important. The key is to get close in on the subject, especially if the canvas is smaller than 10″ x 10″.
If you are making a pillow, kindle cover, or other “functional” type needlepoint project, you will want to be sure to make your image the right scale to fit exactly to your project. An example: if you are making a 12 x 12 pillow, then you will want to be sure your image is square. If you are making a Kindle Cover, then you will want your image to be 6″ high, and 2″ wide or an equally proportioned size so the needlepoint canvas will be 18″ x 6″.
Step Three – Cropping your Artwork
iPhoto Edit Option
OK, so you have a photo, but you don’t want to stitch all the background, or you have an exact size you want to design. In many of the photo viewing software, there is a Crop feature. This will allow you to select only the part of the image you want on your canvas.
***In the example below we actually did a 12″ x 16″ rectangle. This means that we need to be sure we use a rectangle of around 3″ x 4″.
Cropping in iPhoto
Step Four – Uploading your Design
Once you have the image ready, you can go to NeedlePaint.com to create your custom needlepoint canvas.
Upload your image to NeedlePaint.com
Now you can see your own design in Needlepoint! You will automatically be taken to our “Stitched Preview” which shows an approximation of how your canvas will look once you stitch it. There are many adjustments on this page, please read below, we will explain each.
Stiched Needlepoint Preview 12" x 16" Husky
Canvas Options
Mesh Count: This is a very important feature. 18 mesh will show more details, but has many more holes per inch (324 holes to stitch vs 196 stitches in 14 mesh). If you are doing a smaller canvas, 18 mesh will help capture more detail from your photo. (We also are able to supply 8, 10, and 12 mesh, but these need to be special ordered).
Design Size: Here you can select your height or width. Please note, this will keep the exact same proportions as your original photo, if you want to adjust it, please go back and read the “Step Three – Cropping Your Artwork” section in this blog.
Advanced Options: This allows you to order a larger canvas. Normally or canvases include 1″ of extra canvas on all sides, but if you want more blank canvas, you need make the adjustment here.
Thread Colors: Another very important feature allows you to select the number of colors you will use on your needlepoint project. We suggest reducing the number of colors as much as possible to make it easier to stitch but where it still looks good. If you are very experienced needlepointer, have lots of floss hanging around, and don’t mind using lots of colors, than by selecting a high number of colors, you will get more details onto the canvas. To adjust the color, click the line on the right or left of the bar.
Thread Type: You can also adjust the type of threads. Since we match digital colors to real floss colors, the DMC and Presencia will show different results in the preview. DMC is often better for images of people because there are a lot more flesh tone colors to pick from. (If you are ordering floss from us, you will also notice that fewer colors is less expensive). Please note, we do not supply wool, as the color options are very limited, but it can be used on any project.
Click Finish to see pricing. You can also view our price chart before uploading an image if you want approximate pricing details.
Written by Peggy Bond
3 Comments