We’ve really had a great time designing needlepoint belts this year. One request we keep sending out is to show people how to measure a needlepoint belt.
I figured that we may as well write a blog post about this, so more people who are searching can learn how to measure a belt.
Actually, this was a mystery for me for a long time, as some companies belt sizes seem to vary from others, and I never understood why.
Basically, the key to figuring out a belt size, is to measure from the end of the belt (not the belt buckle – see left side marked A) to the center hole (see right side marked B). Click on the image below to see it more clearly.

How to measure a Needlepoint Belt
This explains why some companies with longer metal buckles would have differences from belt size to belt size.
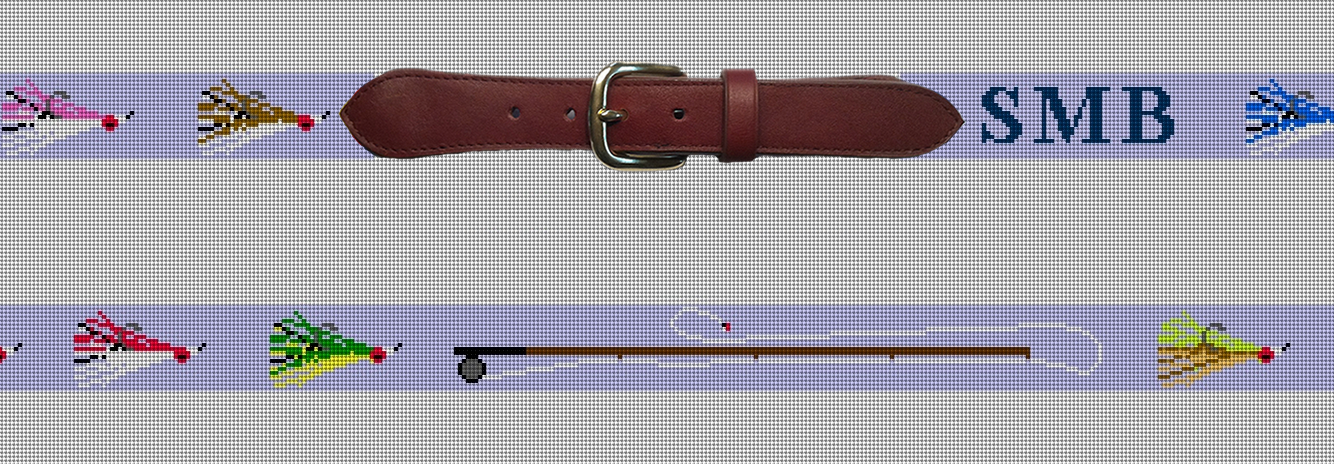
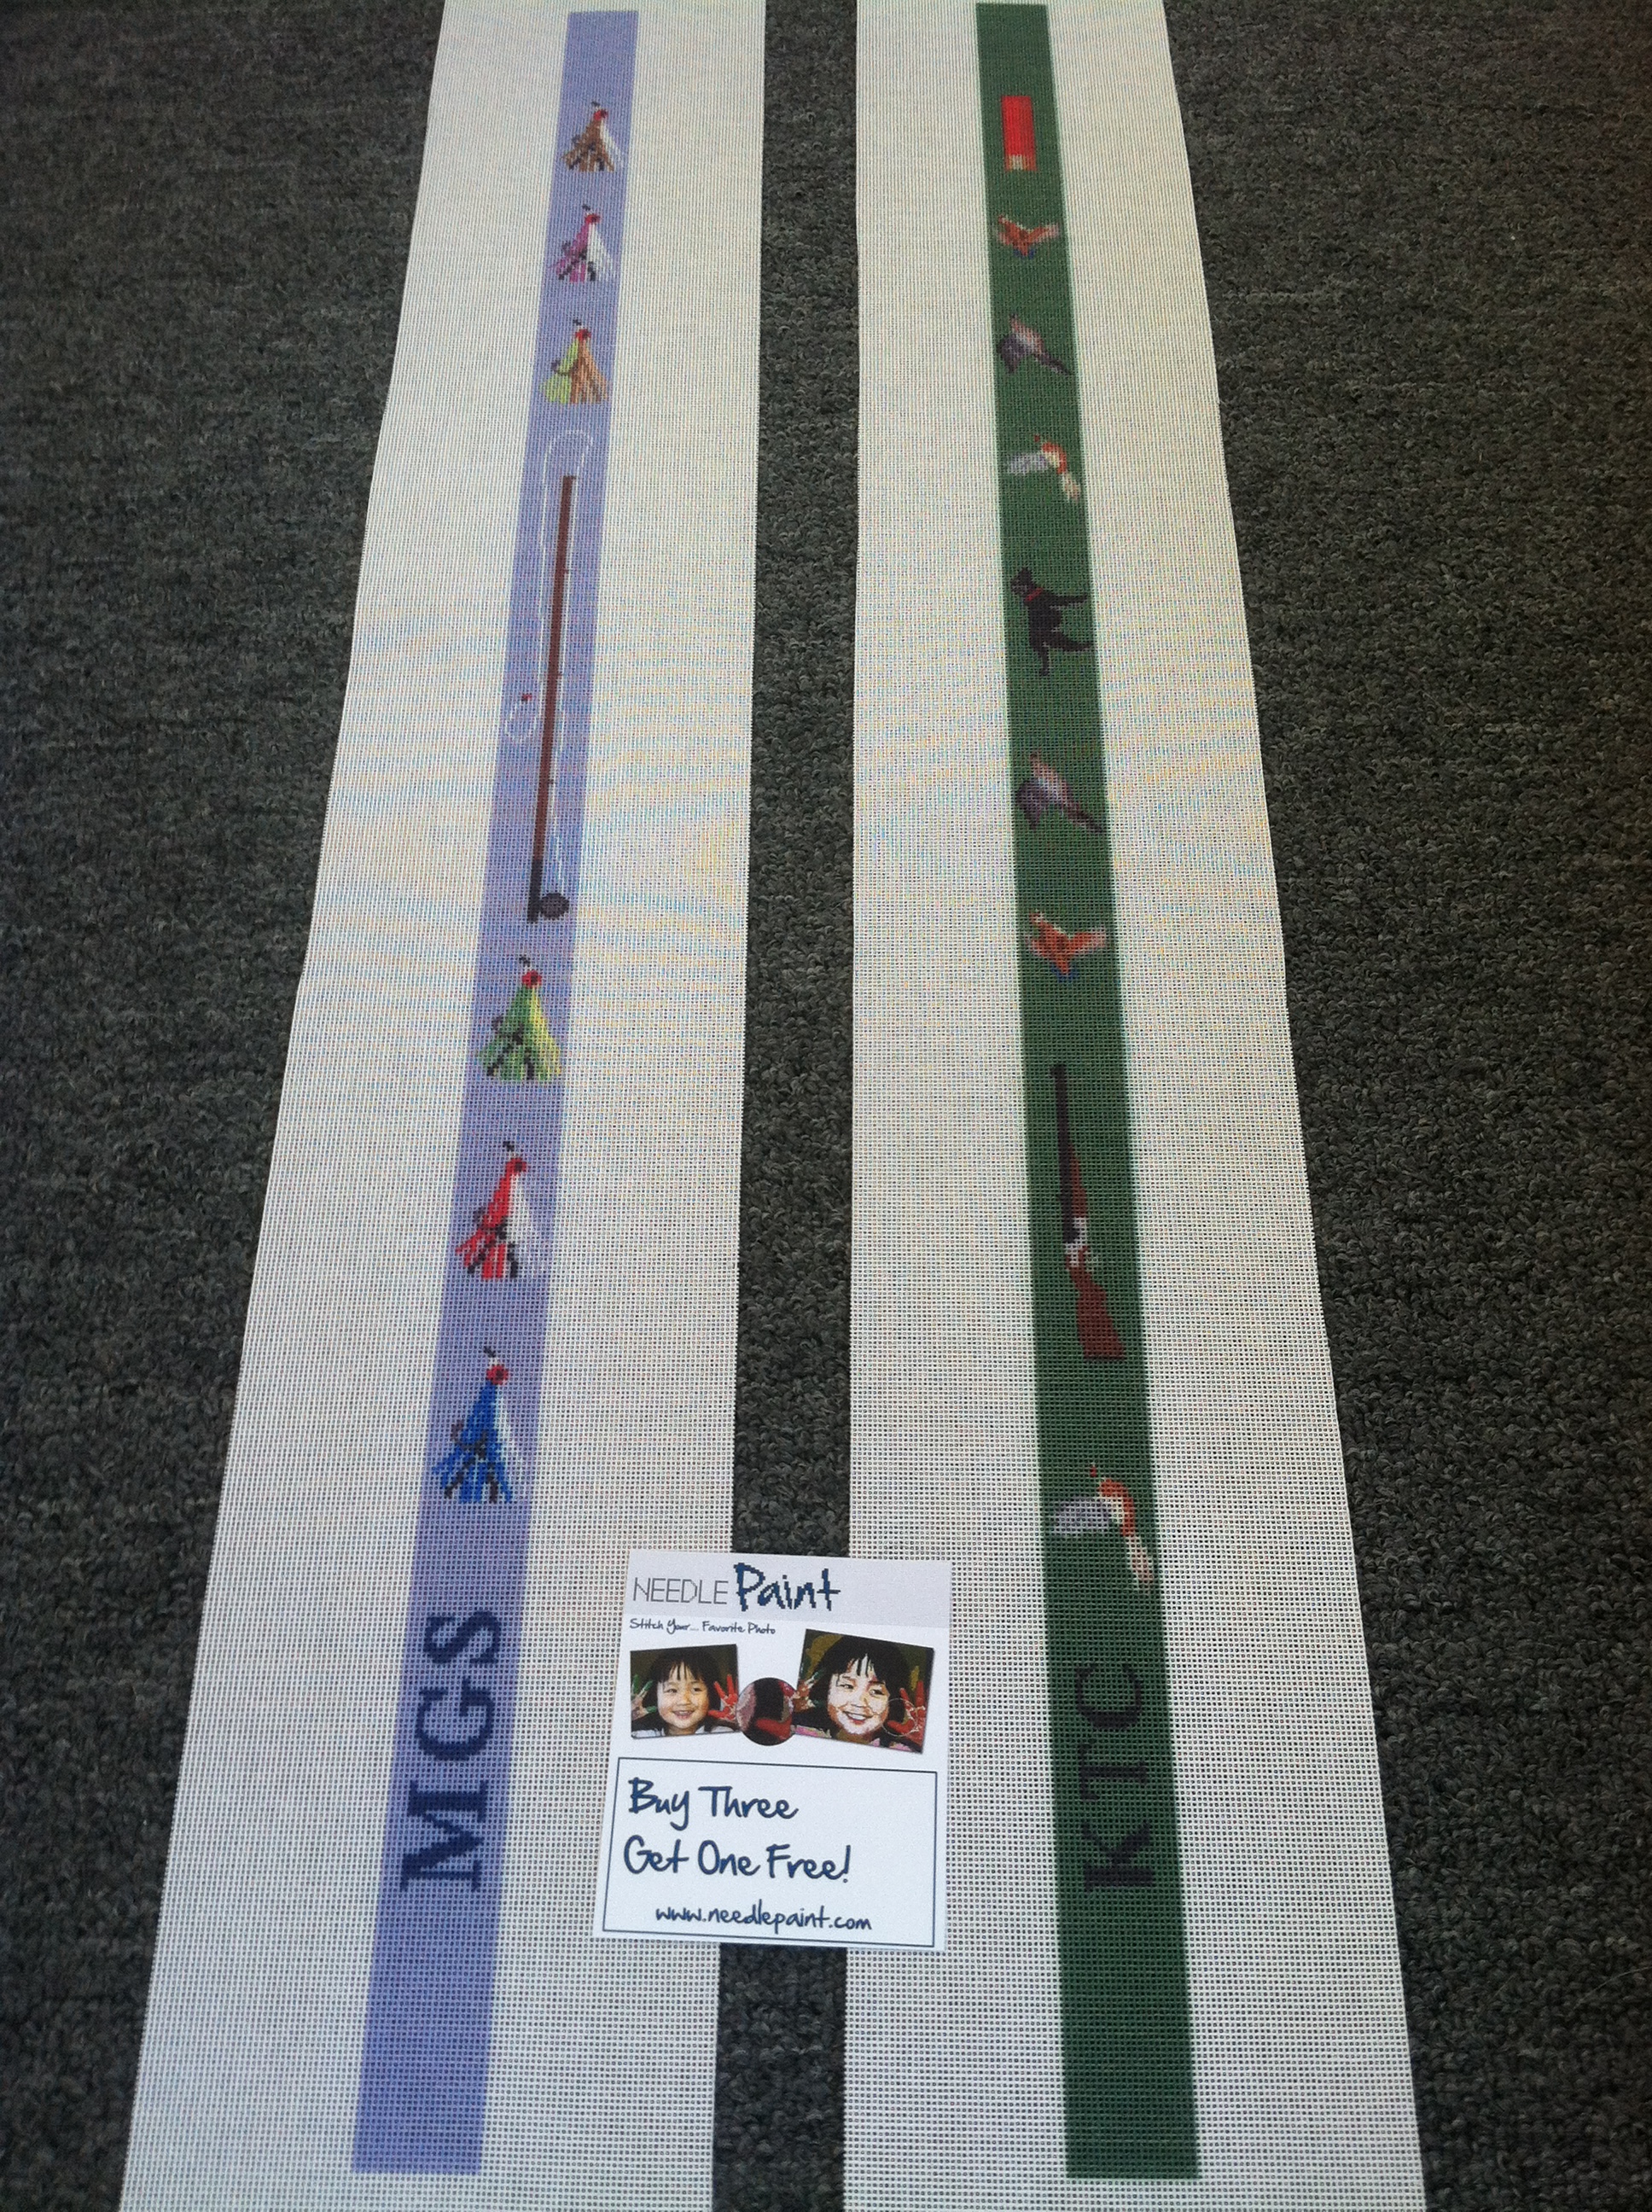
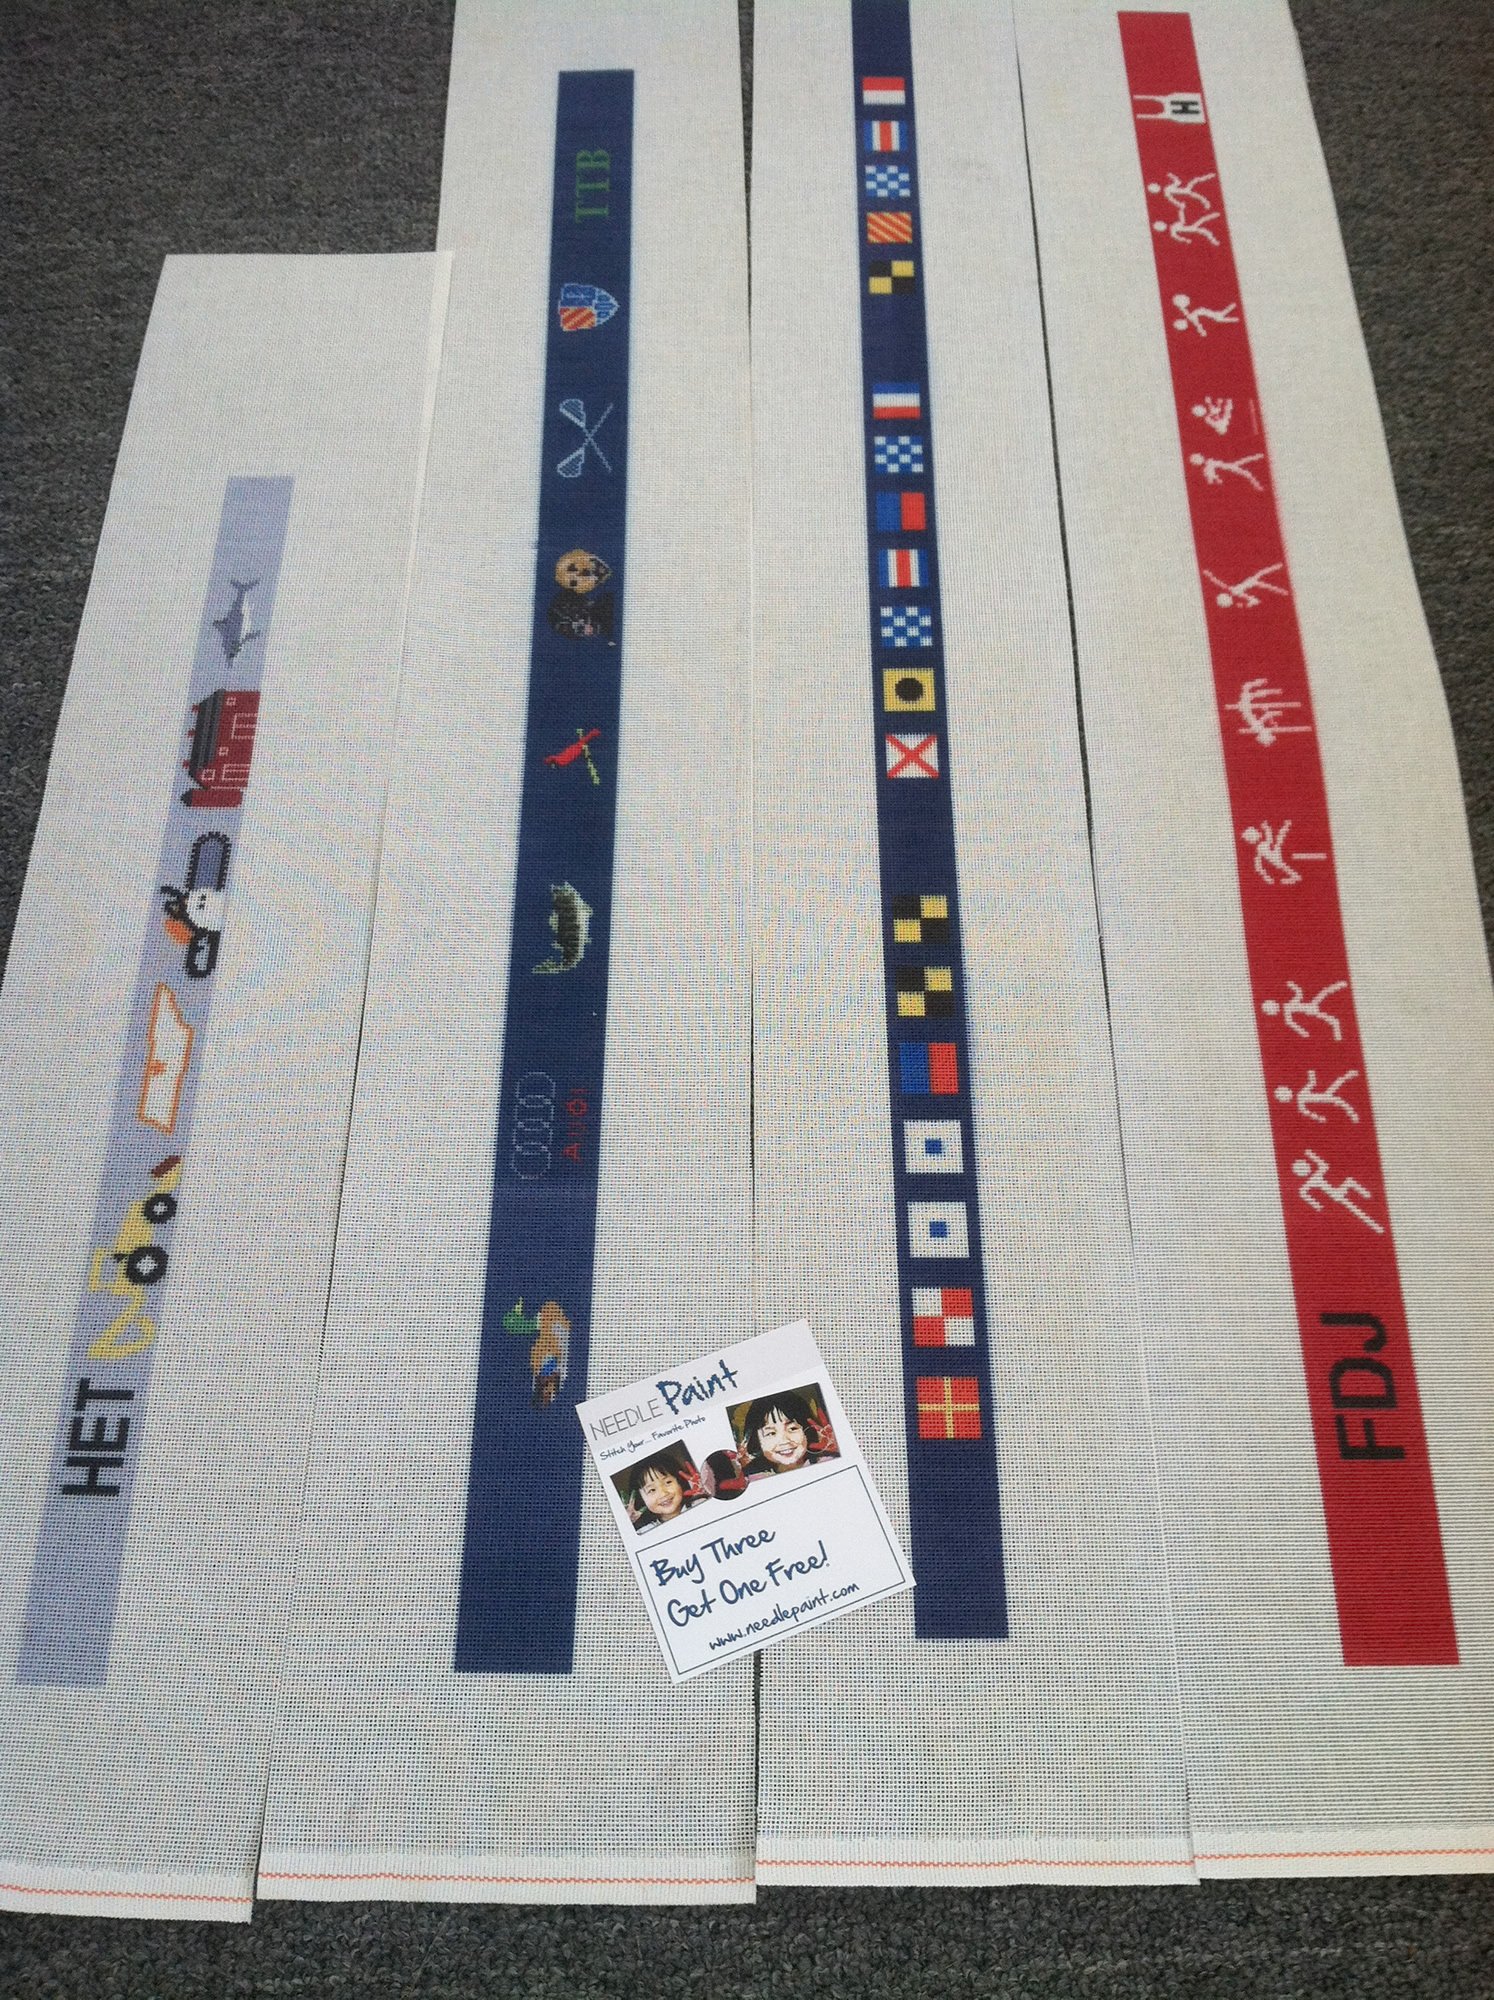
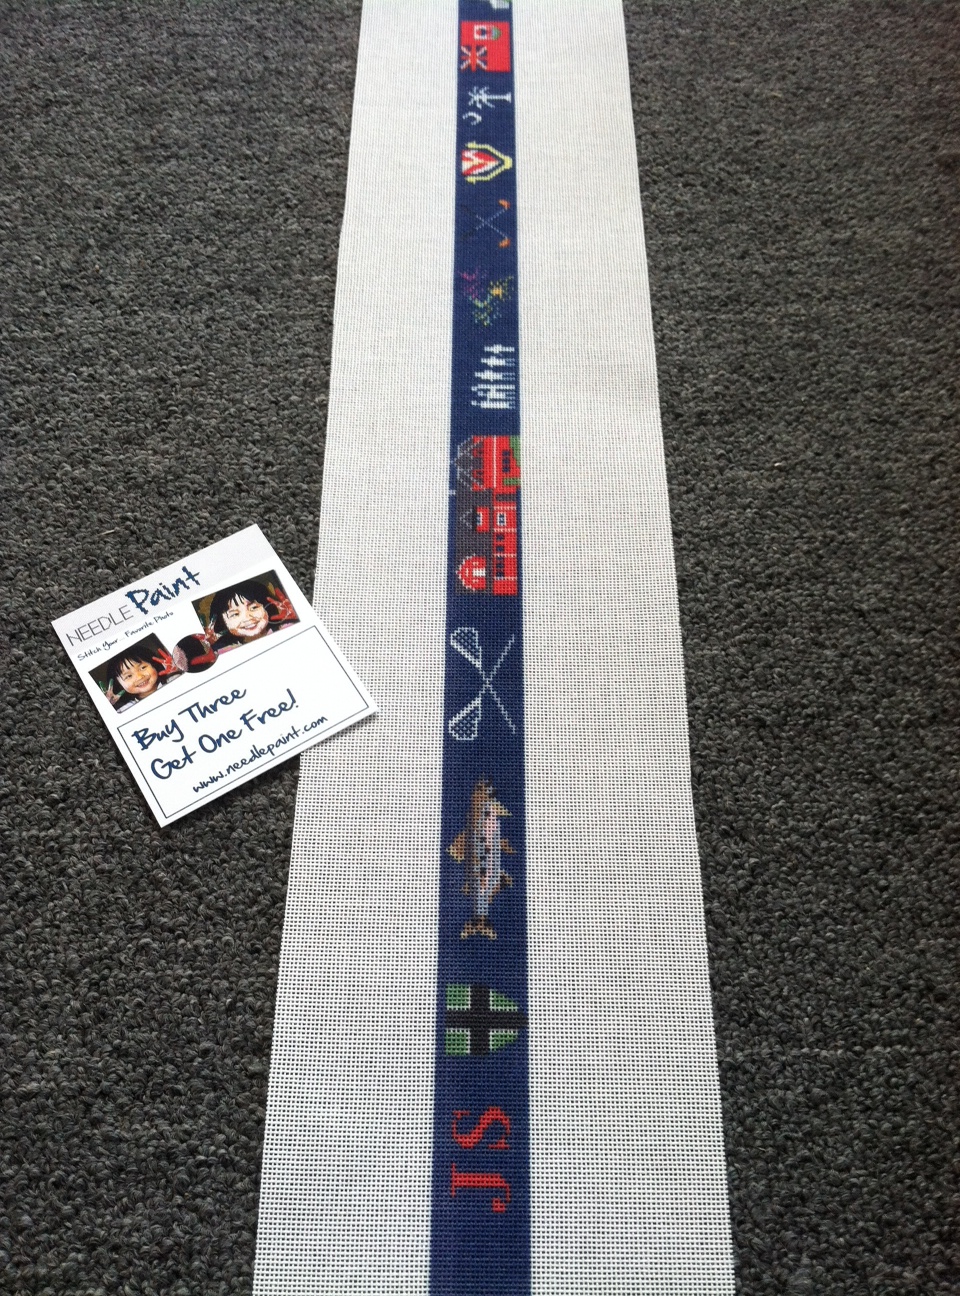
If you are stitching a custom needlepoint belt canvas and having it finished with leather belt ends, you’ll also want to know how much to stitch.
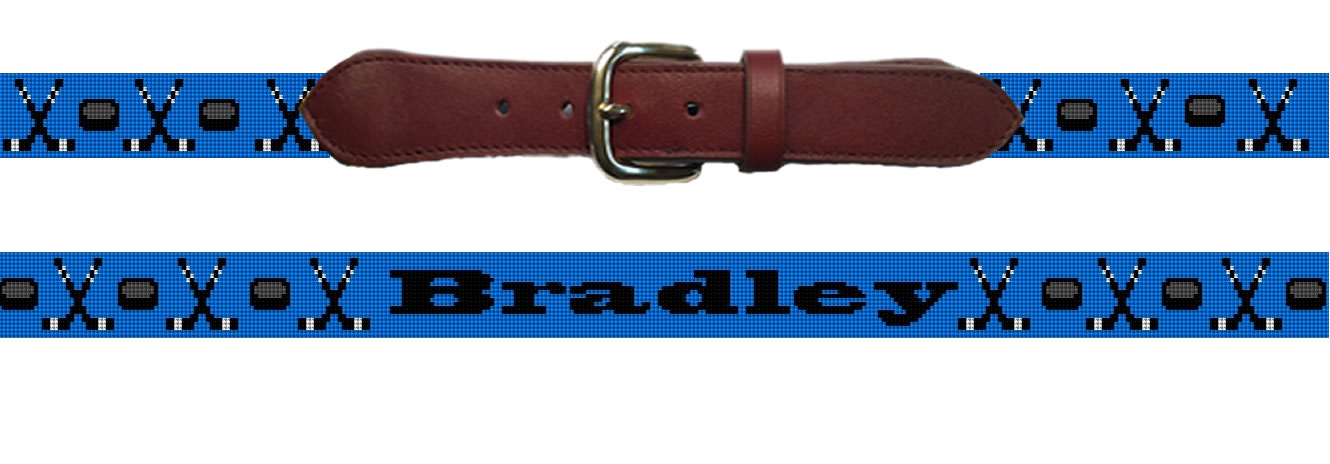
With our leather belt ends, you can calculate this by subtracting 8 inches from the belt size. This is what we refer to as the visible area. Then from here, we add two extra inches of background color to each side (the belt buckle will cover up this area).
Also, I’ve been going back and forth with finishers on a rolled edge vs using a binding stitch. We have found a finisher who does not charge extra for doing a rolled edge, so it is a matter of preference.
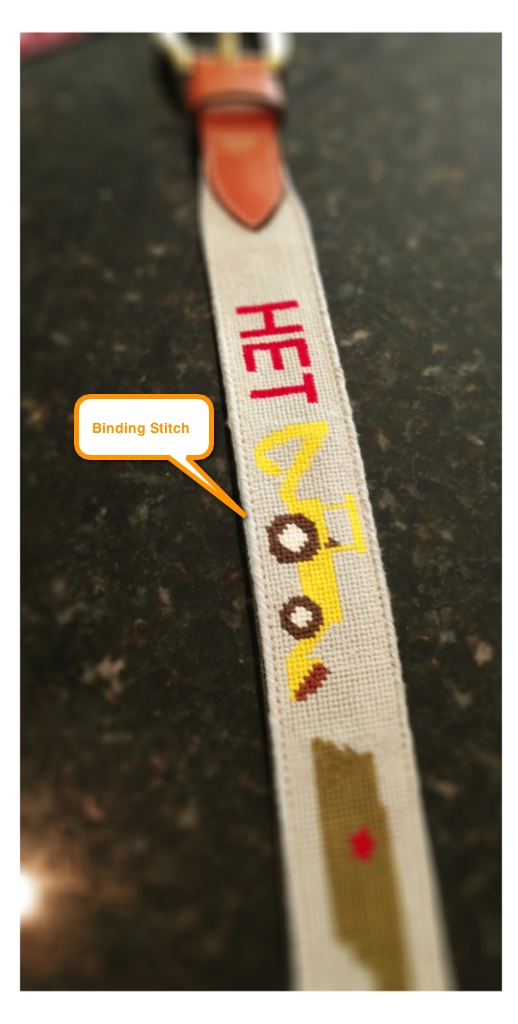
Needlepoint Belt Binding Stitch
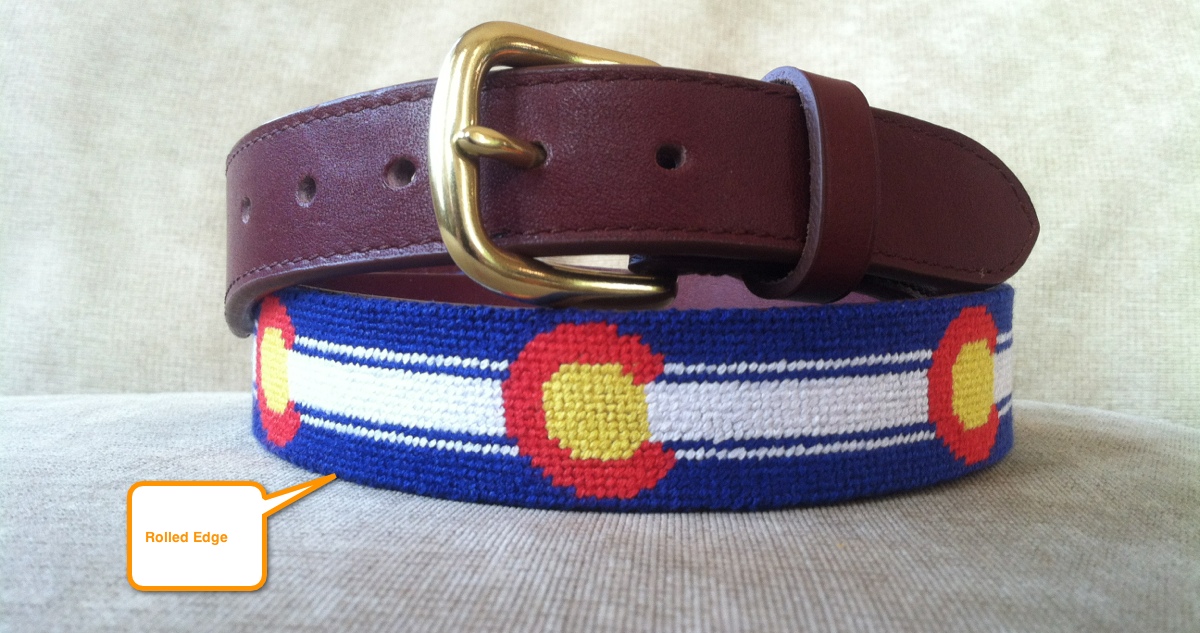
Needlepoint Belt Rolled Edge
If you prefer the rolled edge, then you will need to stitch two extra rows above and below the design, so the finisher can wrap the canvas under.
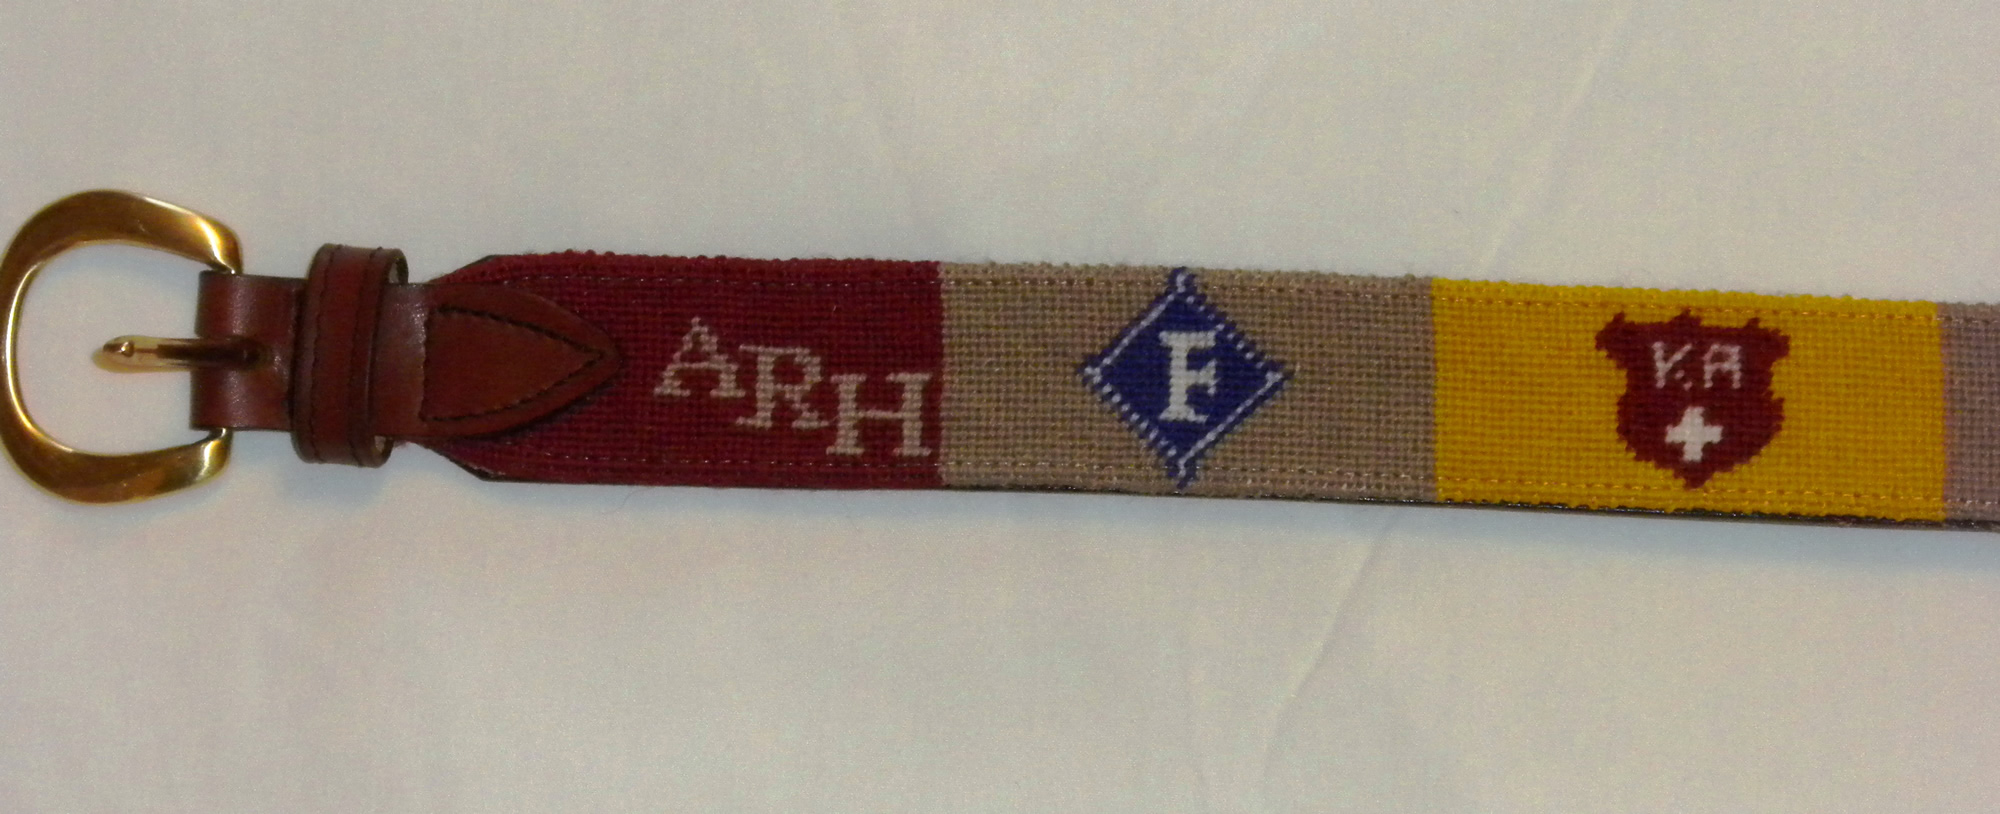
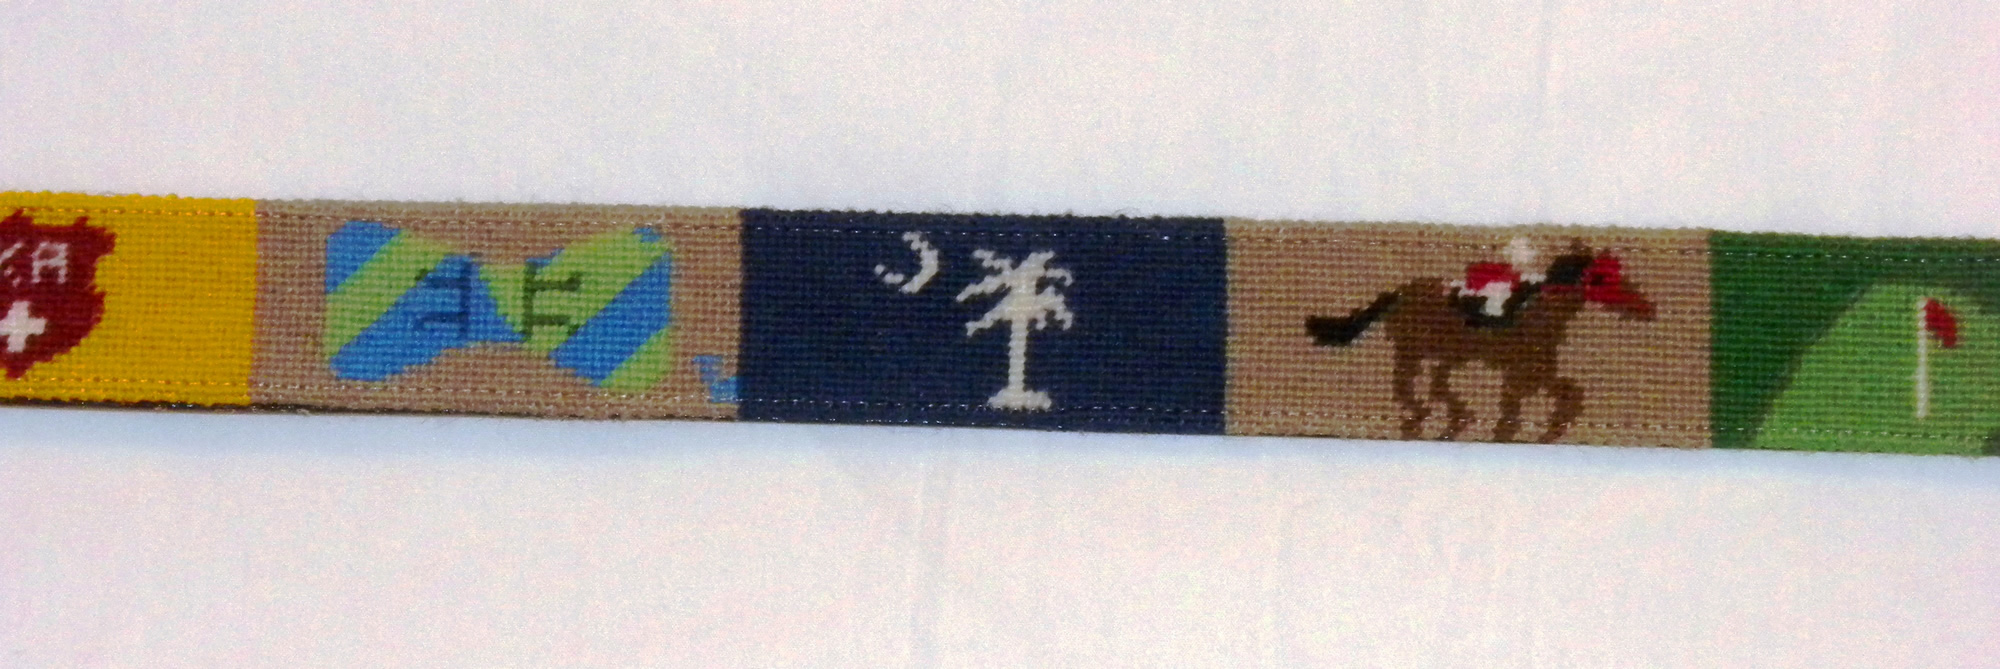
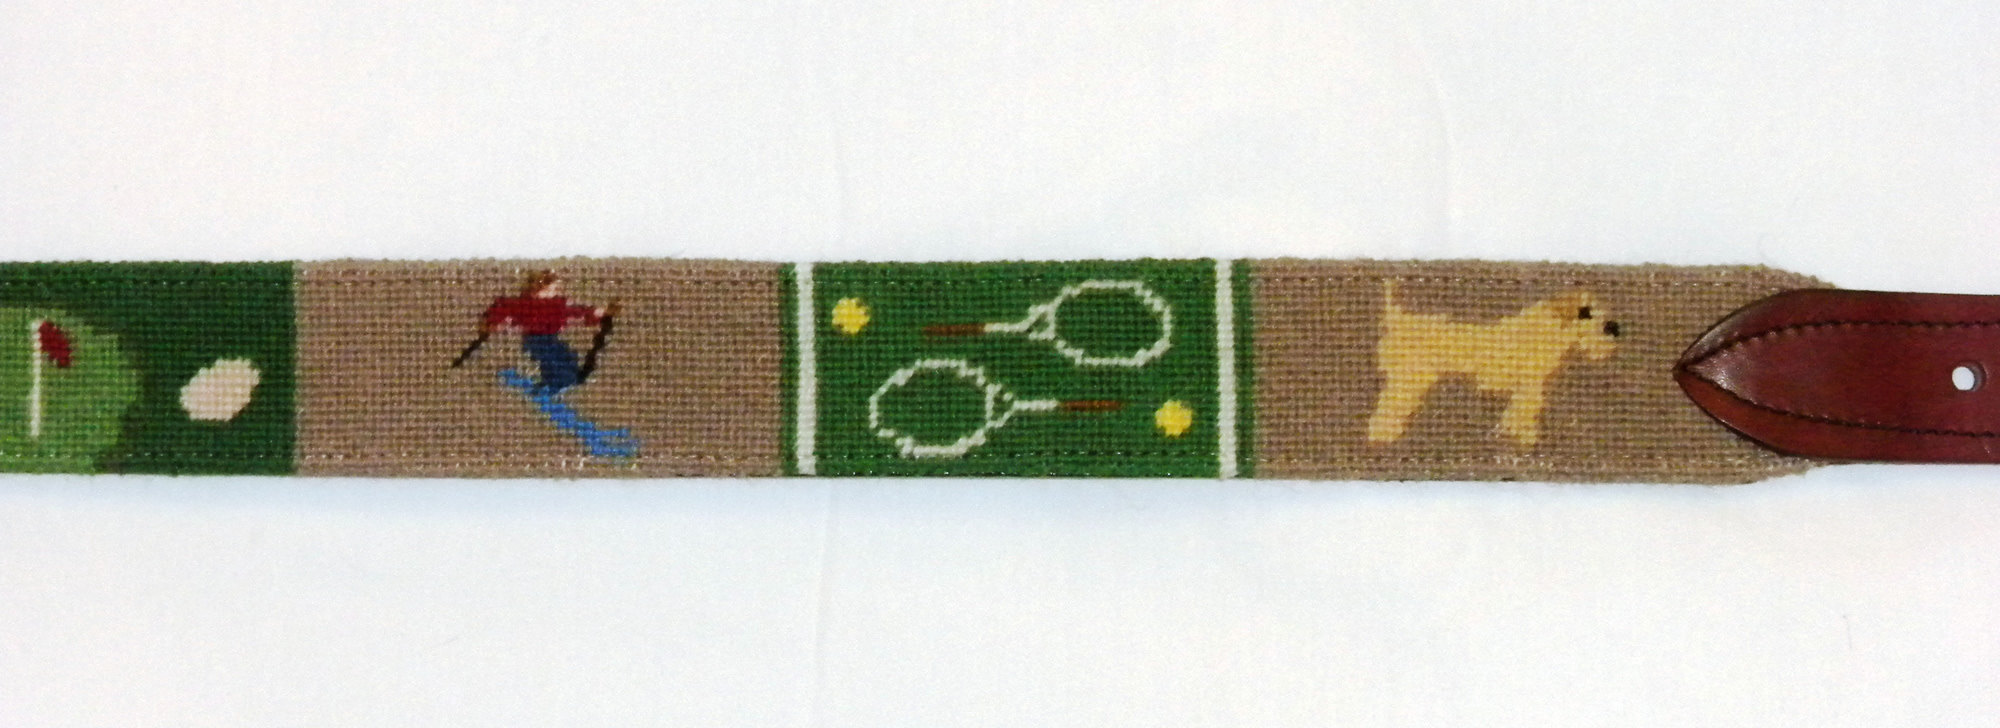
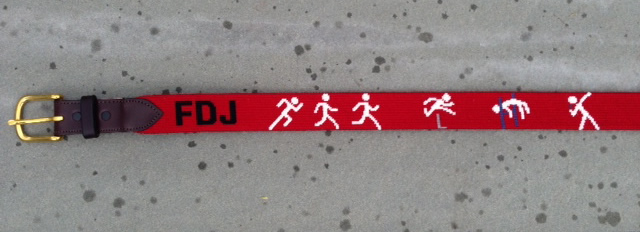
If you are looking for needlepoint belt ideas, check out our needlepoint belt canvas section, or have a look through our needlepoint belt blog posts. If you have something else in mind, we’d be happy to design a custom belt canvas for you!








Written by lepoore
on May 30, 2013
Leave a comment