Official blog of www.NeedlePaint.com
where you can design your own Needlepoint!

NeedlePoint Kits and Canvas Designs | Design your own Needlepoint Kit!

Posts tagged ‘needlepoint kits’

Custom Needlepont Dog Collar

We’ve been thinking of what other projects are great for custom needlepoint, and realized that the answer is laying at our feet!

A custom needlepoint dog collar can be beautiful and make a great gift for your furry friends.

Peggy is currently working on a project for her son who asked for a ‘tough looking’ collar for his male dog, Jack.

I worked on designing this and created a simple design that looks great!  And is very tough 🙂

1.25" x 17" Needlepoint Design for Jack

Now, look again, and see how ‘tough’ becomes girly when I change the colors!

1.25" x 17" Custom Pink Needlepoint Design for a Dog Collar

This project is just underway, we hope to have lots of designs and complete needlepoint dog collar kits on our Etsy needlepoint shop soon.  All designs are customizable, please contact us if you would like us to design your dog’s needlepoint collar!

Some ideas worth considering:  Stitch in a phone number, extra wide collars

Dog Needlepoint Canvases

We’ve been searching the internet for great pictures of dogs to offer as stock needlepoint canvases and needlepoint kits.

We found some great ones!

Breeds:

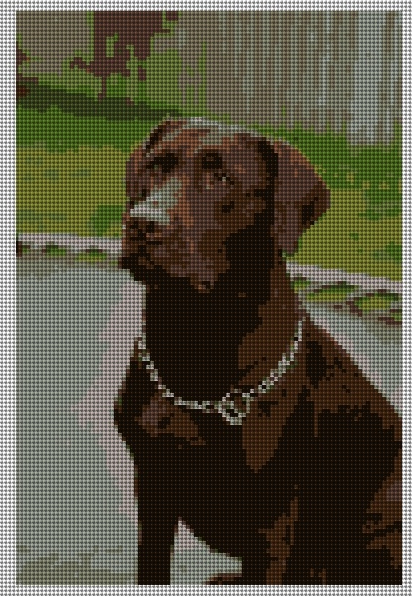
Chocolate Lab Needlepoint Canvas 18 mesh, 8" x 5.5", 12 colors

Beagle Needlepoint

Border Collie Needlepoint

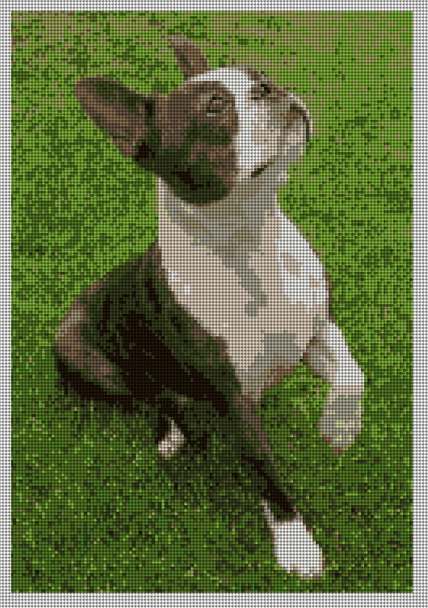
Boston Terrier Needlepoint

Bullmastif Needlepoint

Chocolate Lab Needlepoint

Cocker Spaniel Needlepoint

Coonhound Needlepoint

Daschund Needlepoint

German Shepherd Needlepoint

Boston Terrier Needlepoint Canvas (Colors can be adjusted when ordered)

Golden Retriever Needlepoint

Jack Russel Terrier Needlepoint

Nova Scotia Duck Terrier Needlepoint

Pomeranian Needlepoint

Schnauzer Needlepoint

Scotch Terrier Needlepoint

Shetland Sheepdog Needlepoint

Yellow Lab Needlepoint

***More to come!

Also, check out our vintage dog needlepoint

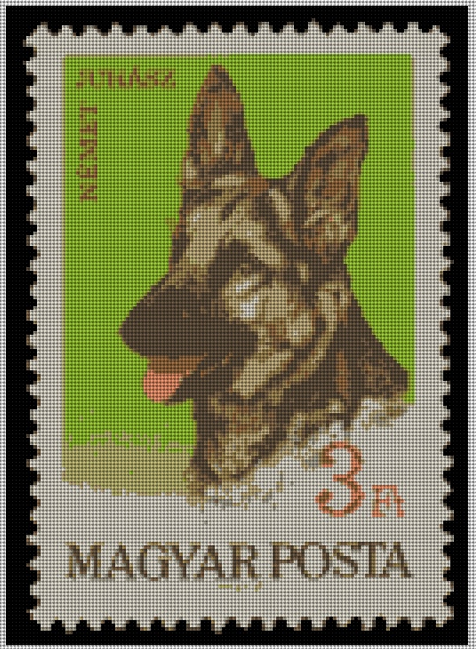
Vintage German Shepherd Dog Needlepoint - Customize with your dogs Name!

Vintage Collie

Vintage Fox Terriers

Vintage German Shepherd

Vintage Puli

Vingate Pumi

Vintage Vizsla

How to Design a Needlepoint Canvas

Do you want a unique needlepoint canvas that has special meaning for you or the person you are making it for?  Creating custom needlepoint canvases has never been easier.  There are some great websites out there explaining how to paint a needlepoint canvas.  But, if you are interested in designing your own canvas and then having someone else make it for you, then you should read this.

Basically, Needlepaint.com allows users to design a needlepoint canvas online, and preview the design before placing an order.  Please note, our canvases are not hand painted, as we find that we can get more accurate photo details using digital artwork than doing it by hand.

Step One – Pick a Design and Idea

Hopefully if you found this blog, you already have something in mind.  If you want more needlepoint design ideas please review our entire blog.

Our most ordered designs are: Dogs, Cats, Kids and Houses.  Other favorites are:  Needlepoint Ring Bearer Pillows and Needlepoint Kindle Covers

Really any artwork or photo will work, as long as it is saved as a .jpg, .png or .gif file on your computer.  If you have a photo that is not yet digital you can go to a local copy store and have them scan it and save it for you, or you can mail it to us.  If you want us to help do the digital artwork for you, please contact us.

Step Two – Select the size and product you want to make

For most photo’s, you may not want to stitch the entire image, but the exact size is not important.  The key is to get close in on the subject, especially if the canvas is smaller than 10″ x 10″.

If you are making a pillow, kindle cover, or other “functional” type needlepoint project, you will want to be sure to make your image the right scale to fit exactly to your project.  An example: if you are making a 12 x 12 pillow, then you will want to be sure your image is square.  If you are making a Kindle Cover, then you will want your image to be 6″ high, and 2″ wide or an equally proportioned size so the needlepoint canvas will be 18″ x 6″.

Step Three – Cropping your Artwork

iPhoto Edit Option

OK, so you have a photo, but you don’t want to stitch all the background, or you have an exact size you want to design.  In many of the photo viewing software, there is a Crop feature.  This will allow you to select only the part of the image you want on your canvas.

***In the example below we actually did a 12″ x 16″ rectangle.  This means that we need to be sure we use a rectangle of around 3″ x 4″.

Cropping in iPhoto

Step Four – Uploading your Design

Once you have the image ready, you can go to NeedlePaint.com to create your custom needlepoint canvas.

Upload your image to NeedlePaint.com

Now you can see your own design in Needlepoint!  You will automatically be taken to our “Stitched Preview” which shows an approximation of how your canvas will look once you stitch it.  There are many adjustments on this page, please read below, we will explain each.
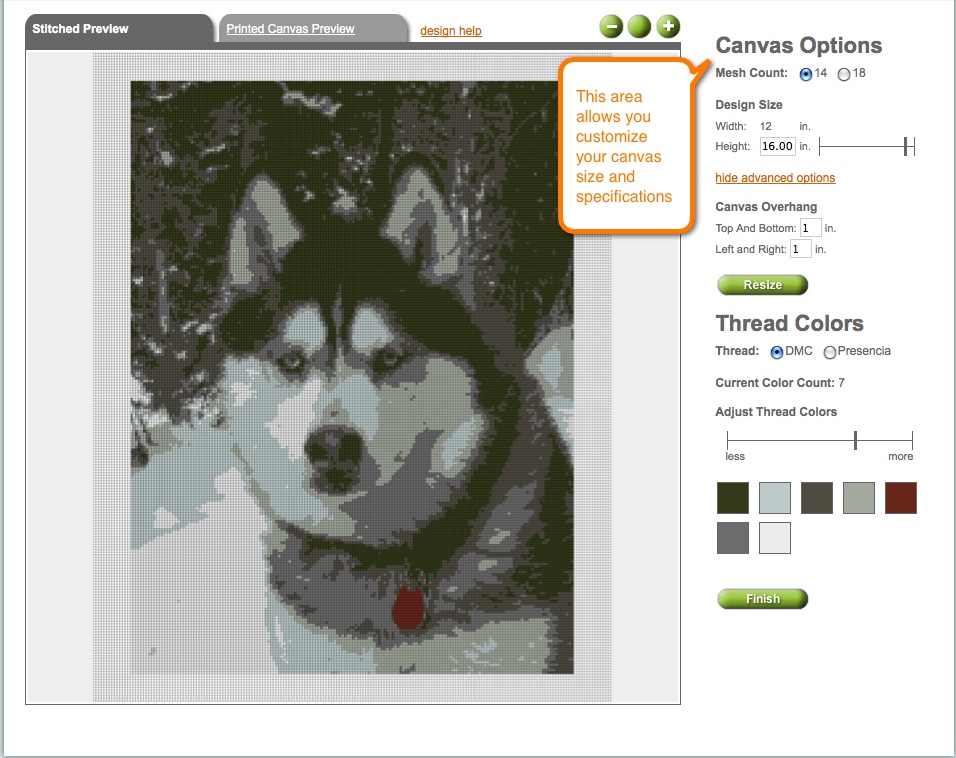
Stiched Needlepoint Preview 12" x 16" Husky

Canvas Options

Mesh Count:  This is a very important feature.  18 mesh will show more details, but has many more holes per inch (324 holes to stitch vs 196 stitches in 14 mesh).  If you are doing a smaller canvas, 18 mesh will help capture more detail from your photo.  (We also are able to supply 8, 10, and 12 mesh, but these need to be special ordered).

Design Size:  Here you can select your height or width.  Please note, this will keep the exact same proportions as your original photo, if you want to adjust it, please go back and read the “Step Three – Cropping Your Artwork” section in this blog.

Advanced Options:  This allows you to order a larger canvas.  Normally or canvases include 1″ of extra canvas on all sides, but if you want more blank canvas, you need make the adjustment here.

Thread Colors:  Another very important feature allows you to select the number of colors you will use on your needlepoint project.  We suggest reducing the number of colors as much as possible to make it easier to stitch but where it still looks good.  If you are very experienced needlepointer, have lots of floss hanging around, and don’t mind using lots of colors, than by selecting a high number of colors, you will get more details onto the canvas.  To adjust the color, click the line on the right or left of the bar.

Thread Type:  You can also adjust the type of threads.  Since we match digital colors to real floss colors, the DMC and Presencia will show different results in the preview.  DMC is often better for images of people because there are a lot more flesh tone colors to pick from.  (If you are ordering floss from us, you will also notice that fewer colors is less expensive).  Please note, we do not supply wool, as the color options are very limited, but it can be used on any project.

Click Finish to see pricing.  You can also view our price chart before uploading an image if you want approximate pricing details.

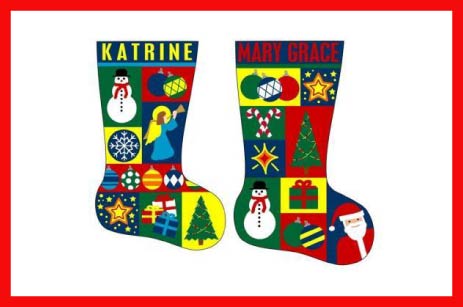
Personalized Needelpoint Chrismas Stocking

It is never too early to start planning for Christmas particularly if there are several little ones in your family. There are nine little ones in my extended family circle, and each now has his or her custom needlepoint Chirstmas stocking printed by Needlepaint and lovingly stitched by me.

I had some assistance from Needlepaint’s designer, who created two designs to which I could add the individual names. (Luckily there are only 2 little ones per family and they live in different parts of the world.)

My first two stockings were stitched with the traditional Continental  Stitch. After that I got creative and used a variety of different stiches as shown in the completed stocking below.

To finish the stockings, I lined the canvas with red cotton and then made the back of the stock out of red wool cut on the bias so there was some give to allow for more goodies to be stuffed in by Santa.

These design are available on our Etsy NeedlePaint Shop and can be customize with your name(s) on the checkout page. Please limit names to 12 letters. Stocking design is printed on Zweigart Mono 14 point , and is 16” x 10.25″.

And more designs are coming soon!

Cat Needlepoint Pillow from a Photo

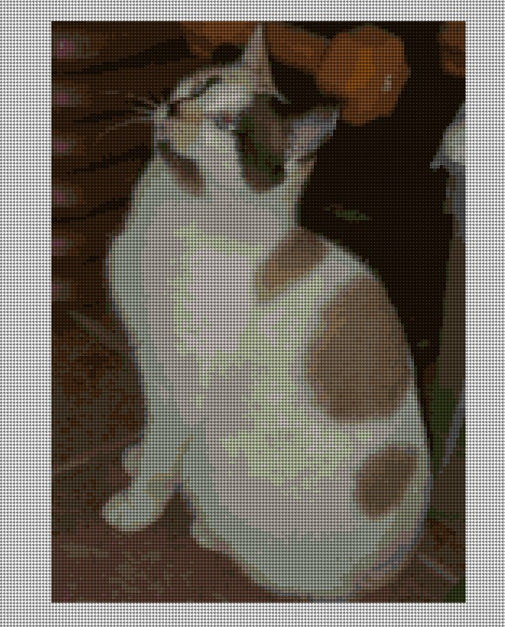
I worked with Susan Segalla a few months ago, to resize two of her photos of her kats (Josie and Tinker) to make into 12 x 12 needlepoint cat pillows.  She ordered two needlepoint canvases.  We discussed removing the background, but she thought it would be no problem for her to stitch over it.  See the image below, it was 10″ high, but we changed the “Advanced Settings” so the canvas would be 14 x 14.

The Cat's (Josie) Image on the Canvas

Advanced Canvas Options

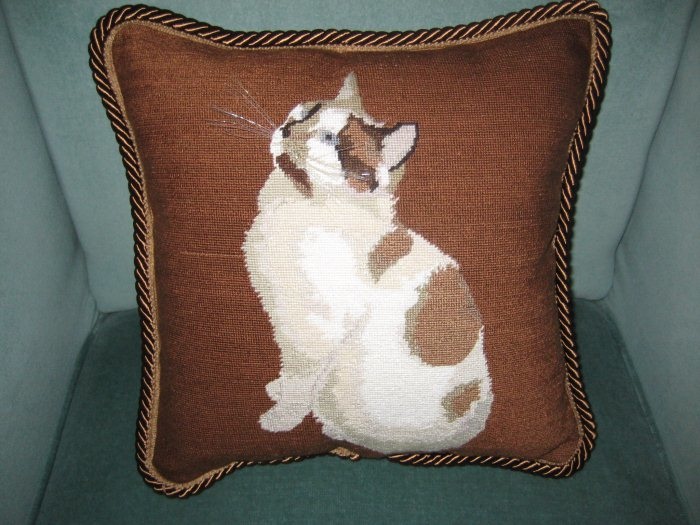
Look how great Susan’s pillow looks!  She found a great brown rope trim, and matching faux sweud backing, but the other thing I love are the whiskers!  She made them from paint brush bristles.  If you are looking to make a needlepoint pillow, Peggy wrote a blog about needlepoint pillows that would be good to read.

cat needlepoint pillow

Josie the Cat in Needlepoint

Do you have any good links for making pillow’s for other stitchers? Please add your links in the comments to this post!

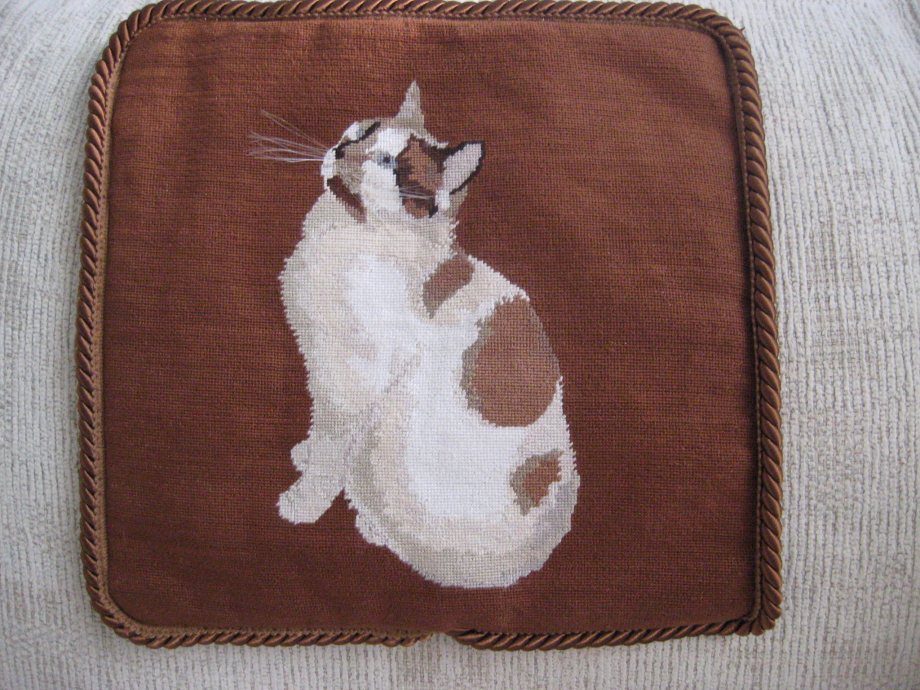
Cat Needlepoint Pillow

The finished Cat Needlepoint Pillow


Needlepoint Kindle Covers Revisted

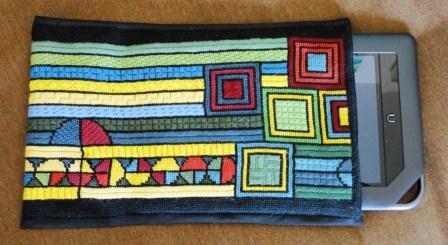
After finishing my first e book cover, I sat down with my Needlepaint partners to discuss design and construction. Assembling the first cover was not so simple as it could have been. Voila! We came up with a simple to assemble design which used the magnets in the Nook box as closures.

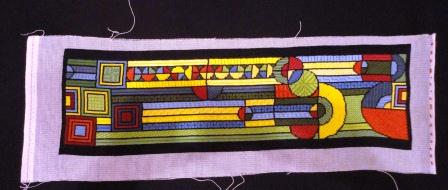
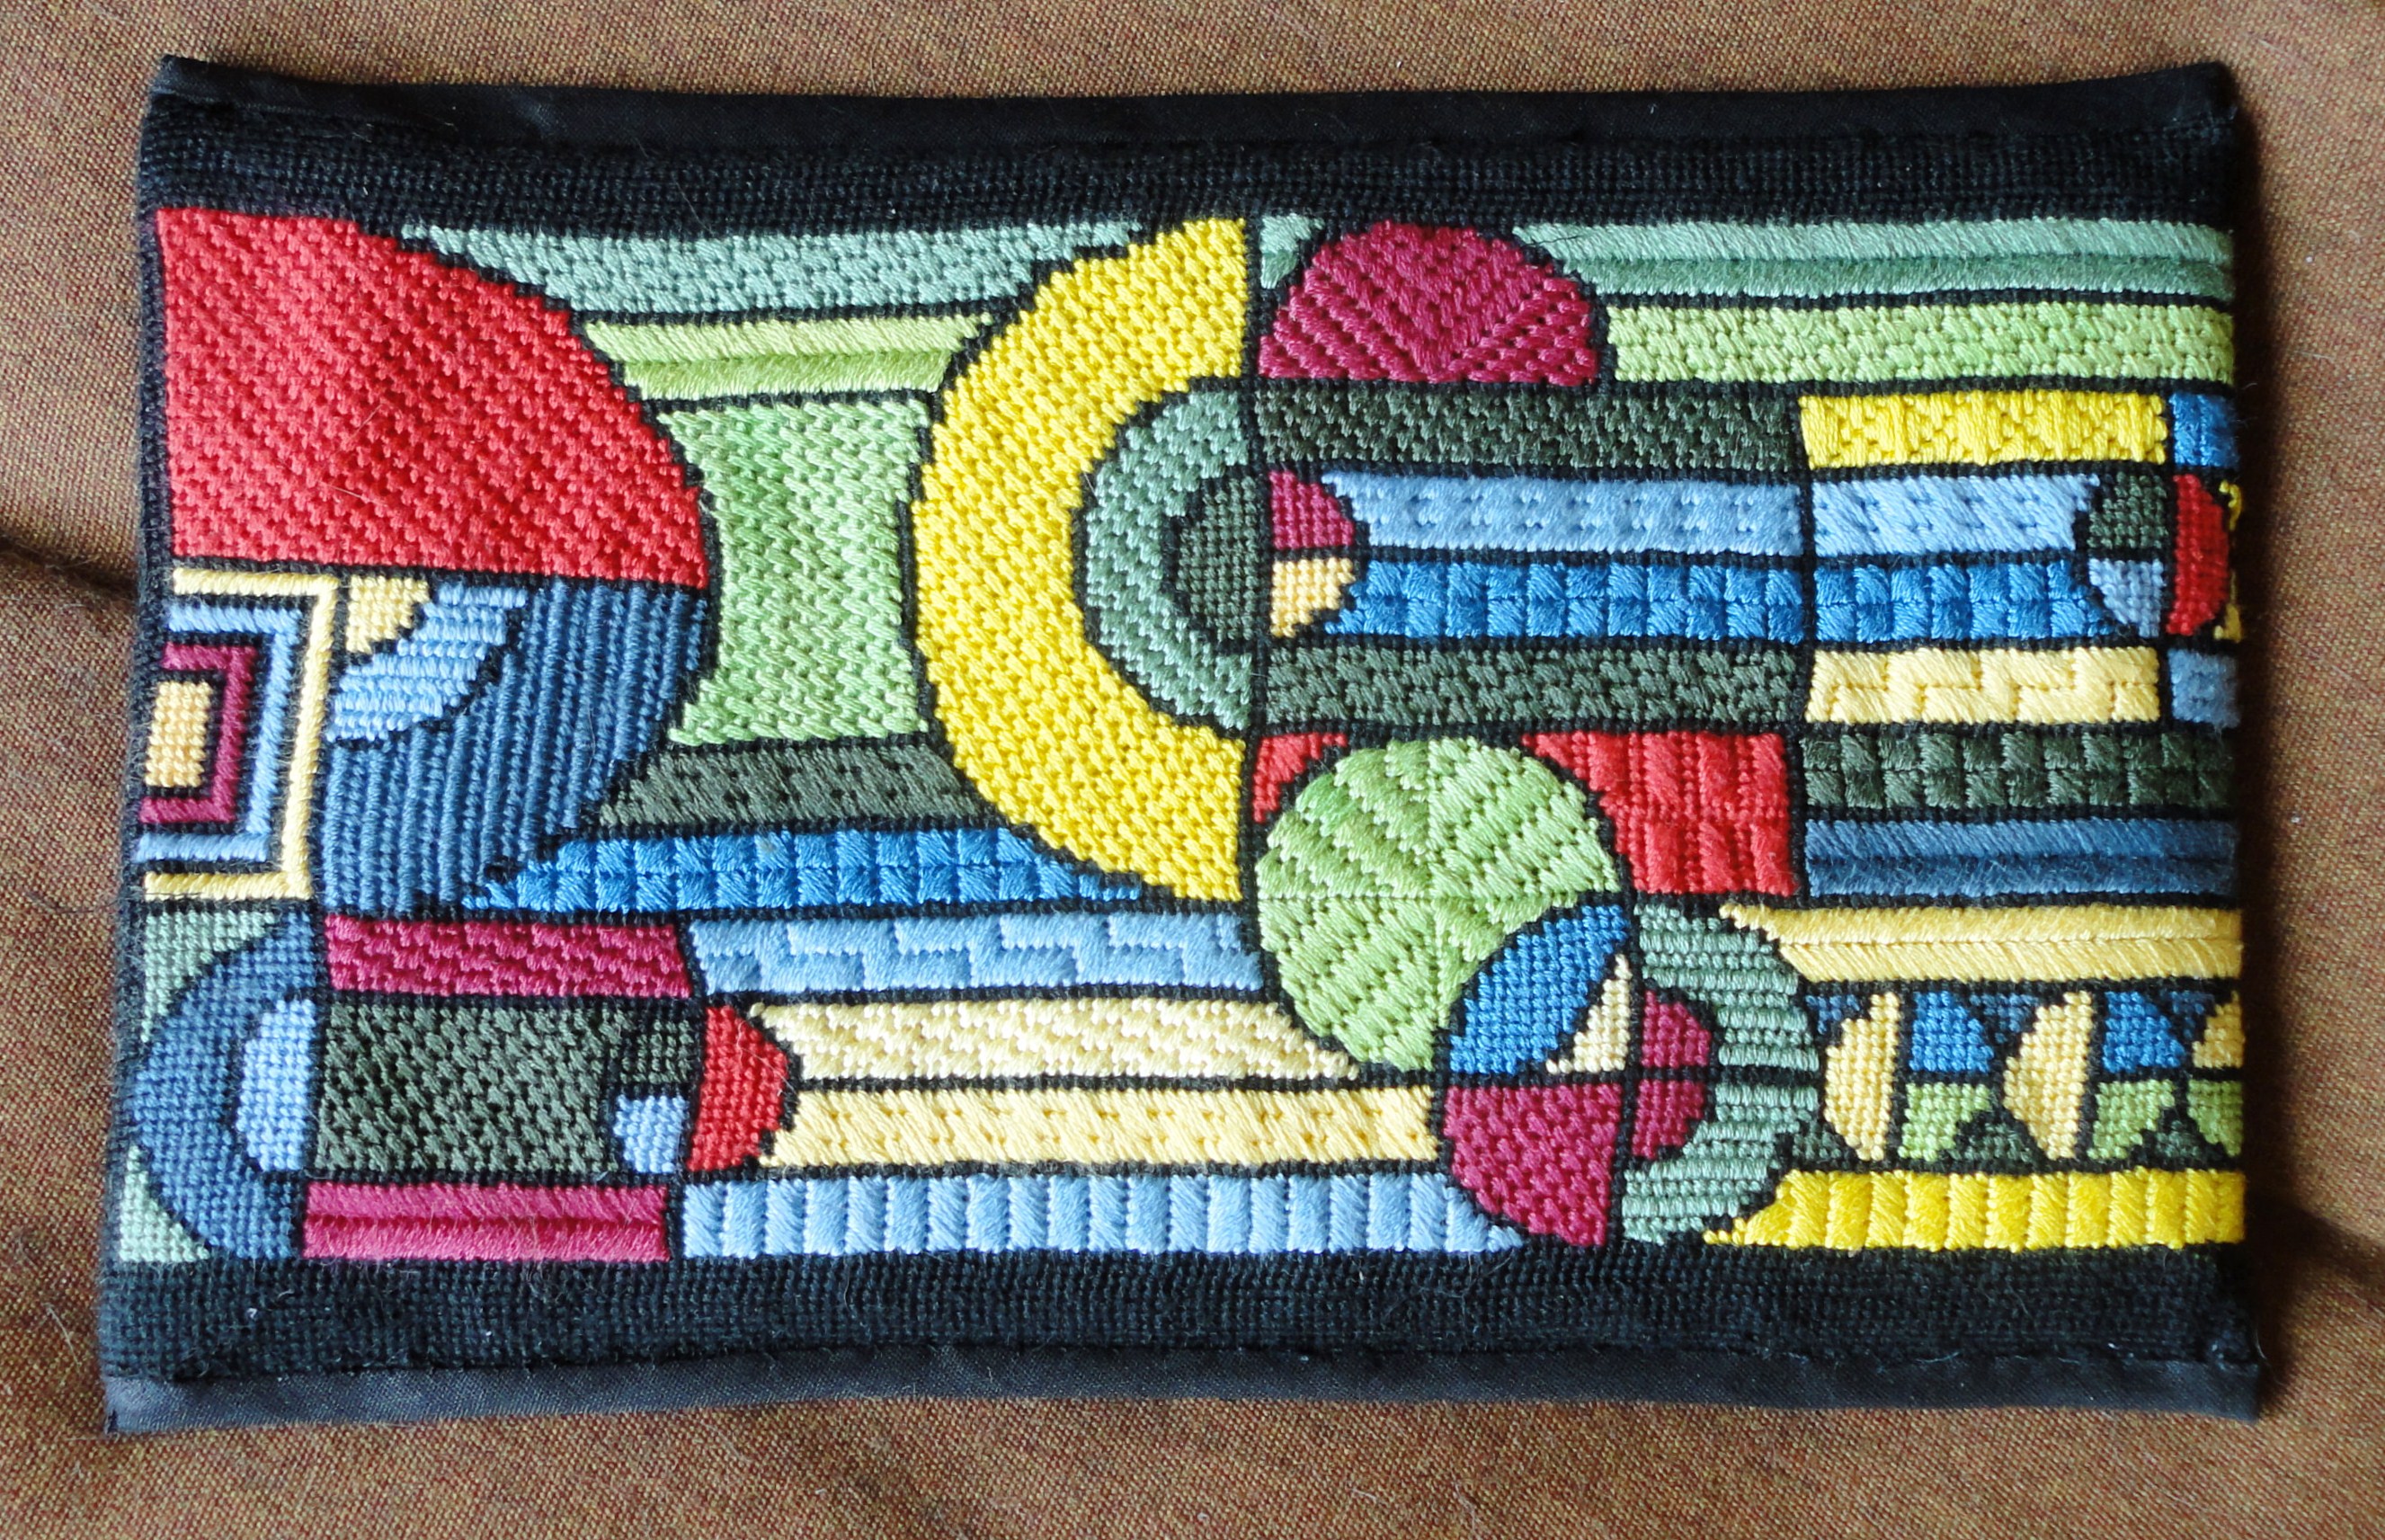
For this second Nook cover, the Needlepoint canvas was 5-1/2” by 18” designed by one of our partners and far more intricate than my previous. I had fun needlepointing this canvas as I could use lots of different stitches.

Needlepaint Design

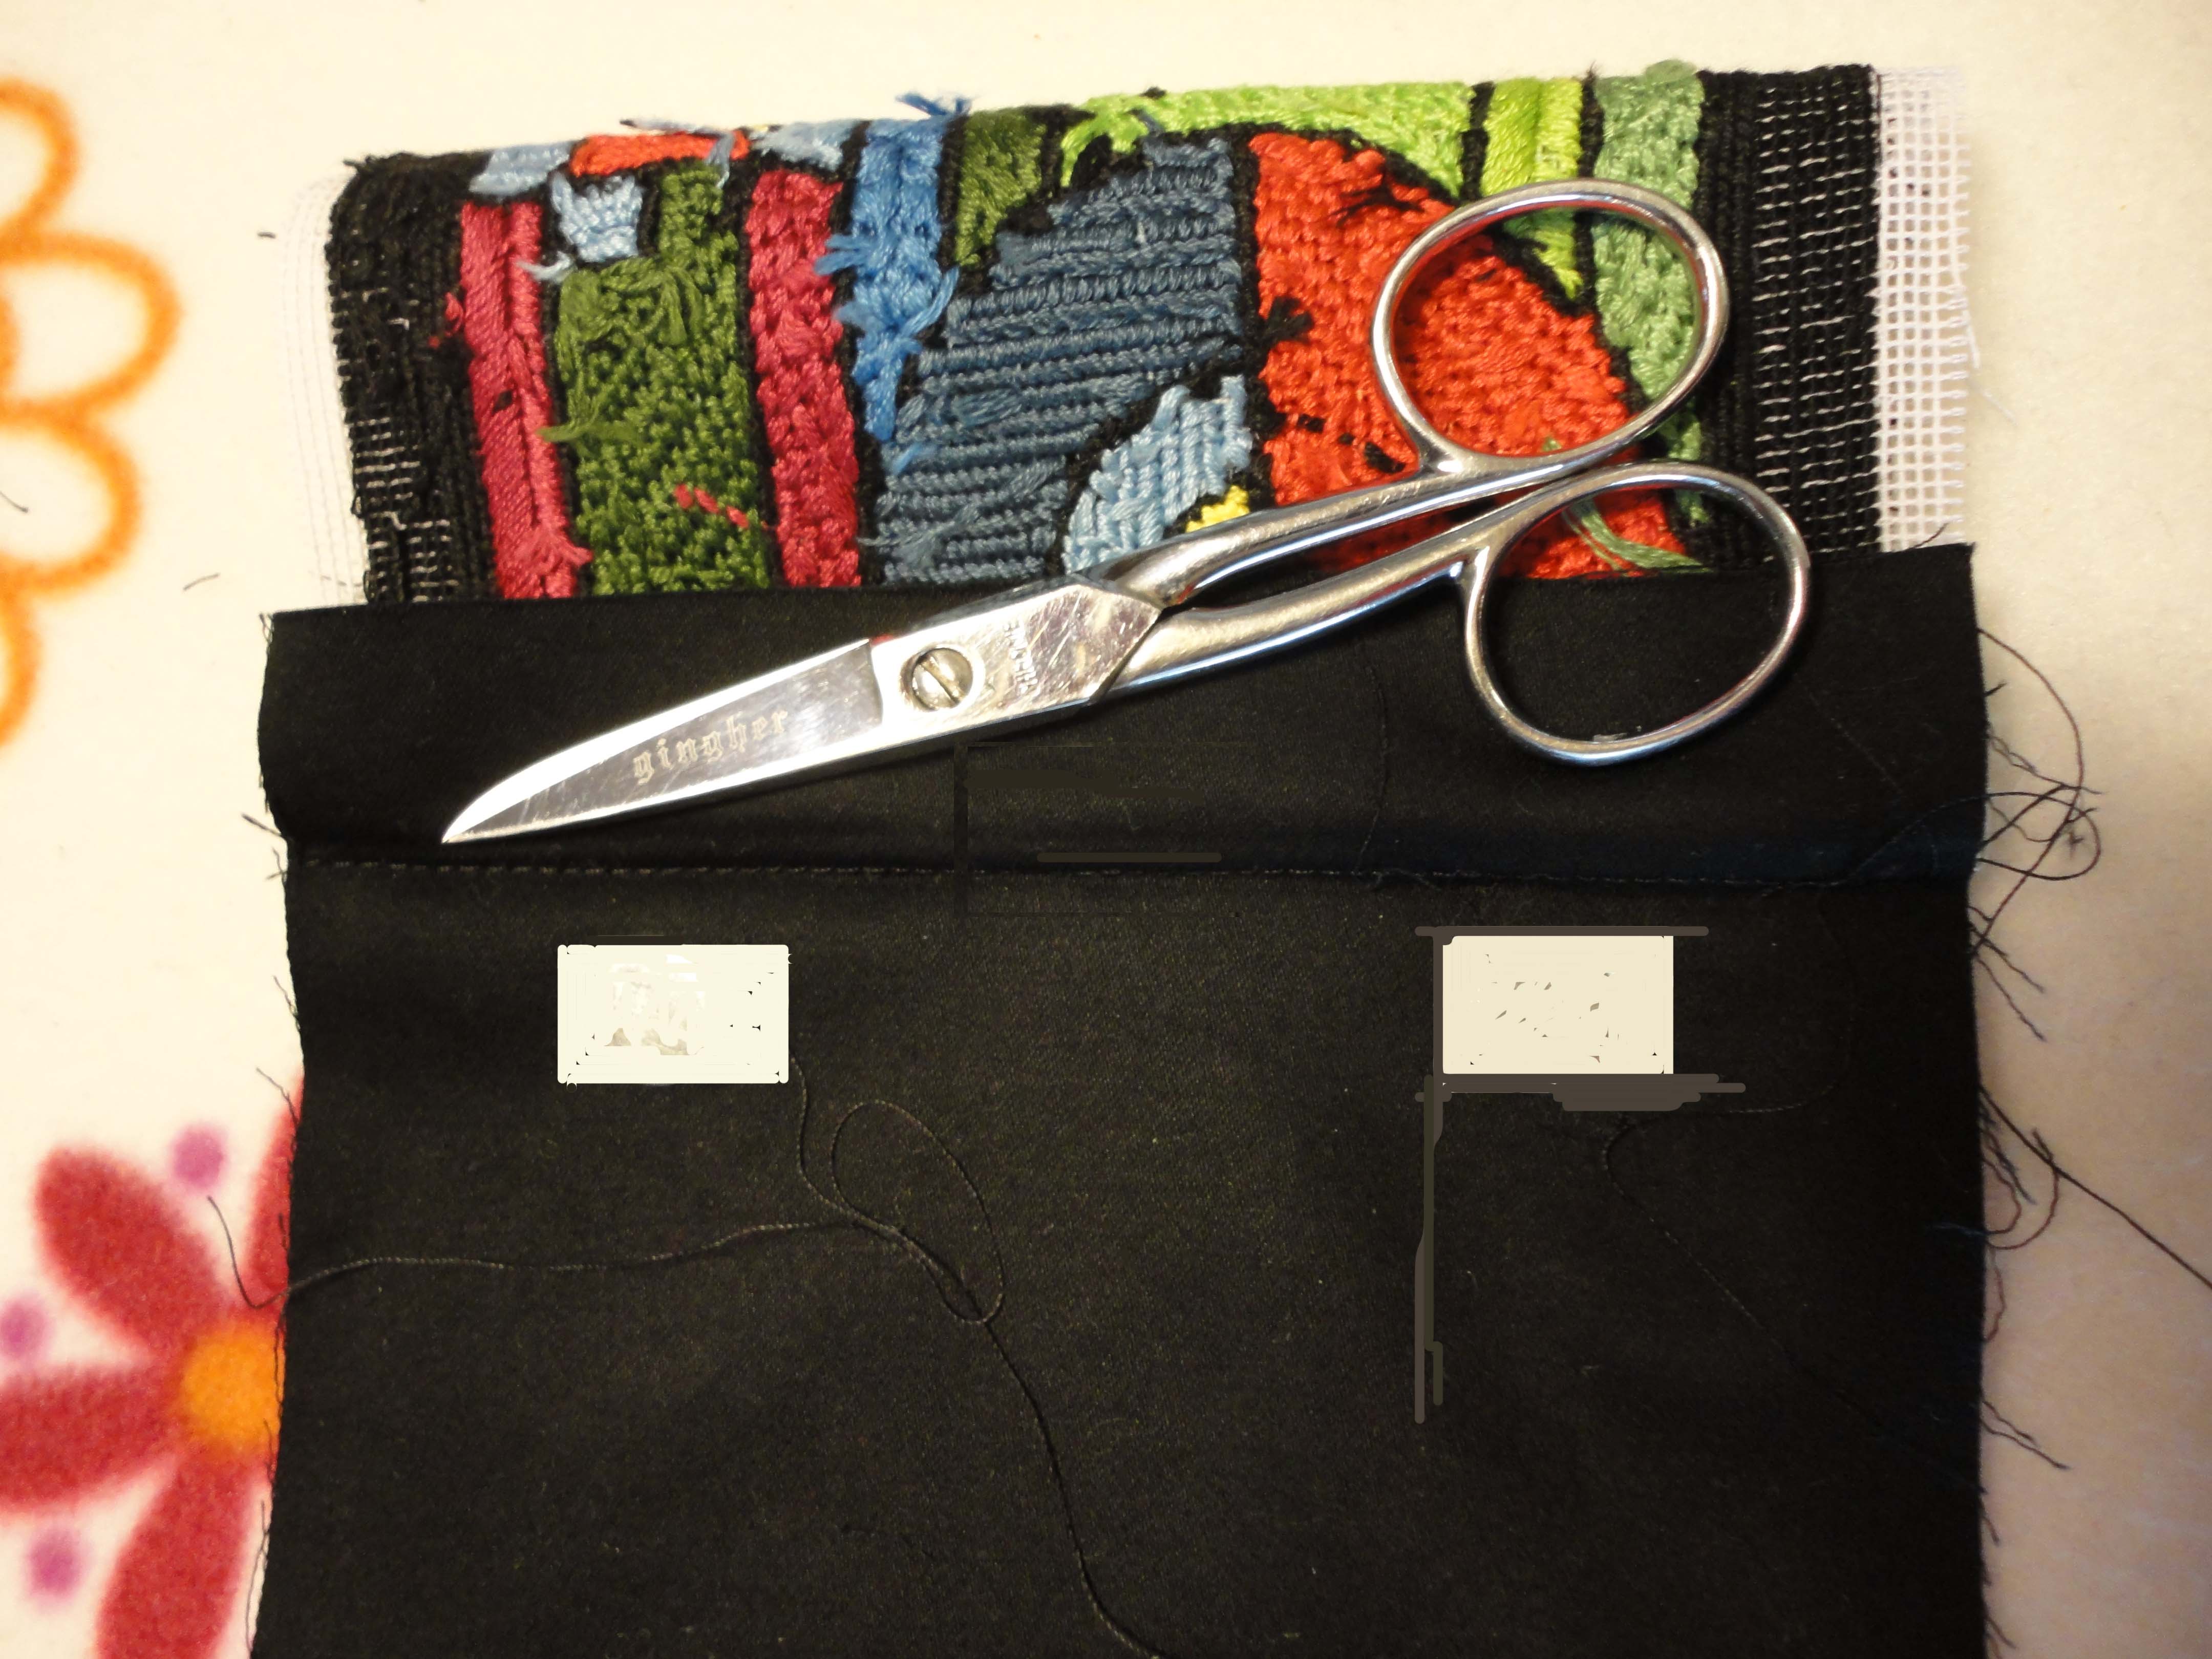
Once stitched and blocked, I cut the black cotton lining material to 6-1/2” by 20”, which includes a ½” seam allowance on the sides and a 1” allowance on the ends.

Lining template

With right sides together, sew the lining and needlepoint canvas together along last row of thread. This should leave an approximate 1” seam allowance on the lining. Trim canvas to ½” , turn, and fold along seam line. Place magnets as shown on template above and stitch around each to hold them in place.

Magnet Placement

With magnets in place and work turned to right side, sew side seams along finished end of the canvas. Trim to ¼” and bind with matching bias tape.


Finished Cover Side1


Finished Cover Side2


There are many variations which one could make to this sleek cover:

  • Replace the bias tape with a fancy braid — my suggestion which was overruled by my Needlepaint partner who will be using the cover.
  • Add handle which my 93-year old mother is convinced is essential.
  • Eliminate the bias binding by making the Needlepaint canvas 1/2″ wider. Fold canvas in half width-wise with wrong side showing. Sew side seams, trim to 1/4″, and turn. Repeat for lining, but do not turn. Fold lining over 1″ to the outside and place magnet or other closure option. Insert lining into Needlepaint cover and sew linig to canvas.

If your e-reader is not a Nook and you don’t have magnets, the closure could also be made with Velcro which is available in several different colors and as self-adhesive or sew-on varieties.

Create your own custom needlepoint cover at NeedlePaint.com !

Making Embroidery Floss Stitch Evenly in Needlepoint

6 Strand Embroidery Floss

We recently had an issue with 6 strand cotton embroidery floss that I think others may find helpful.

A customer told me that they felt the embroidery floss we supply with our needlepoint kits was ‘messy’.  After doing some research (they called the shop owner a Phoenix Needlepoint) they found that if you pull apart the 6 strands, then run them back together in a strait line that the stitches are much neater.

I’ve not heard this before, but I checked with Peggy, and she mentioned that she does something similar.

“After I cut the thread to a 12-15 inch length, I always run it through my fingers to get any twists out of it. This makes it lay flat and even.”

“The other issue might be the direction in which she is doing the stitch. You want whenever possible to bring your thread from the back to the front in a hole that does not already have thread in it…then you go from front to back into the hole with thread. If you come from the back in a hole with thread there is drag on your thread which can cause irregularity.”

Custom Dog NeedlePoint Pillow Canvases

We were a big hit at an office recently.  One of our customers told people in their office about NeedlePaint and our custom needlepoint canvases

Within 3 days, we had 3 dog pillow needlepoint canvases under way!

We all agreed that 12.25″ x 12.25″ will make a good size pillow, and the pillow forms are easily available at JoAnn Fabrics or Michaels.

From there, we stuck to 14 point mesh since it will be faster to stitch on this size canvas.  And then the fun started…

I was thinking that it would be cool just to put the dog’s profile on the pillow and remove the background (this will be faster to stitch, too).  We also added borders as to frame the image, and this was a big hit!
In the end, we had three completely different designs!

#1.  The original image and original background, with a double border
#2.  The dog’s face, with name below the face
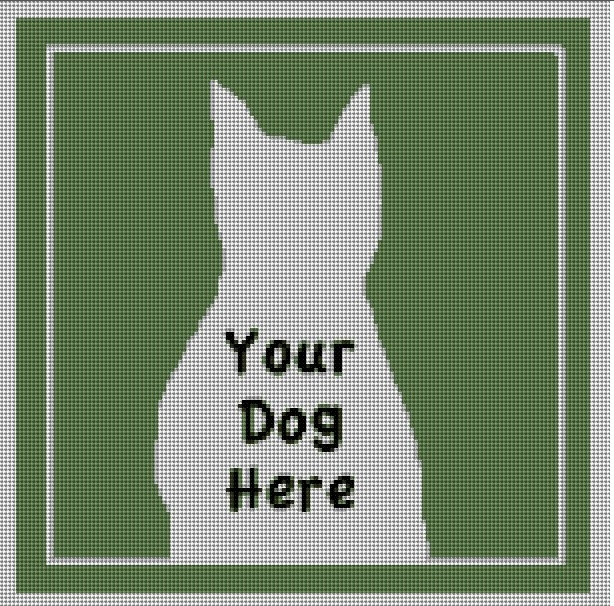
#3.  The dog’s profile, with a simple border and green background

#3. The dog profile with a simple border and background ( original image removed)

They all are special, and it was fun.  I have designed another fun background and will be happy to do more, just email me your ideas!

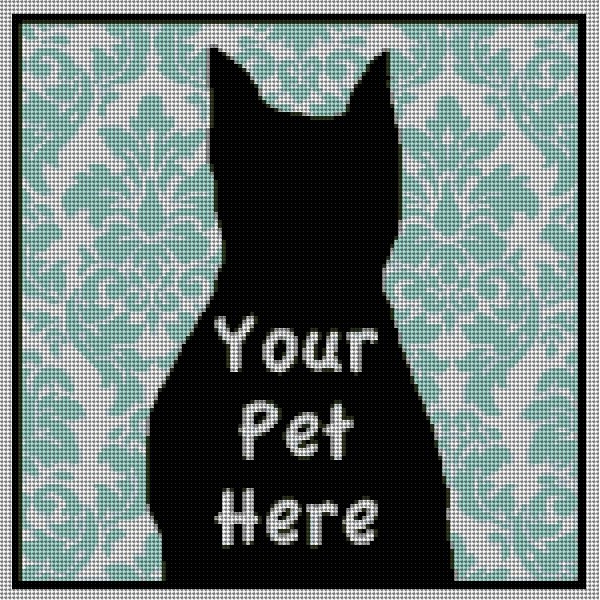
A fun deisgn for a black dog!

All three needlepoint canvases are under way right now, so we are waiting for images, but I’m guessing it will be a few more months.  One of the needlepointers just emailed me an image of their last kit we made for them!

***We are now showing designs on Etsy!  Check out our designs at our NeedlePoint Shop.

How to Needlepoint The Ring Bearer Pillow

I’ve made a custom needlepoint kit for my wedding!  It came out well, you can see the preview of the stitched canvas I uploaded last week.  The letters were a bit fuzzy, but after looking at the canvas, these will be easy to do.

Custom Ring Bearer Pillow Stitched Preview

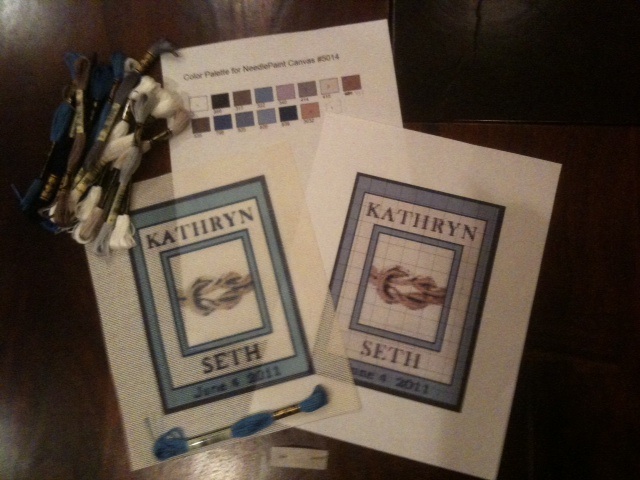
The NeedlePaint needlepoint kits include all the floss, stitch guide, and needle.

Ring Bearer Needlepoint Kit

So, where does a beginner start?  I’ve been wanting to learn needlepoint, and this is a great reason to start.  What I’ve found are some great instructional pages and videos!

I started at About Needlepoint and came across Susan Battle’s how to needlepoint videos.  The videos are a much easier starting place for me, as Peggy is out of town, and I don’t have anybody to walk me through counted stitch guides.

The continental stitch will be perfect for doing all the sides and boarders, so I’ll start there and update the blog with as much helpful information for beginners or people who have not stitched in a long while.

Needlepoint Ring Bearer Pillow

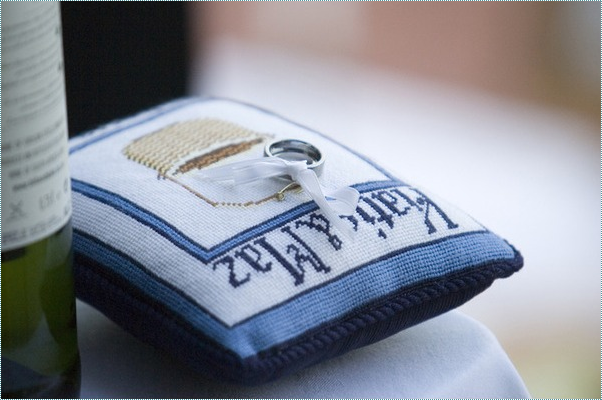
My fiancé was looking at pictures at stylemepretty.com to get ideas for our wedding this summer and came across an amazing needlepoint pillow!

Ring Bearer Pillow

Ring Bearer Pillow

I love the idea of a ring bearer pillow, so I have gotten to work on designing our own custom needlepoint kits to make a pillow for the wedding.  I don’t want the pillow to be too large, so we’ll need to work on a way be sure that our names fit.

This also got me thinking that these are great wedding gifts!  Once I get project underway, I’d love to help more people design ring bearer pillows.  I’m also working out how people who would like to give the gift, but don’t have the time to make it themselves, could buy a finished pillow.  I’m hoping to find somebody in Colorado…

The size I’m making is 5” x 7”, which we plan to leave in the house as decoration.  A 10 x 10 will also be fine, and may be more practical, but I want something a little smaller for my nephew.  You can see the preview of my design below, after I uploaded it to Needlepaint!

Custom Ring Bearer Pillow

I had to adjust some things, and I’m a sailor, so I put in a square knot, but I’m excited about this!  I’ll upload images as the project continues…