‘Tis the Season for Needlepoint Christmas Ornaments
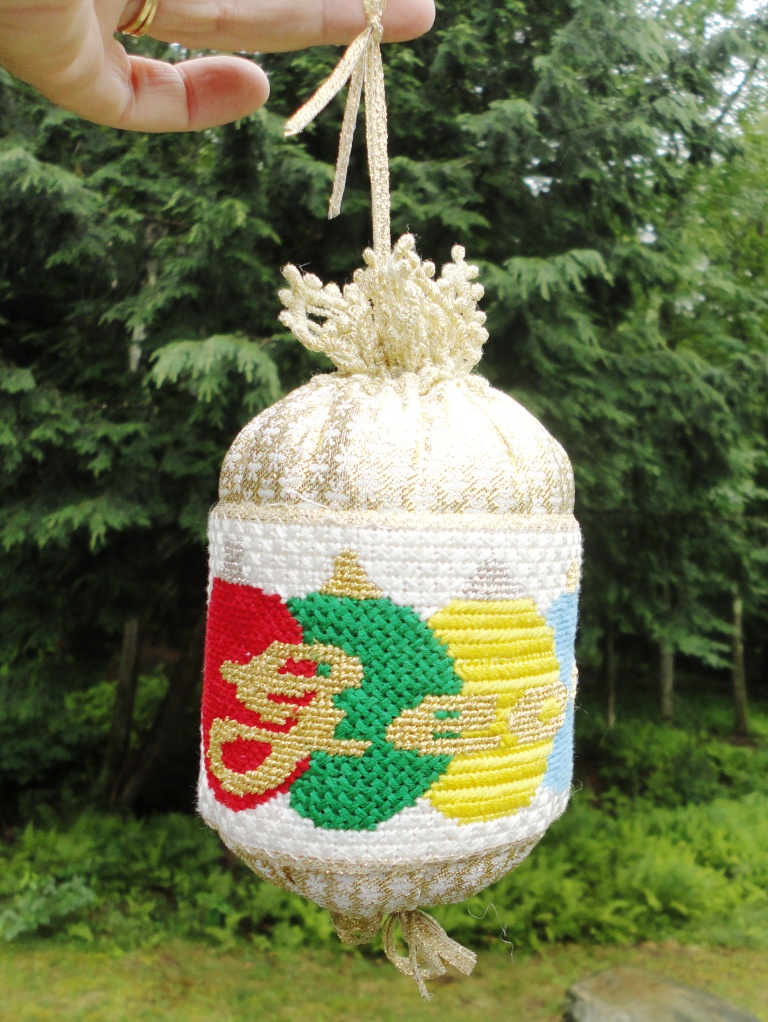
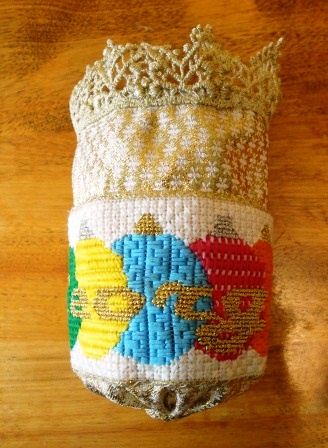
Christmas is still 4 months away, but it is never too early to begin that special needlepoint gift – a personalized needlepoint Christmas ornament. My new design was inspired by metallic threads and a shimmering gold fabric I saw at JoAnn’s.
The needlepoint canvas section is a 2.5 x 10 inch band to done in a variety of stiches selected from one of my favorite reference books, Jo Ippolito Christensen’s The Needlepoint Book.

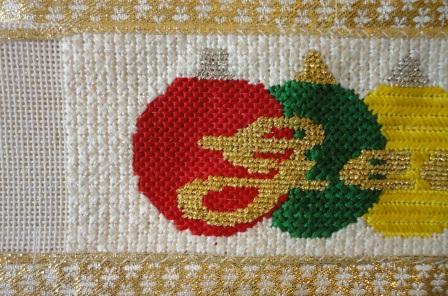
- Red ornament – horizontal brick stitch
- Green ornament – diagonal plait stitch
- Yellow ornament – slanted Gobelin variation
- Light blue ornament – vertical beaty
- Pink ornament – Parisian stripe with 2 shades of pink
- Orange ornament – Byzantine stitch
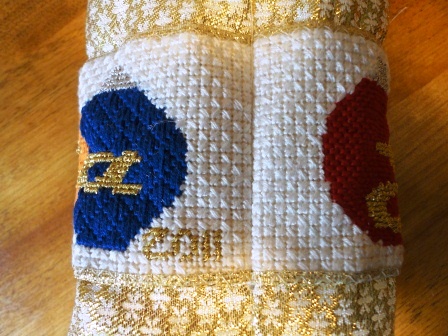
- Dark blue ornament – pavilion diamonds
- Background – reversed mosaic
- Lettering and ornament tops – continental stitch
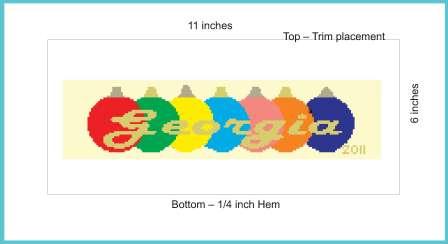
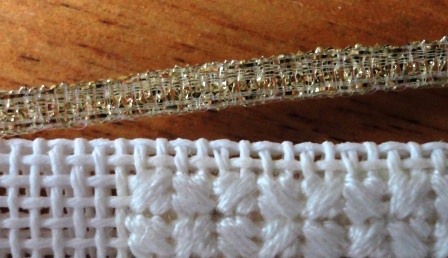
The finished canvas is sewn onto a 6 x 11 inch piece of fabric. (Layout is shown below.) Trim the canvas, leaving a ½ inch edge and fold under as shown below. I got carried away with trim and used a 1/8- inch gold ribbon. (If you don’t use a narrow ribbon for trim, the canvas should be bound as described in my blog on Needlepoint Napkin Rings.)
Sew narrow hem at bottom of the fabric and place trim at top. (Optionally the top can be finished with a narrow hem.) With right sides together sew the 6-inch edges of the ornament together along the end of the worked needlepoint. Trim seam to ¼ inch and turn.
Gather the bottom tightly to close and stuff the ornament with a polyester fill or other light weight filler.
Gather top, attach a hanger, and a bow at the bottom. Your Christmas ornament is ready to hang for 2011 and for many more holiday seasons to come!


Recent Comments