Official blog of www.NeedlePaint.com
where you can design your own Needlepoint!

NeedlePoint Kits and Canvas Designs | Design your own Needlepoint Kit!

Posts tagged ‘needlepoint ornaments’

The Four Hour Needlepoint Ornament

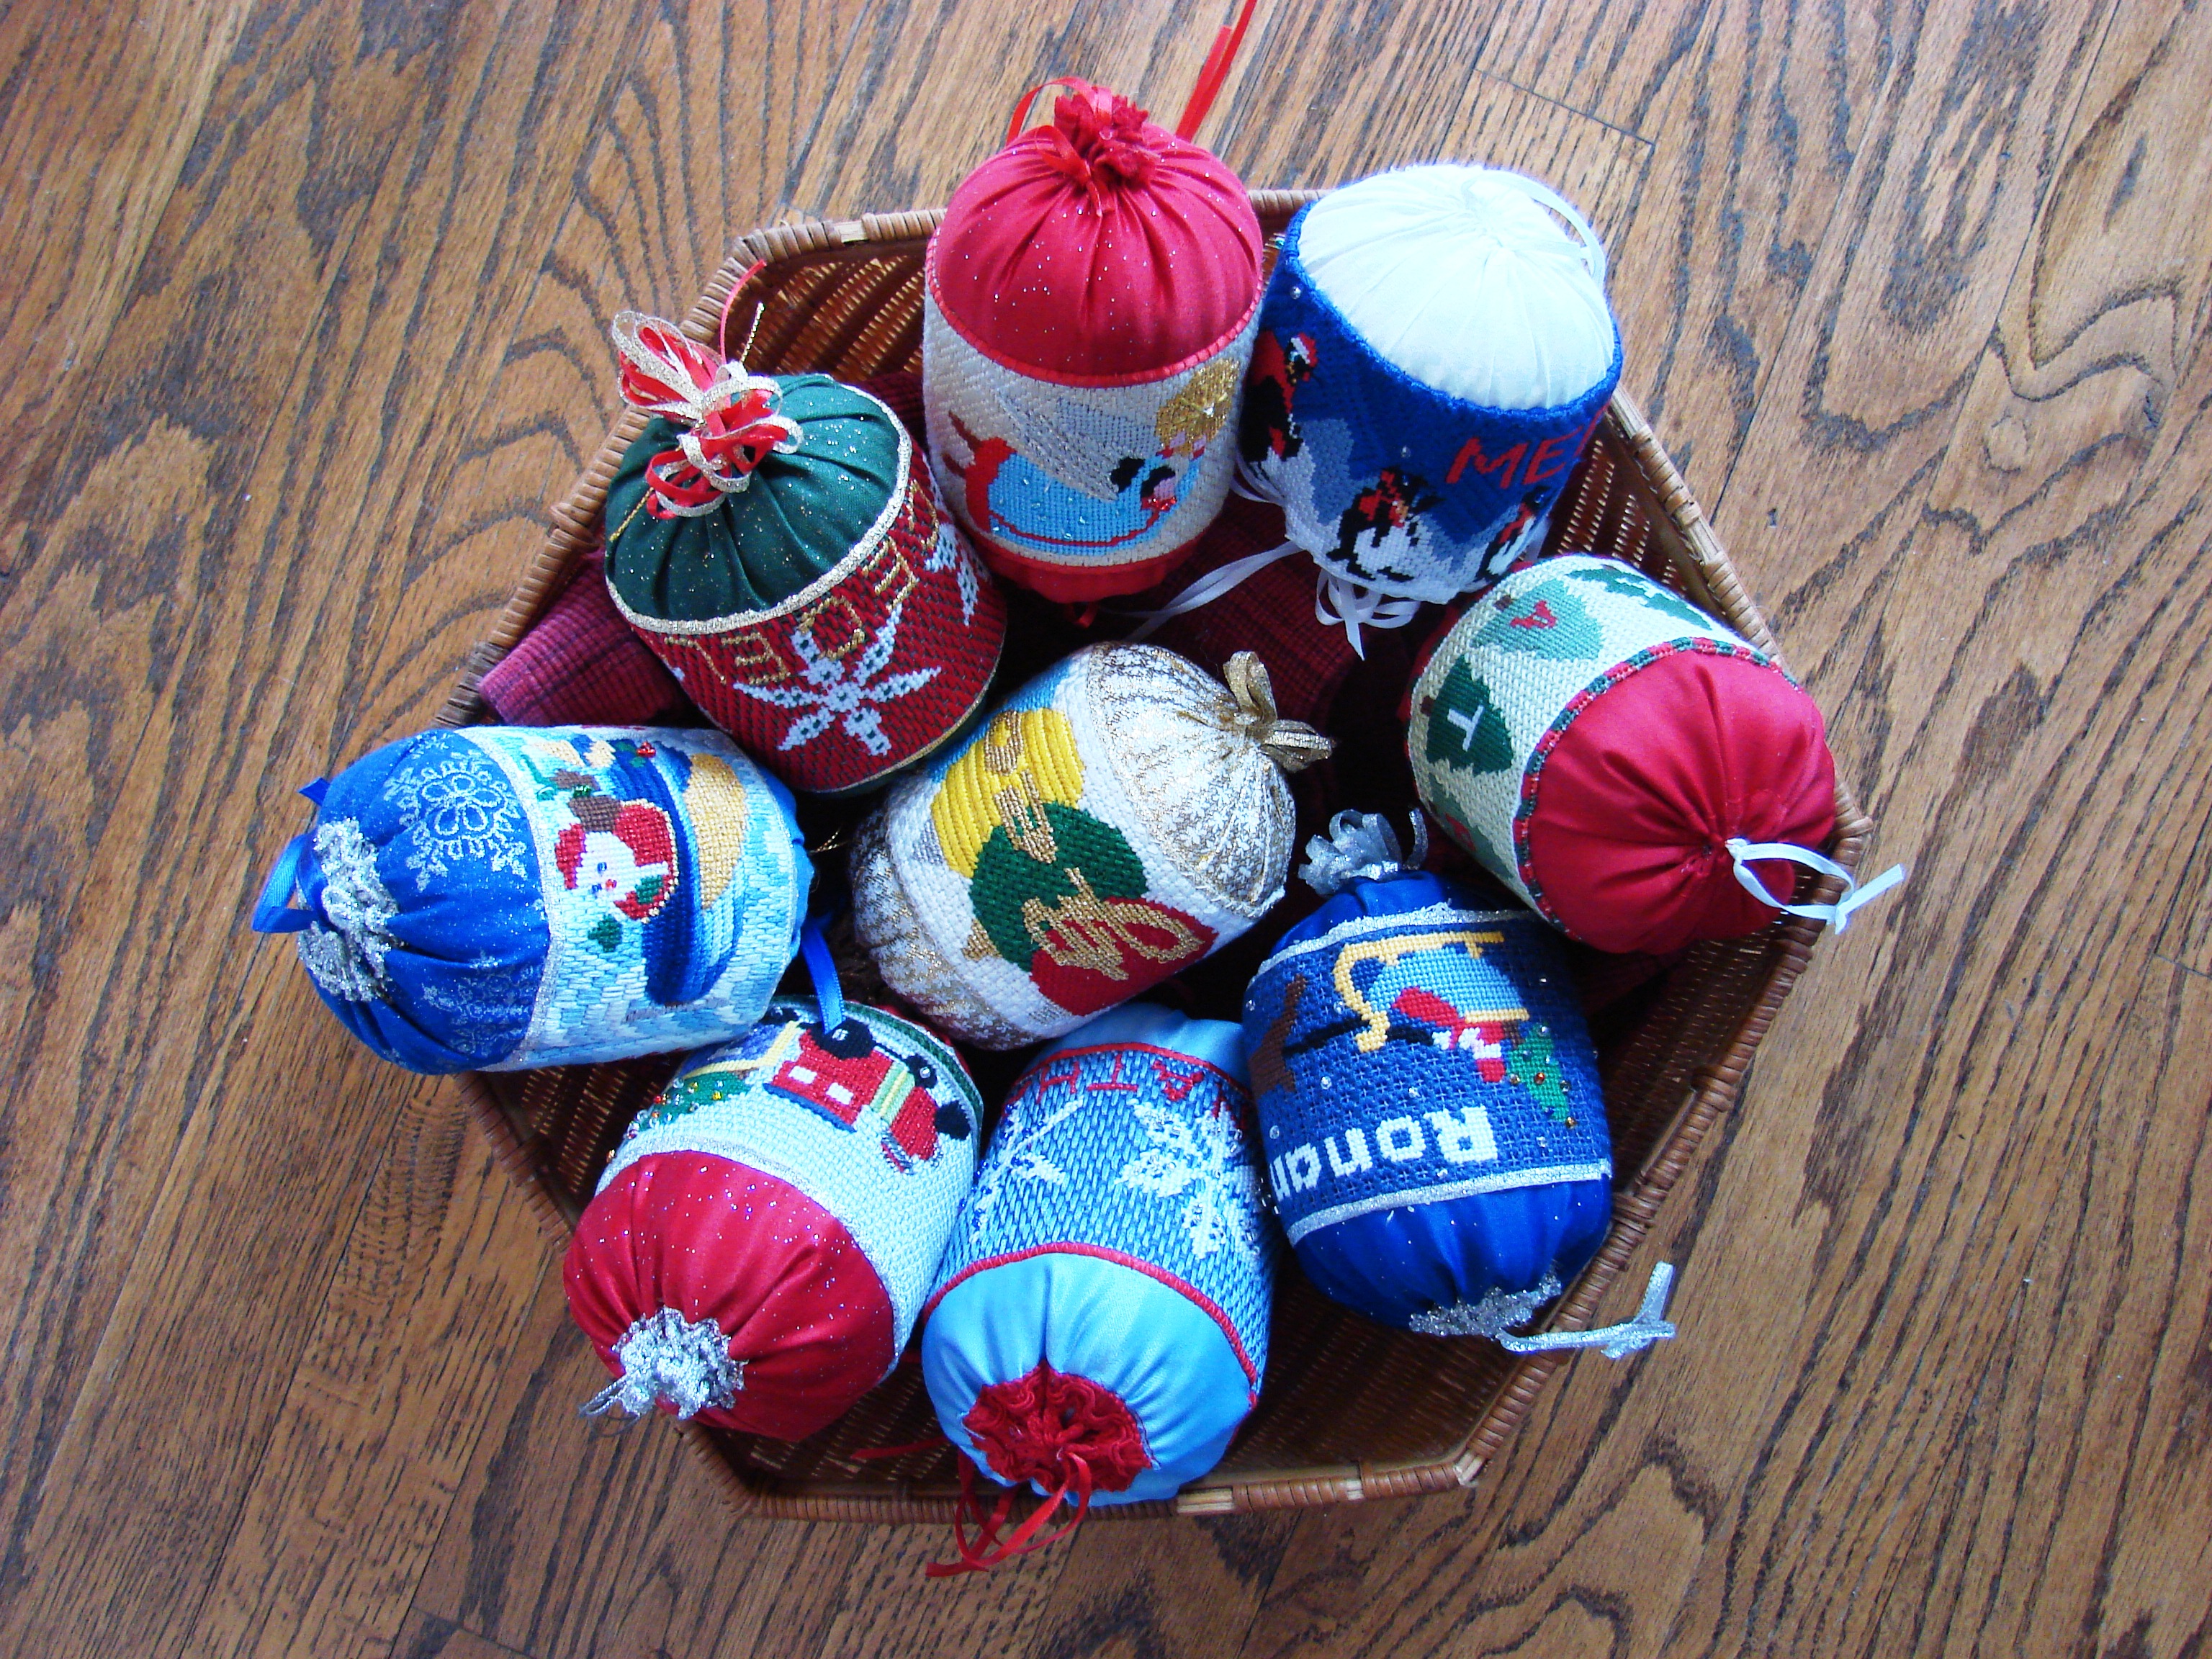
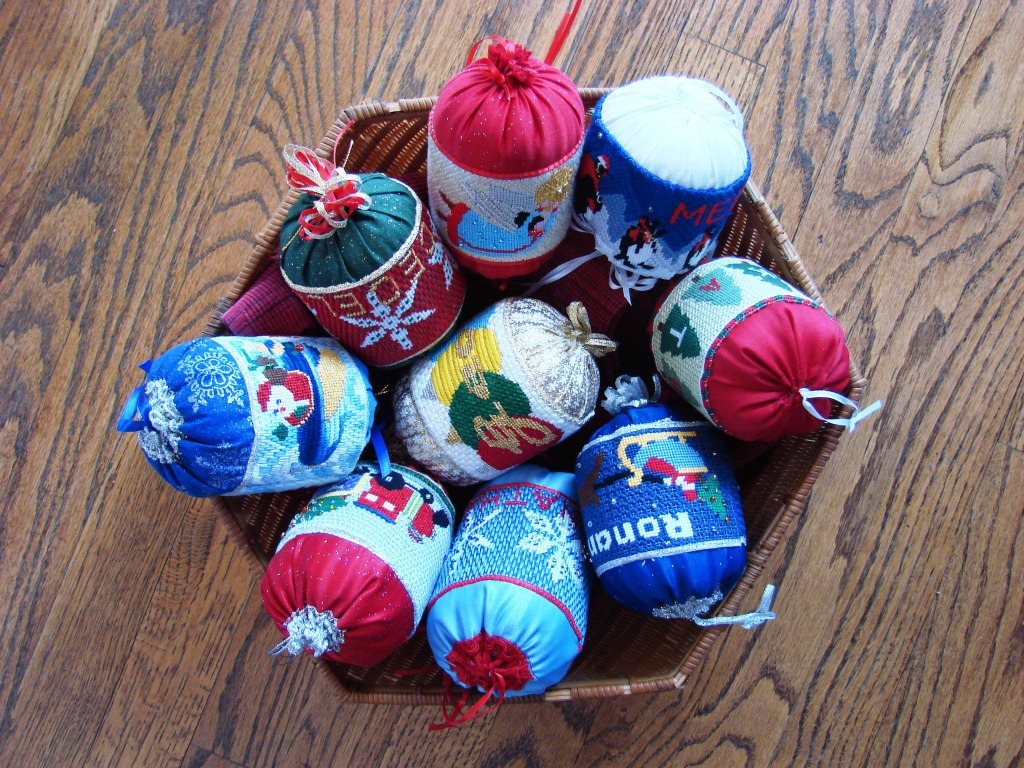
With less than a month to do to Christmas, I was getting challenged to finish my goal of 9 personalized needlepoint ornaments. I needed to cut dramatically the time it took to needlepoint the ornaments. Could I do one in 4 hours?

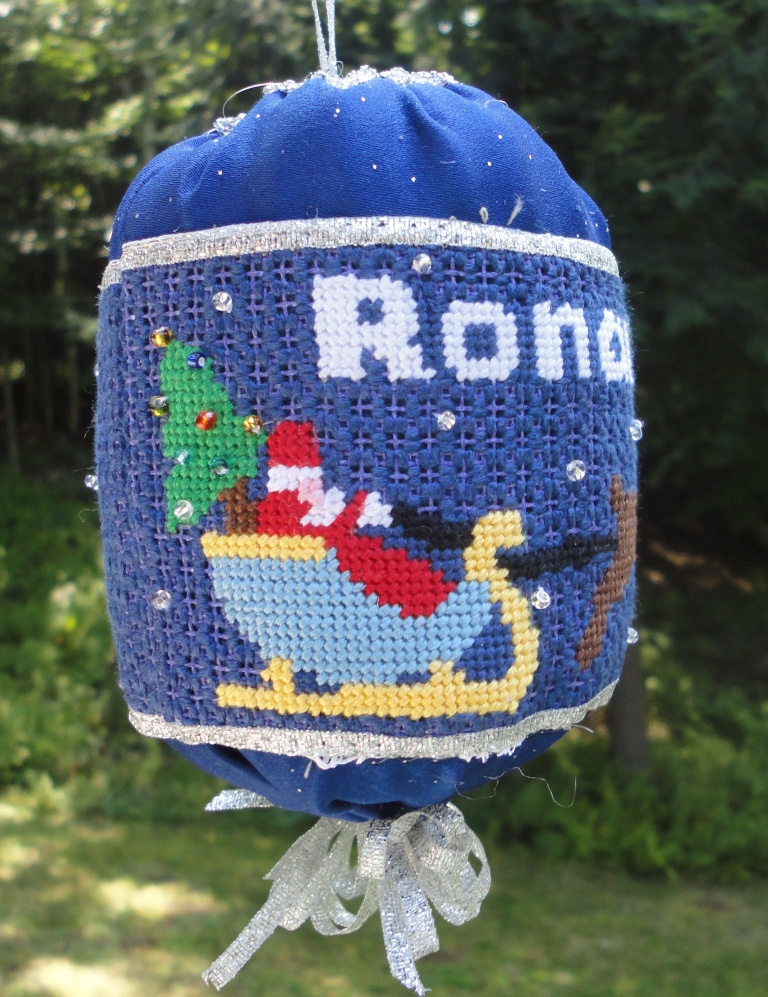
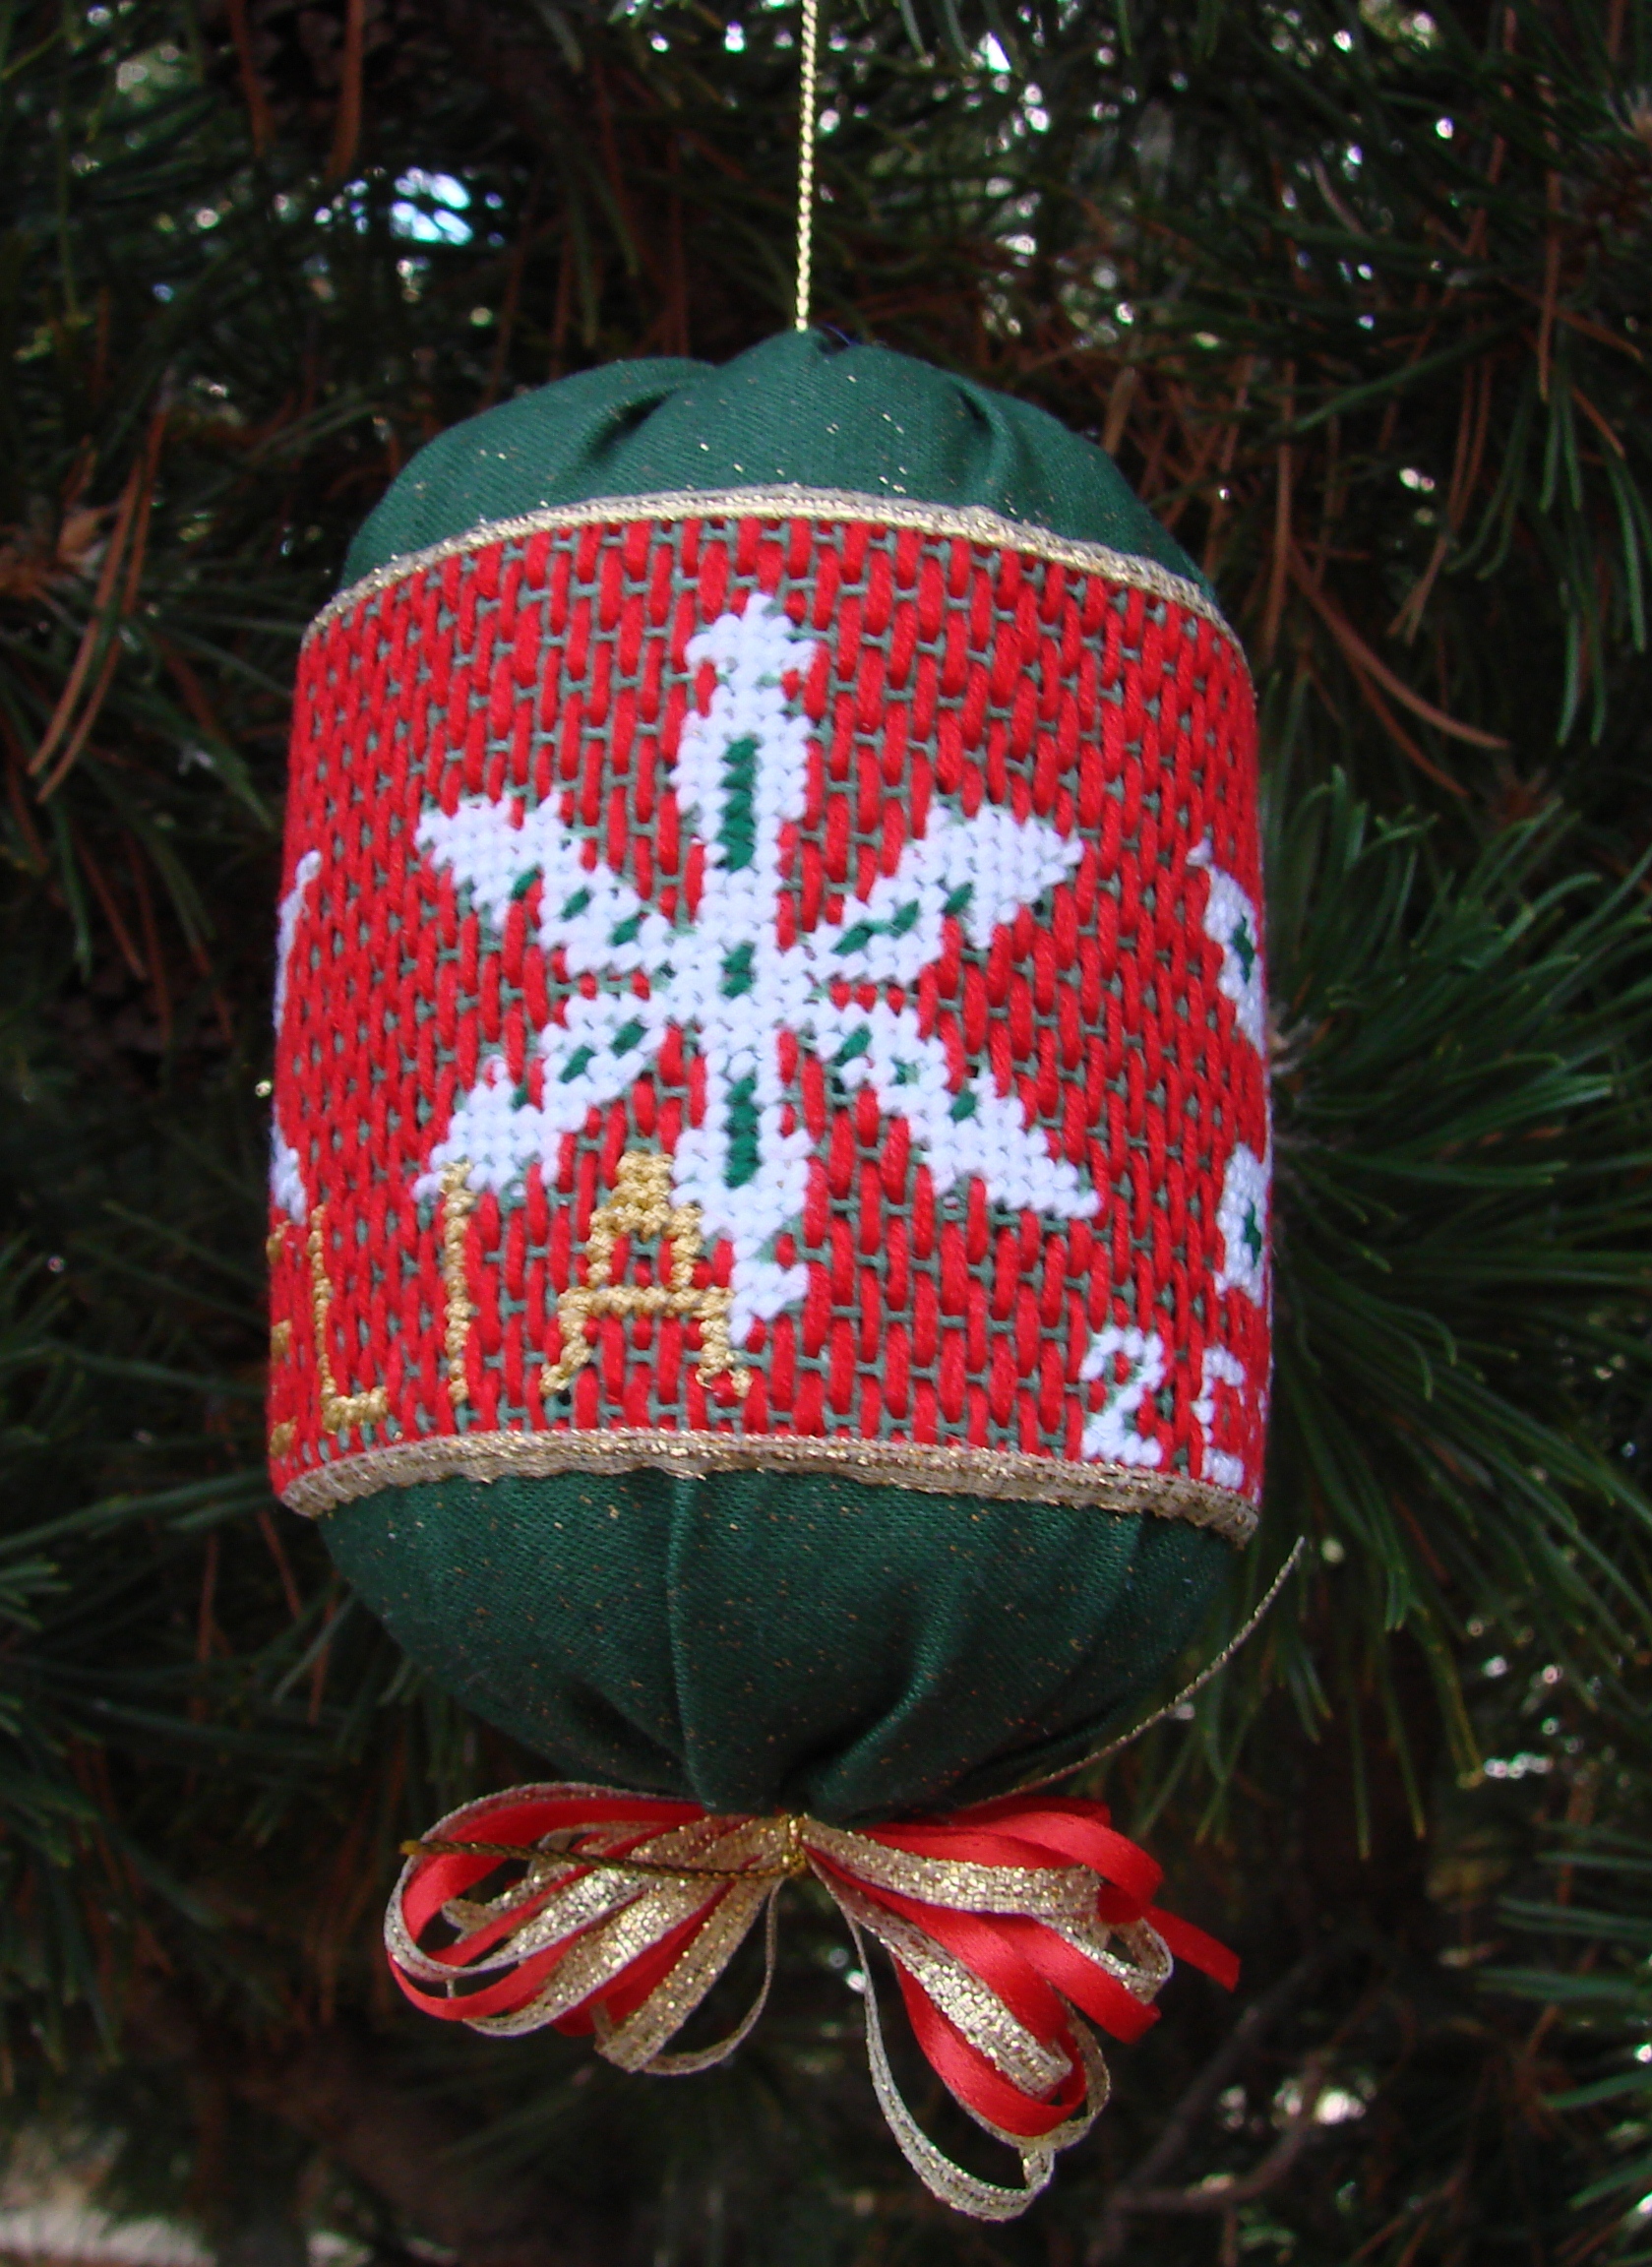
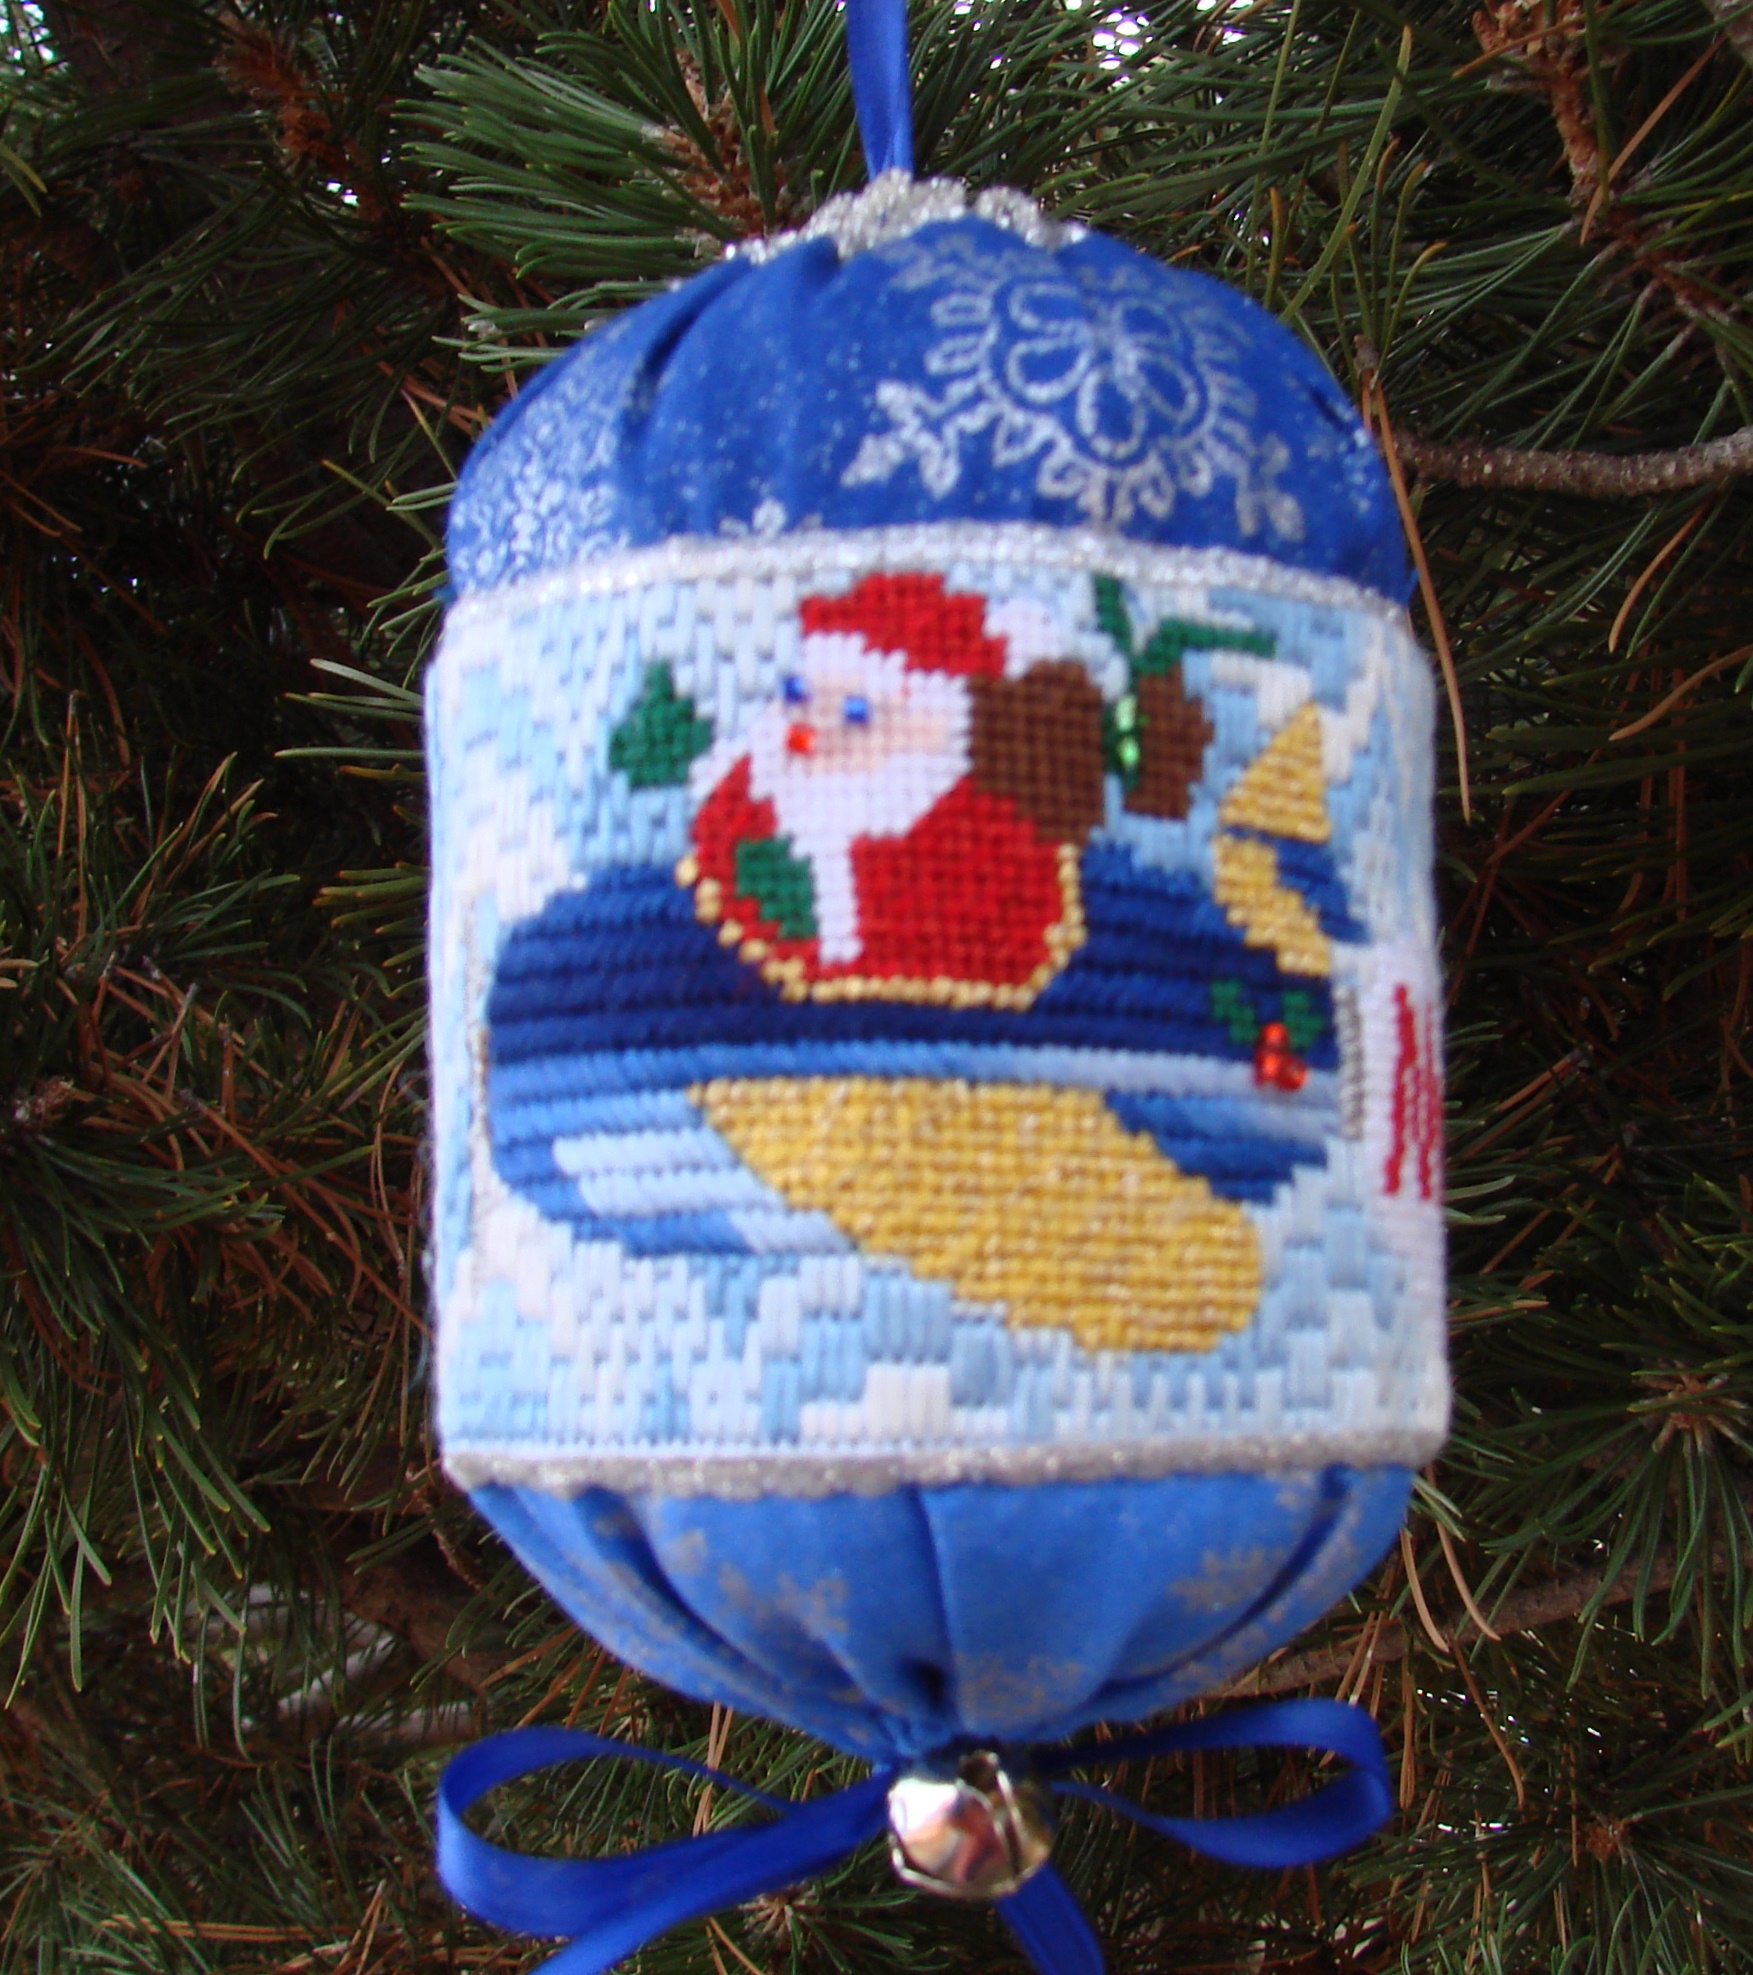
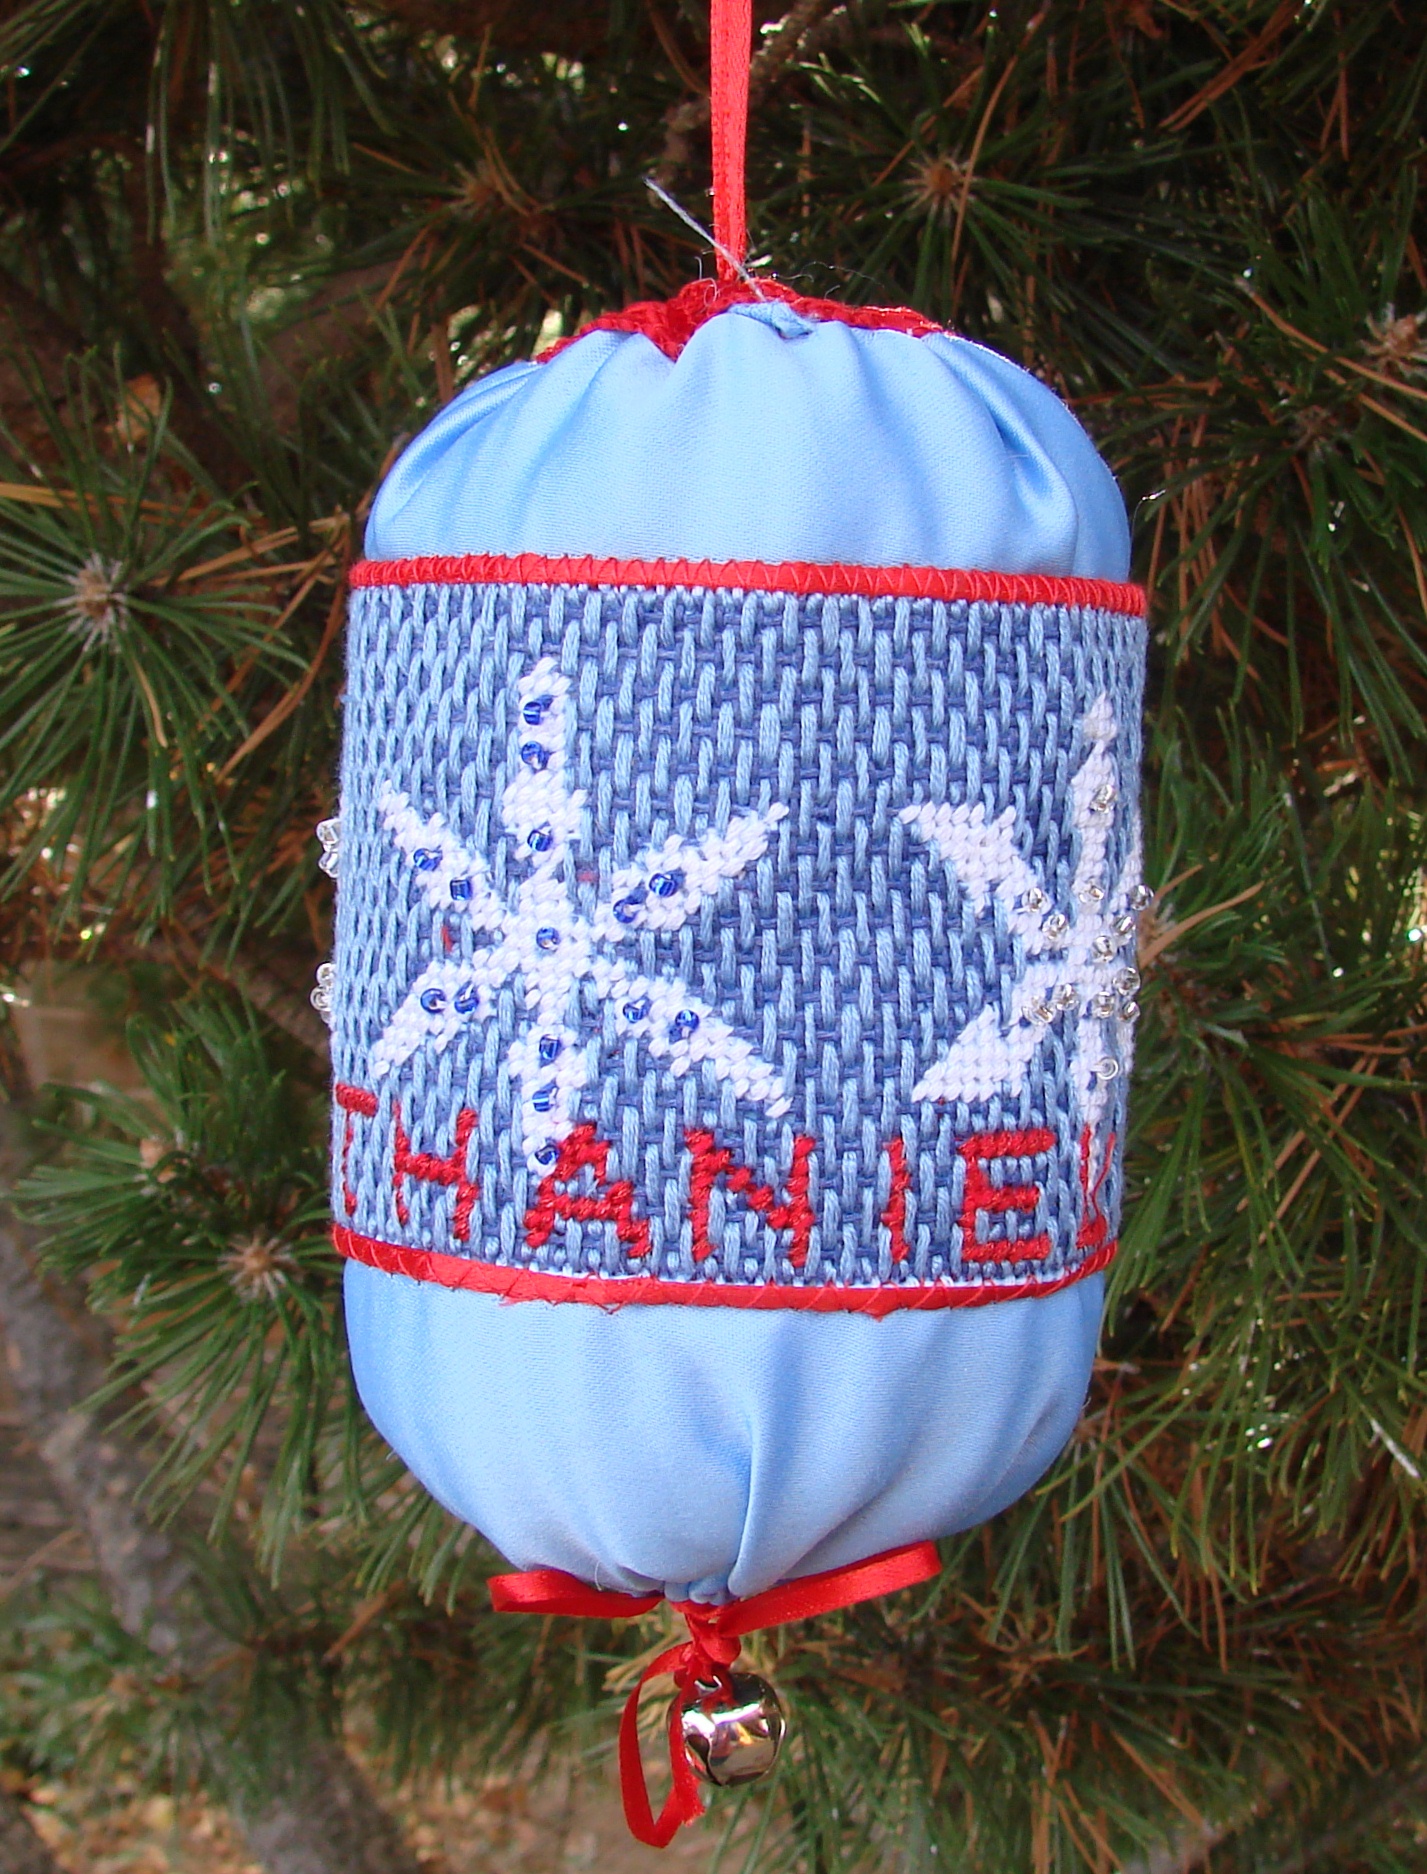
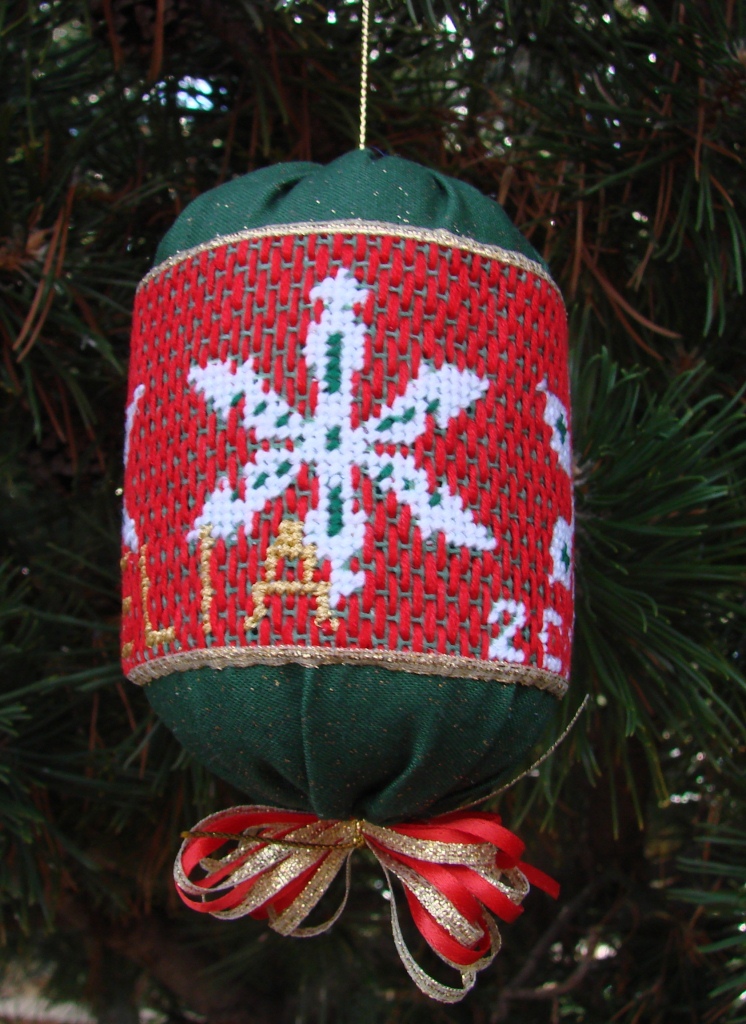
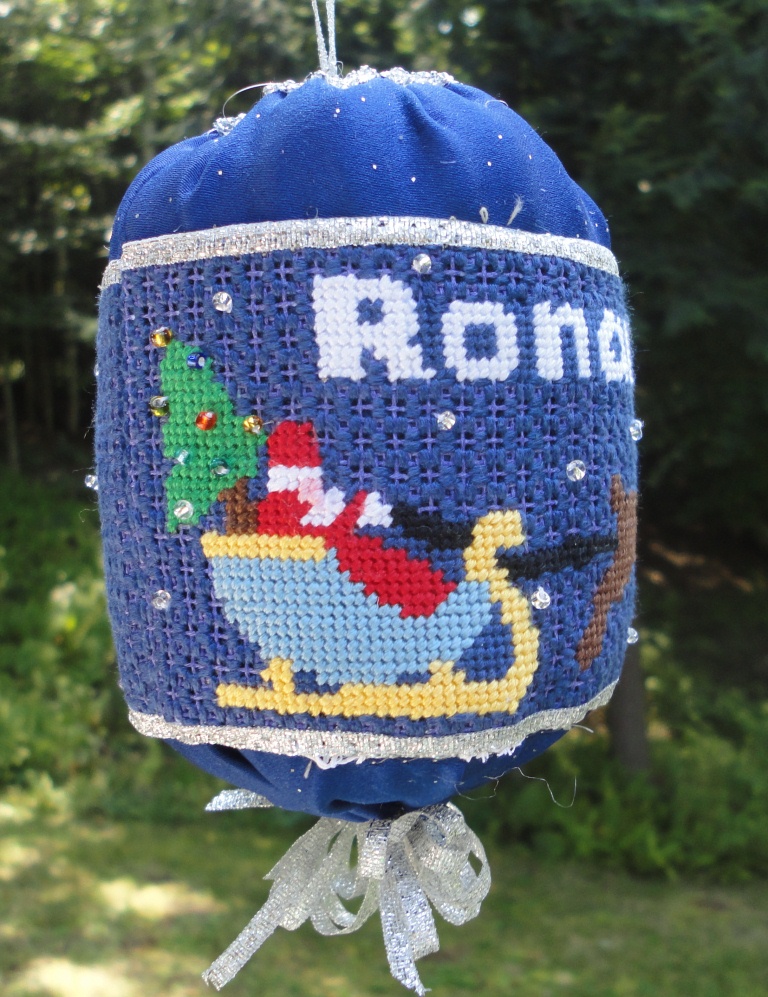
Looking at the needlepoint design choices, I selected the Snowflake Design — not too complex and only 3 colors, but there is a lot of background. If I were to meet my 4-hour goal, I had to come up with something even quicker than the open work I did on Santa in his sleigh .

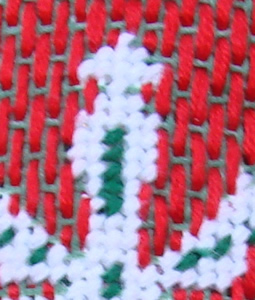
To the drawing board — the custom needlepoint canvas has a rich dark green background so why cover it up? Add red running stitches in alternating columns of over 3 rows and under one. It looked great and added a new dimensions to the otherwise plain background.

And, canvas on stretcher, I headed off to my flight from Denver to Boston — 3.5 hours. When I landed in Boston, I had finished all but 2 square inches of the background. It only took me another 15 minutes to finish up when I got time at my destination and then another 20 minutes to sew it onto the green fabric stuff it and tie it up. Success!!!

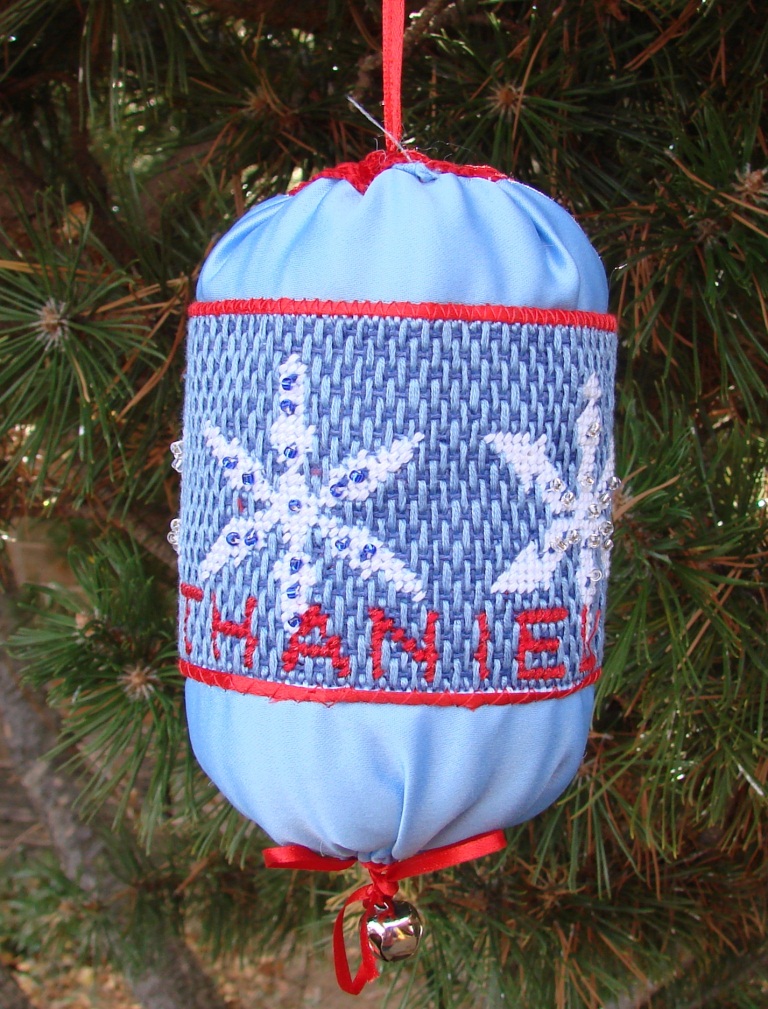
As you can see, I used the same technique on the blue snowflake ornament with light blue on the dark blue background.

Thanksgiving is not here and I am done with the ornament!!

Personalized Needlepoint Christmas Stocking Shop

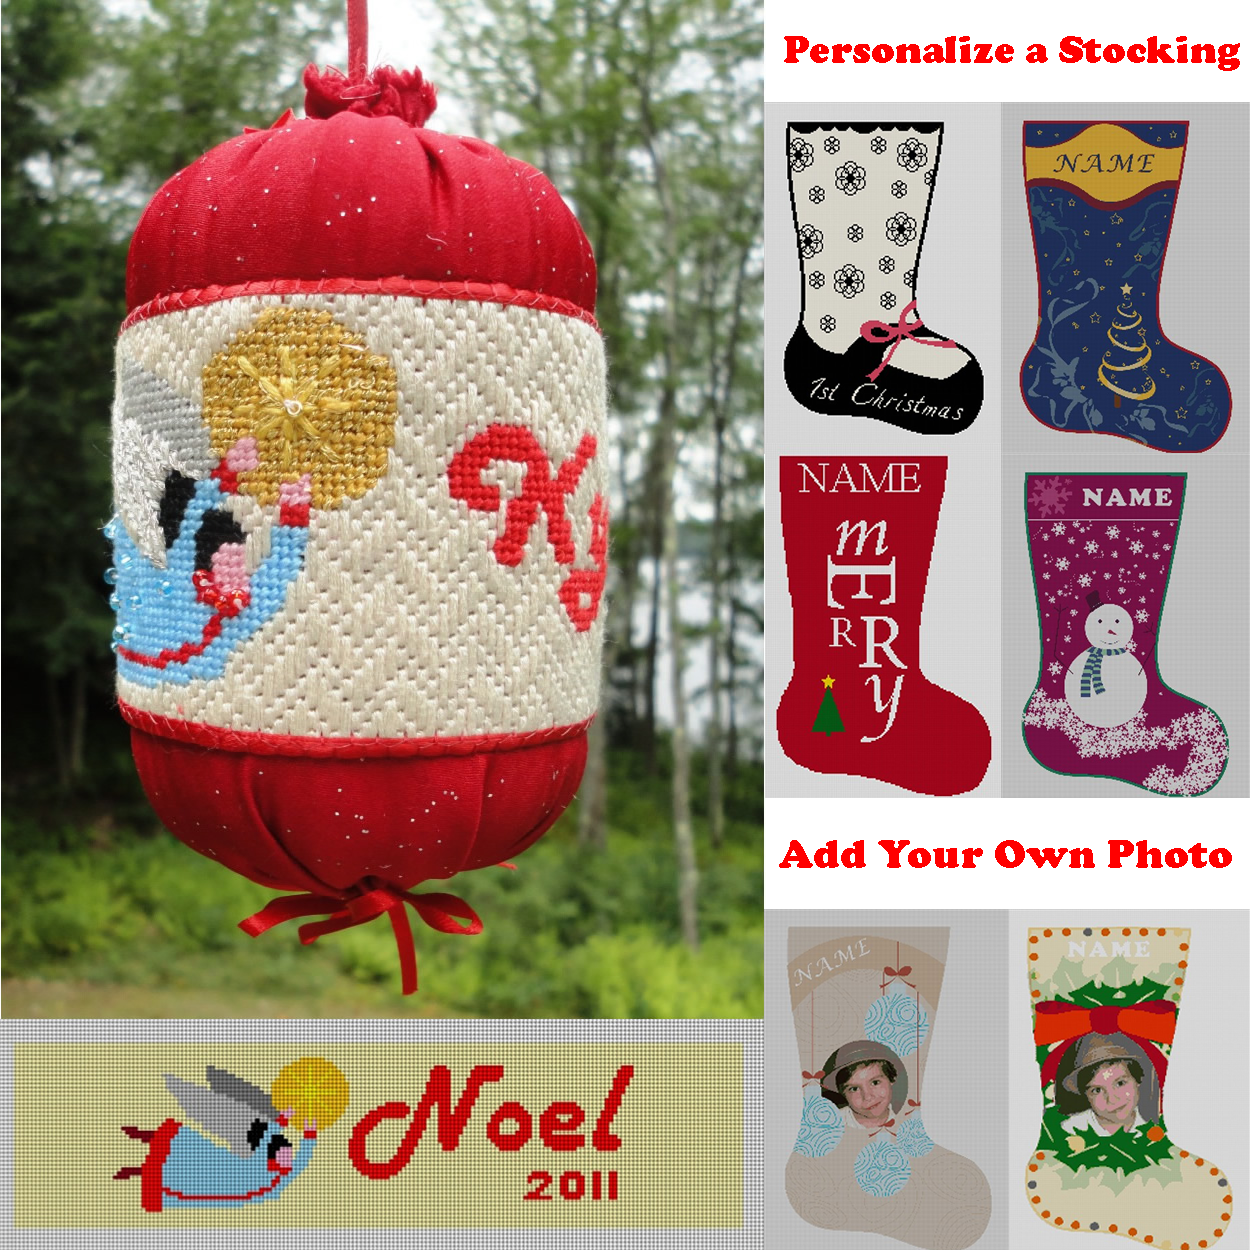
Today NeedlePaint.com announced today that we have launched a new personalized needlepoint shop!  In this shop there are many pre-designed Christmas needlepoint canvases to which customers can add their own names and also have the shop modify the colors before printing.  Some of the designs even allow for the customer to add their own photos into the canvas design!

We have already posted about a few of these projects in our blog, but now we have made it easy to order them at the NeedlePaint.com personalized needlepoint shop!

New Designs for Personalized Needlepoint Stockings and Ornaments

This month we are featuring Christmas stockings and needlepoint ornament designs. In the past, personalized needlepoint stocking kits have required the stitcher to actually use a stencil and draw in a name, with very plain letters. Customers buying from NeedlePaint.com have their choice of over 100 styles of letters and 400 colors.  Customers will also be happy to know that their names will be printed onto the canvas, and that the needlepoint kits will include not only the canvas and thread, but they will also come with a counted stitch guide, counted color aid, and DMC matched color guide.

Our blogs explain how to make these so follow the links below:

Needlepoint Christmas Ornaments Using Quick Stitches

How to make Needlepoint Christmas Ornaments

Personalized Needelpoint Chrismas Stocking

Needlepoint Christmas Ornaments Using Quick Stitches

With December rapidly approaching, I realized that I was going to have to speed up if my goal of 12 personalized needlepoint ornaments for Christmas gifts was to be met. I have now completed 5 and my needle is flying.

The key to speed – quick backgrounds!  Three fast background stitches came from The Needlepoint Book by Joe Ippolito Christensen.

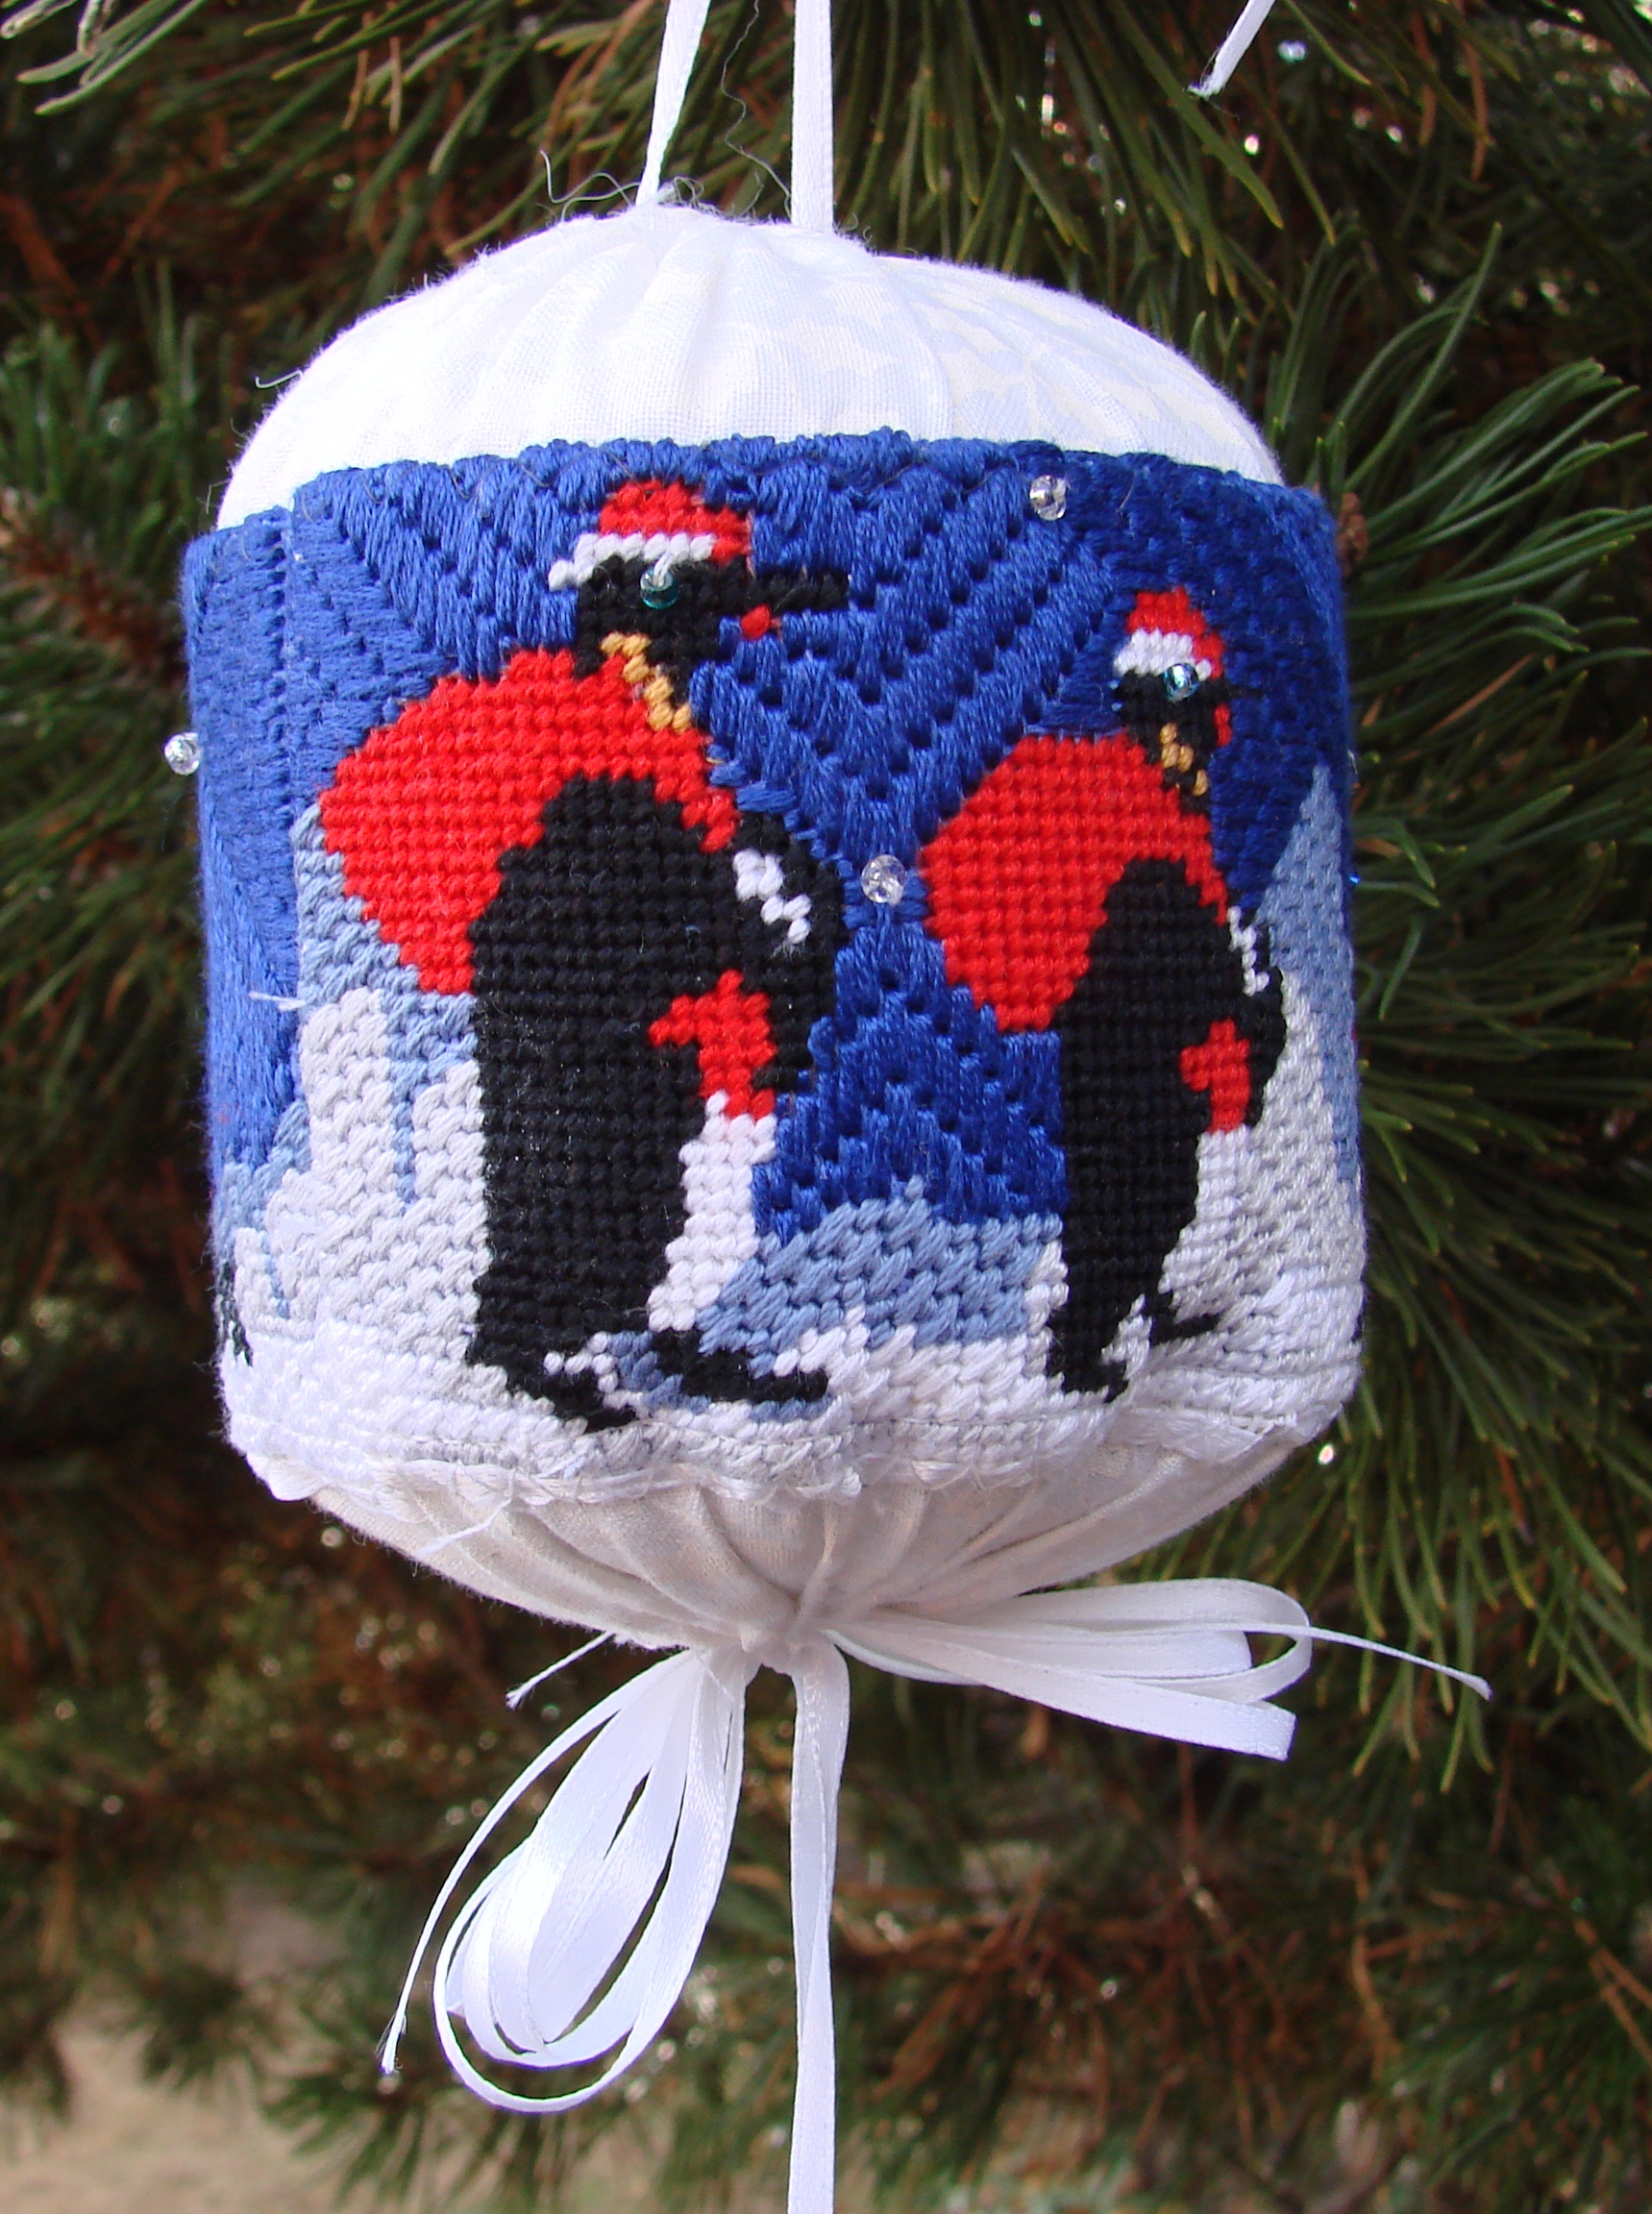
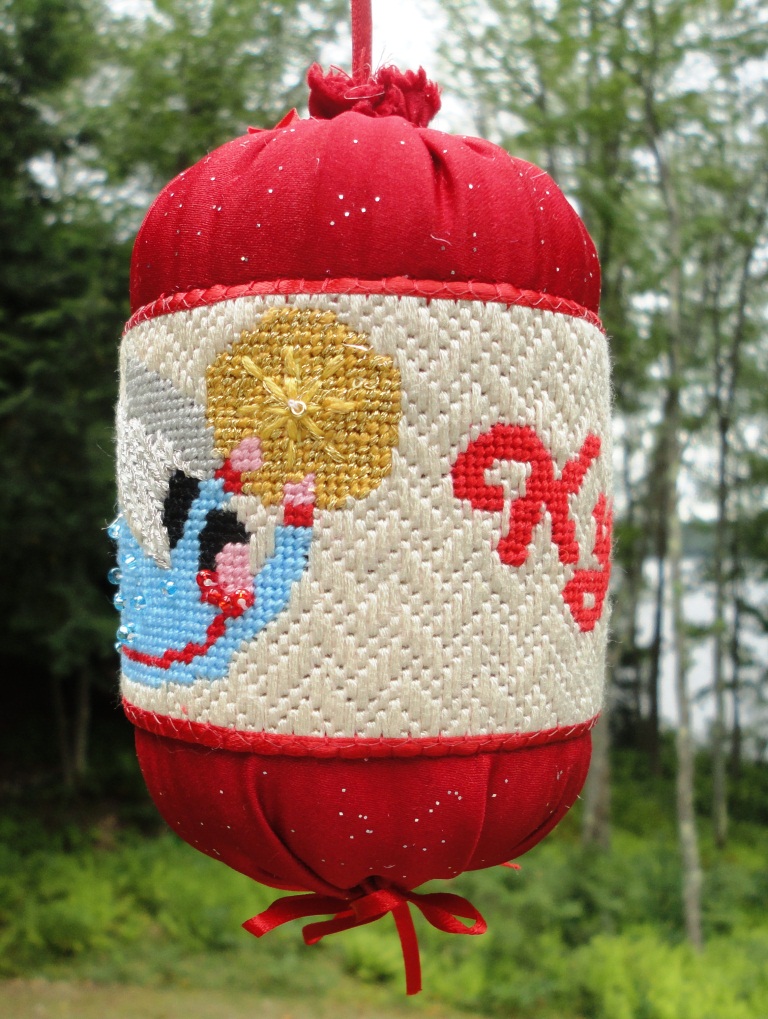
On the Penguin Needlepoint Ornament, I used a variation on the Four-way Bargello for the sky, and n0t so quick was the diagonal mosaic for the ice bergs and snow. Still faster than the traditional continental stitch!


The background for the angel ornament is  the Victorian Step which was even quicker.
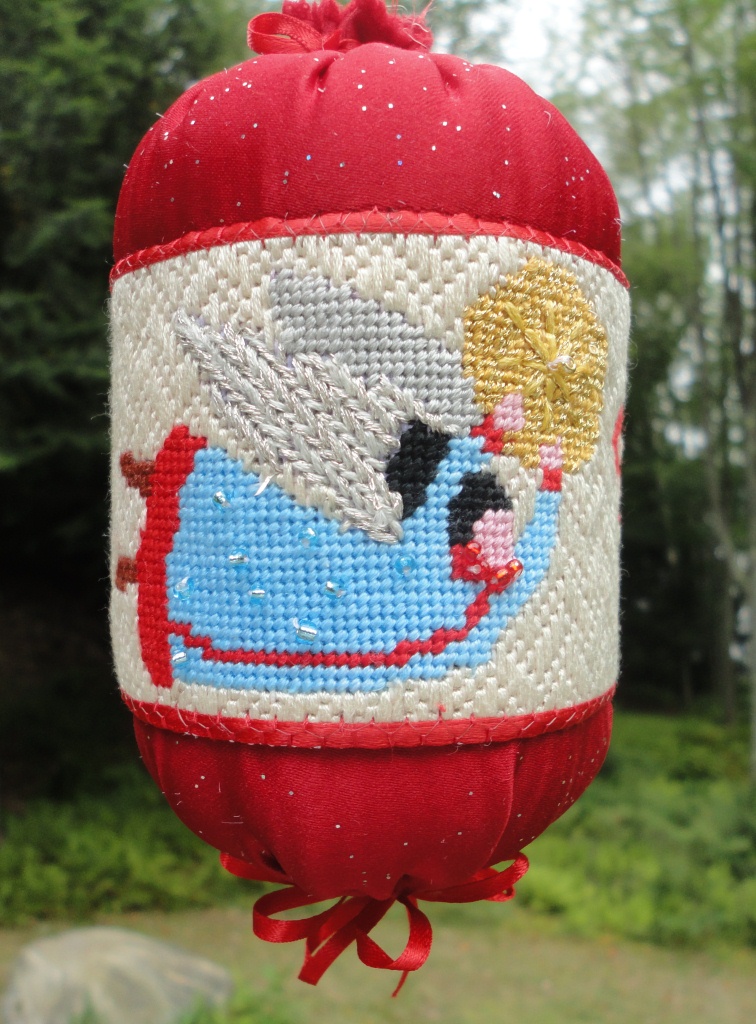
But, the ultimate speed came with the open work on the Santa ornament. This is a modification of the Four-Sided Over Three stitch from A Pageant of Pattern for Needlepoint Canvas by Sherlee Lantz. It does not cover the canvas but lets the printed background show through.
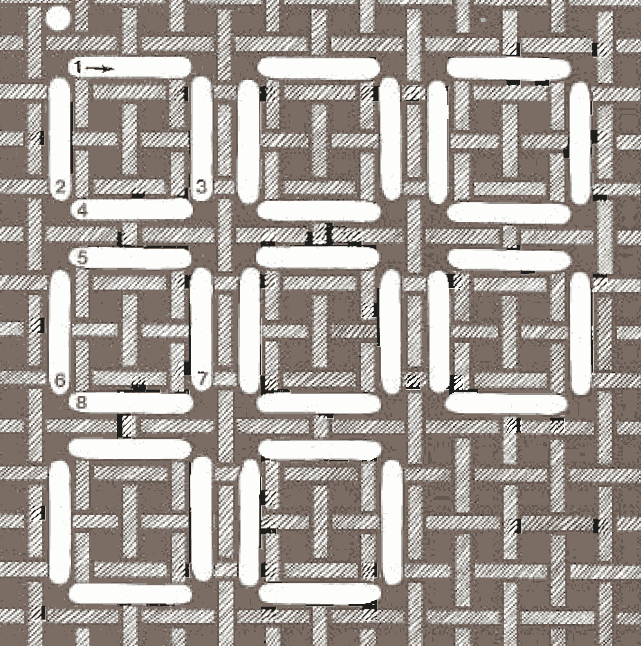
                                      Four-Sided Over Three Stitch

I also came up with some other ideas to dress them up quickly:

  • Beads for stars or snowflakes on Santa and the Penguins.
  • Beads on the Angels dress.
  • Jingle bells hanging from the Penguins bottom ties (not shown in the picture above).
  • Beads for eyes.
  • Beads for Santa’s Christmas tree.

Yes, I got into beads. I never thought I would, but I did follow the advice of my quilting sister Mary Sue Suit  “Don’t get carried away. Beads can be additive!” And, I could still be beading if other ornaments weren’t calling.

Next up is going to be Snowflake ornament on 14 pt with lots of open work and metallic threat. Stay tuned!

To read how easy it is to make these ornaments, please see our blog that explains how to make a needlepoint Christmas ornament.

Personalized needlepoint kits on 14 pt and 18 pt canvas will be available on NeedlePaint.com very soon!
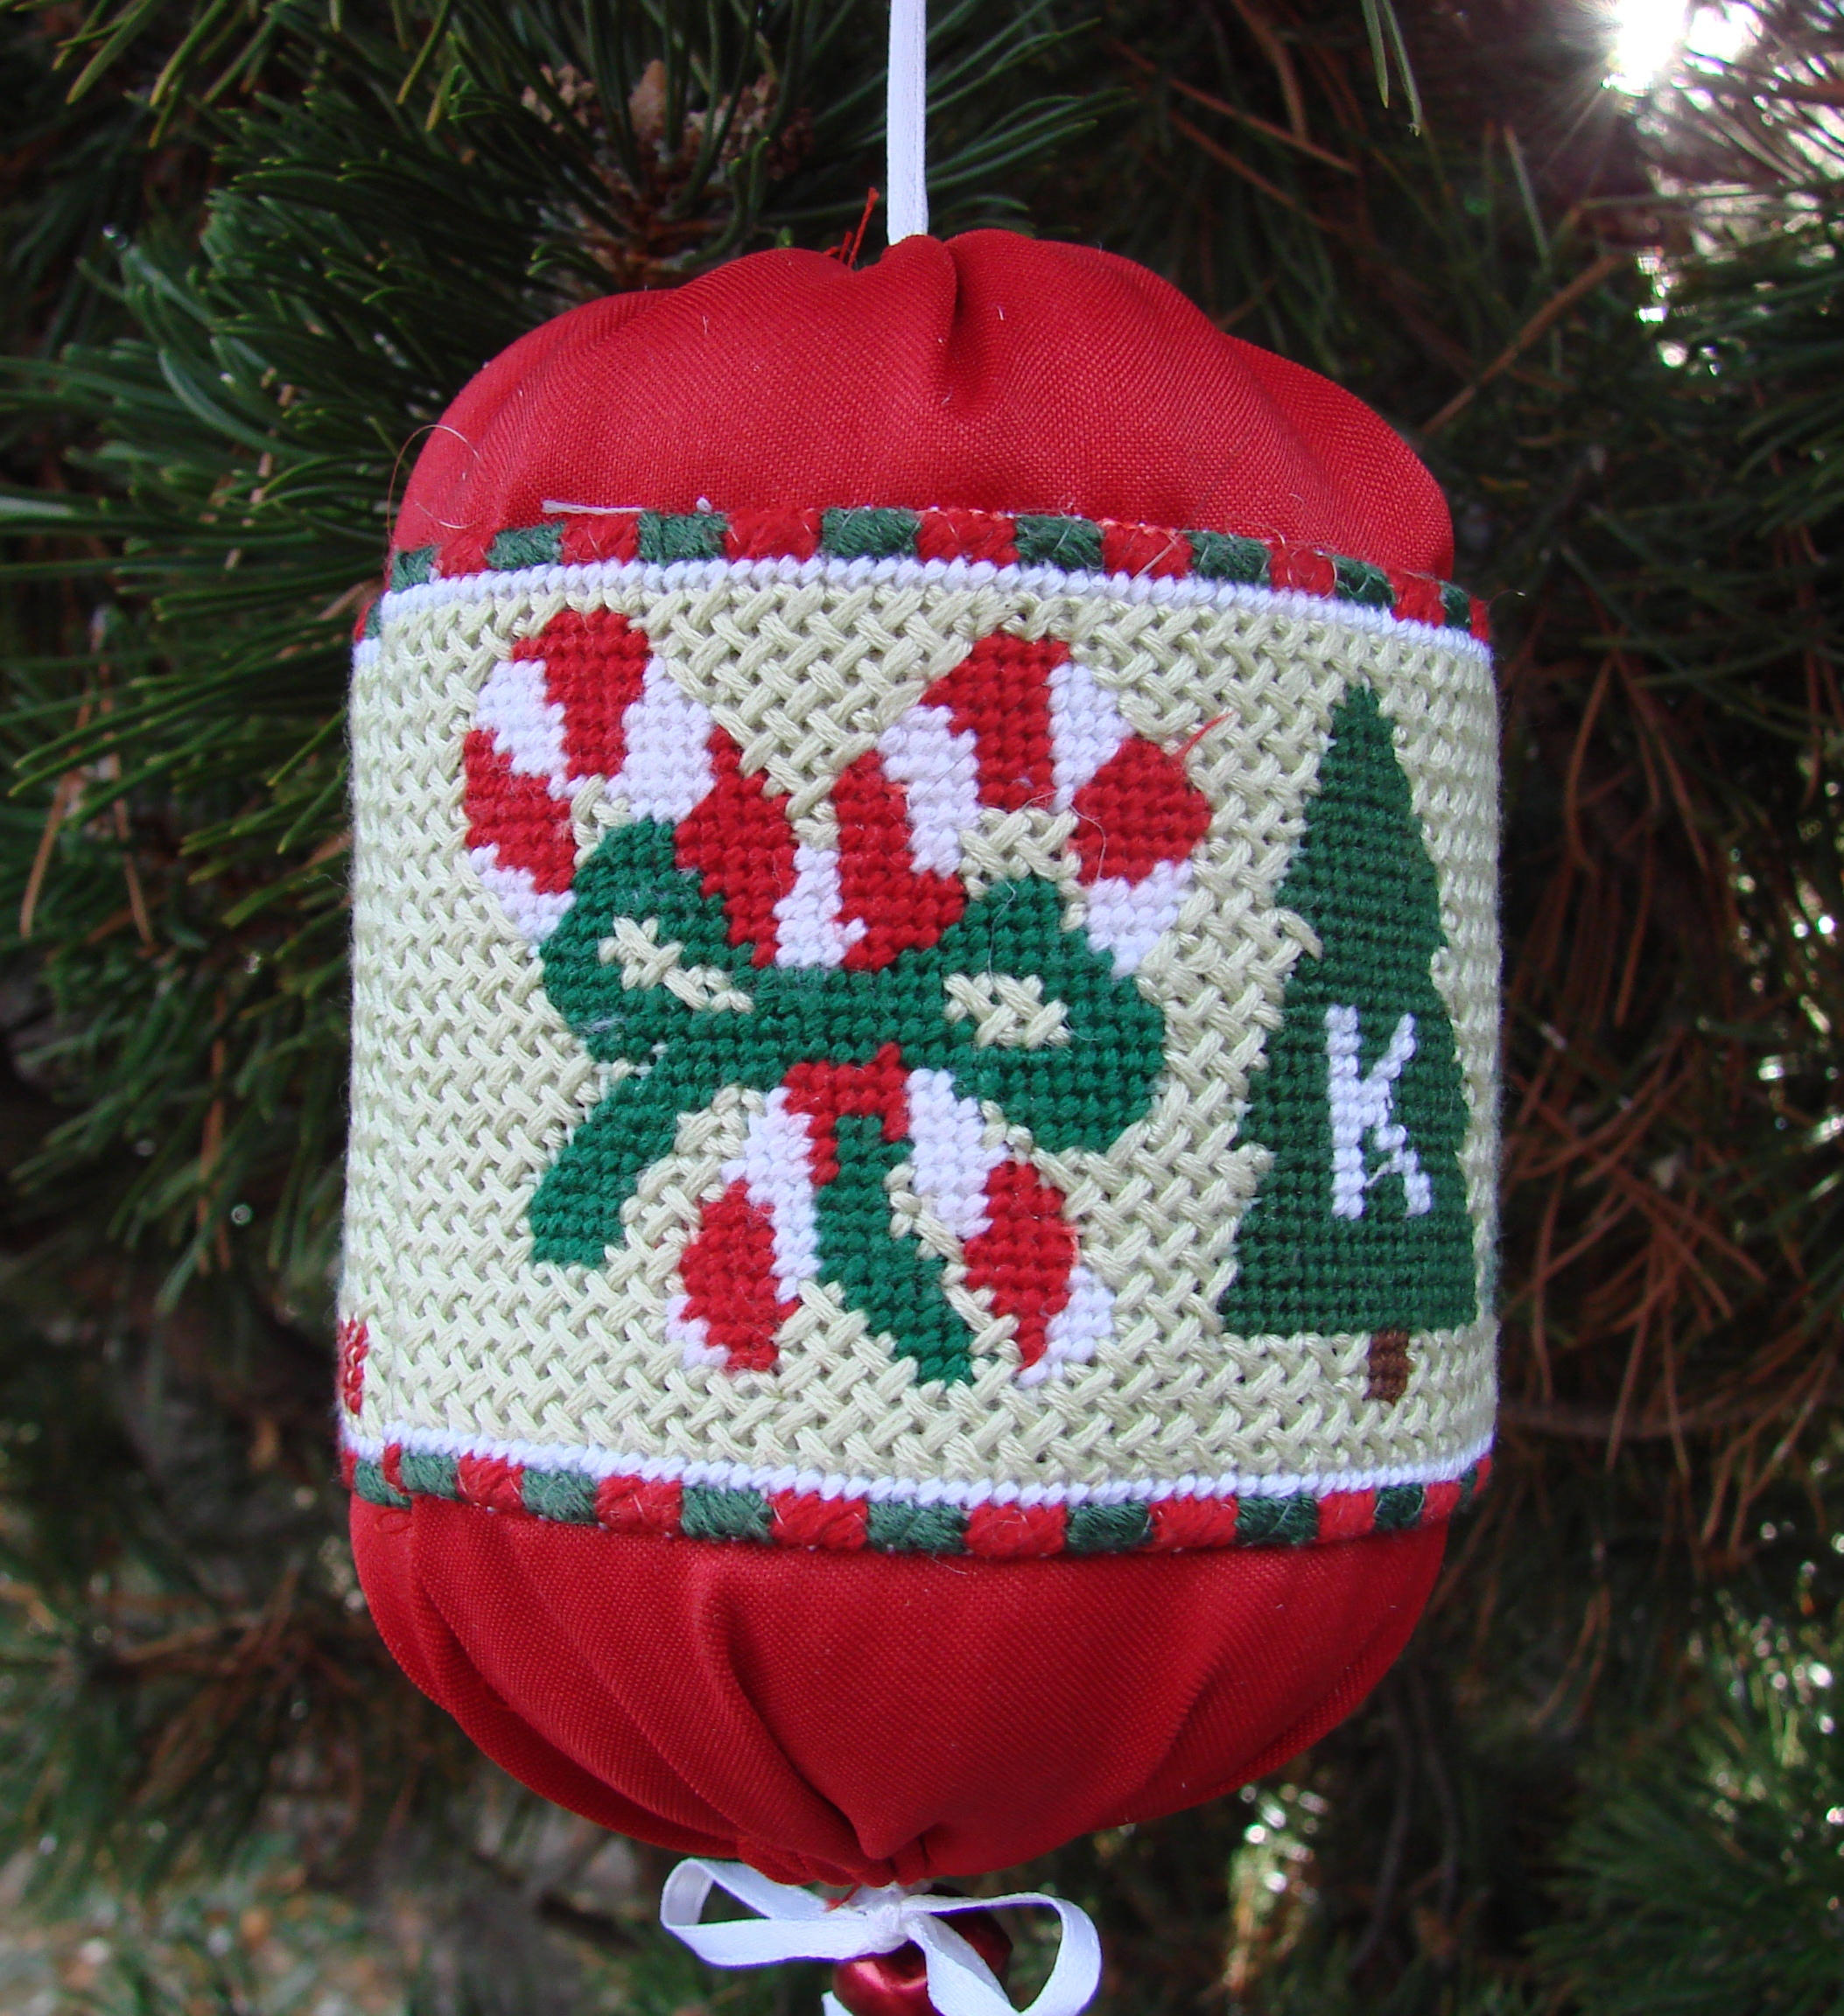
‘Tis the Season for Needlepoint Christmas Ornaments

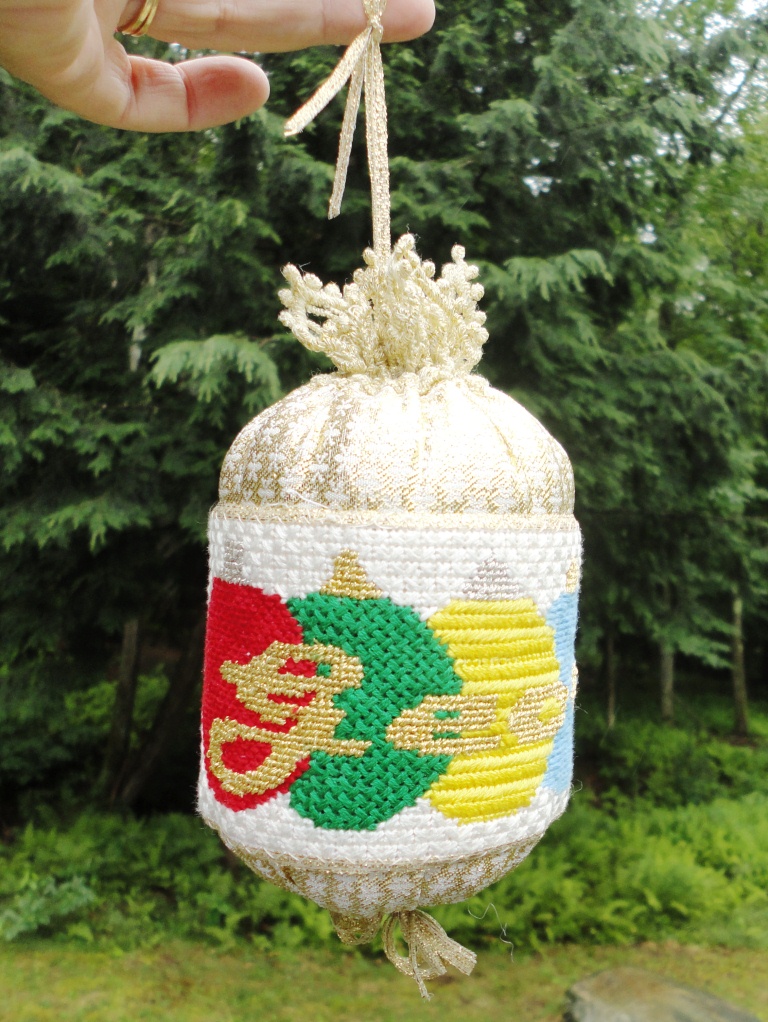
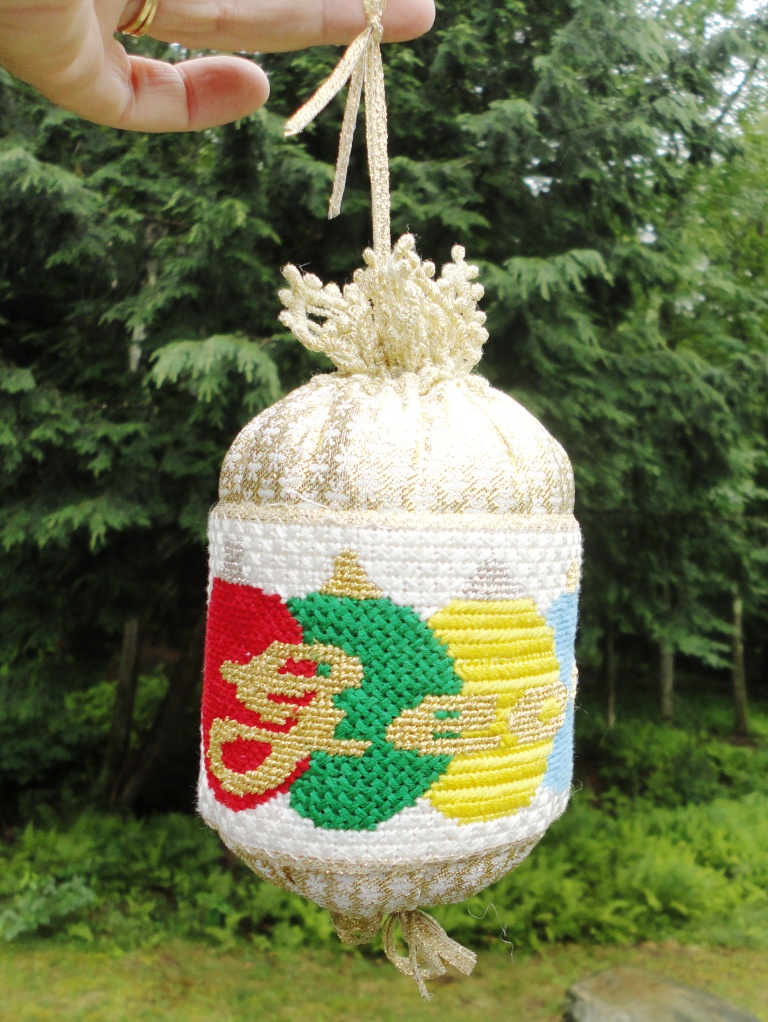
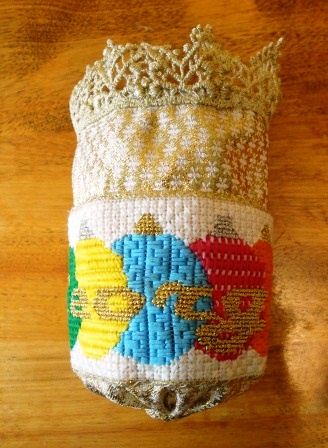
Christmas is still 4 months away, but it is never too early to begin that special needlepoint gift – a personalized needlepoint Christmas ornament. My new design was inspired by metallic threads and a shimmering gold fabric I saw at JoAnn’s.

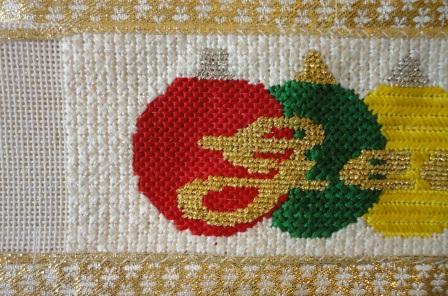
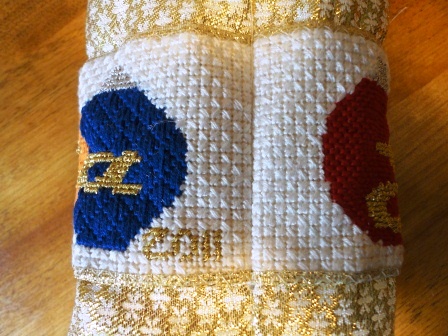
The needlepoint canvas section is a  2.5 x 10 inch band to done in a variety of stiches selected from one of my favorite reference books, Jo Ippolito Christensen’s The Needlepoint Book.

  • Red ornament – horizontal brick stitch
  • Green ornament – diagonal plait stitch
  • Yellow ornament – slanted Gobelin variation
  • Light blue ornament – vertical beaty
  • Pink ornament – Parisian stripe with 2 shades of pink
  • Orange ornament – Byzantine stitch
  • Dark blue ornament – pavilion diamonds
  • Background – reversed mosaic
  • Lettering and ornament tops – continental stitch

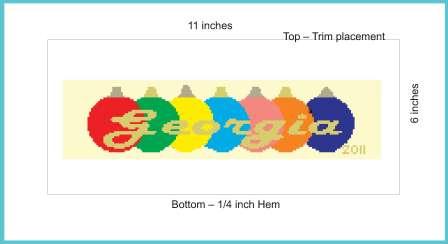
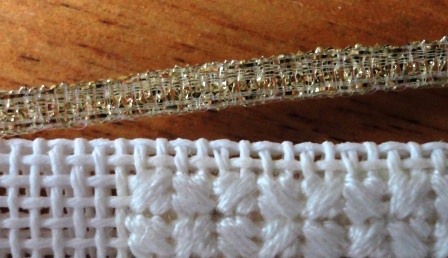
The finished canvas is sewn onto a 6 x 11 inch piece of fabric. (Layout is shown below.) Trim the canvas, leaving a ½ inch edge and fold under as shown below. I got carried away with trim and used a 1/8- inch gold ribbon. (If you don’t use a narrow ribbon for trim, the canvas should be bound as described in my blog on Needlepoint Napkin Rings.)

Sew narrow hem at bottom of the fabric and place trim at top. (Optionally the top can be finished with a narrow hem.) With right sides together sew the 6-inch edges of the ornament together along the end of the worked needlepoint. Trim seam to ¼ inch and turn.

Gather the bottom tightly to close and stuff the ornament with a polyester fill or other light weight filler.

Gather top, attach a hanger, and a bow at the bottom. Your Christmas ornament is ready to hang for 2011 and for many more holiday seasons to come!