Needlepoint a Dog Collar for Man’s Best Friend
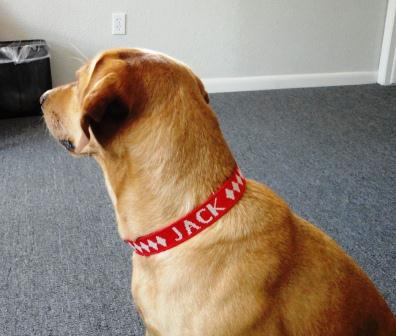
 Looking for a small needlepoint project, consider making a dog collar. The needlepointing itself went quickly on a 1 in. x 17.5 inch, 18-point needlepoint canvas and your choice of colors will allow you to match your dog’s personality.
After needlepointing the canvas, I blocked it, trimmed the excess canvas leaving a ½ in. border, folded back the canvas, steamed it in place, and finished the edges with a binding or edge stitch. There are several binding techniques. The quickest is a loop stitch worked over the last completed row of needlepoint and the adjacent vacant row. But, the most elegant is the braided binding stitch shown in this video:Binding Stitch Video
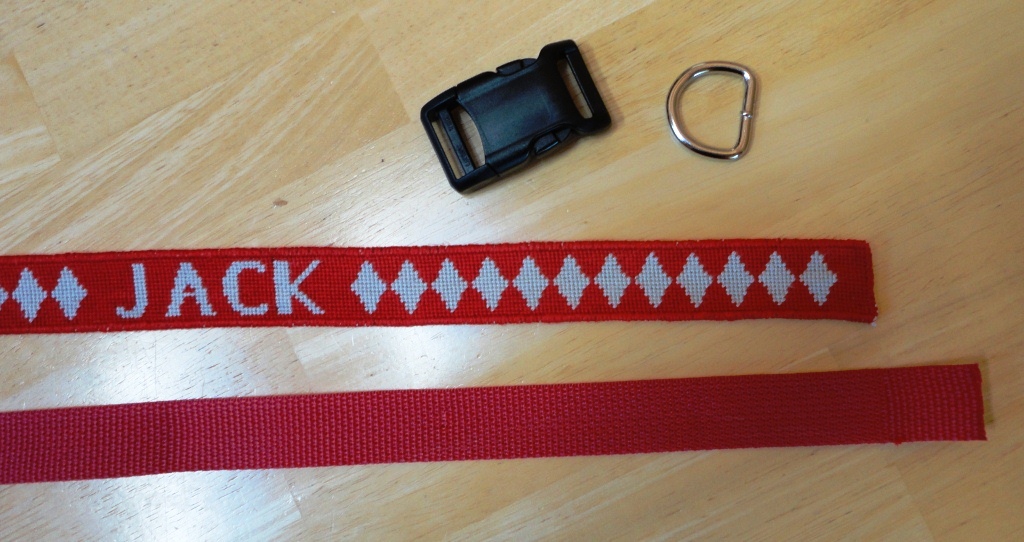
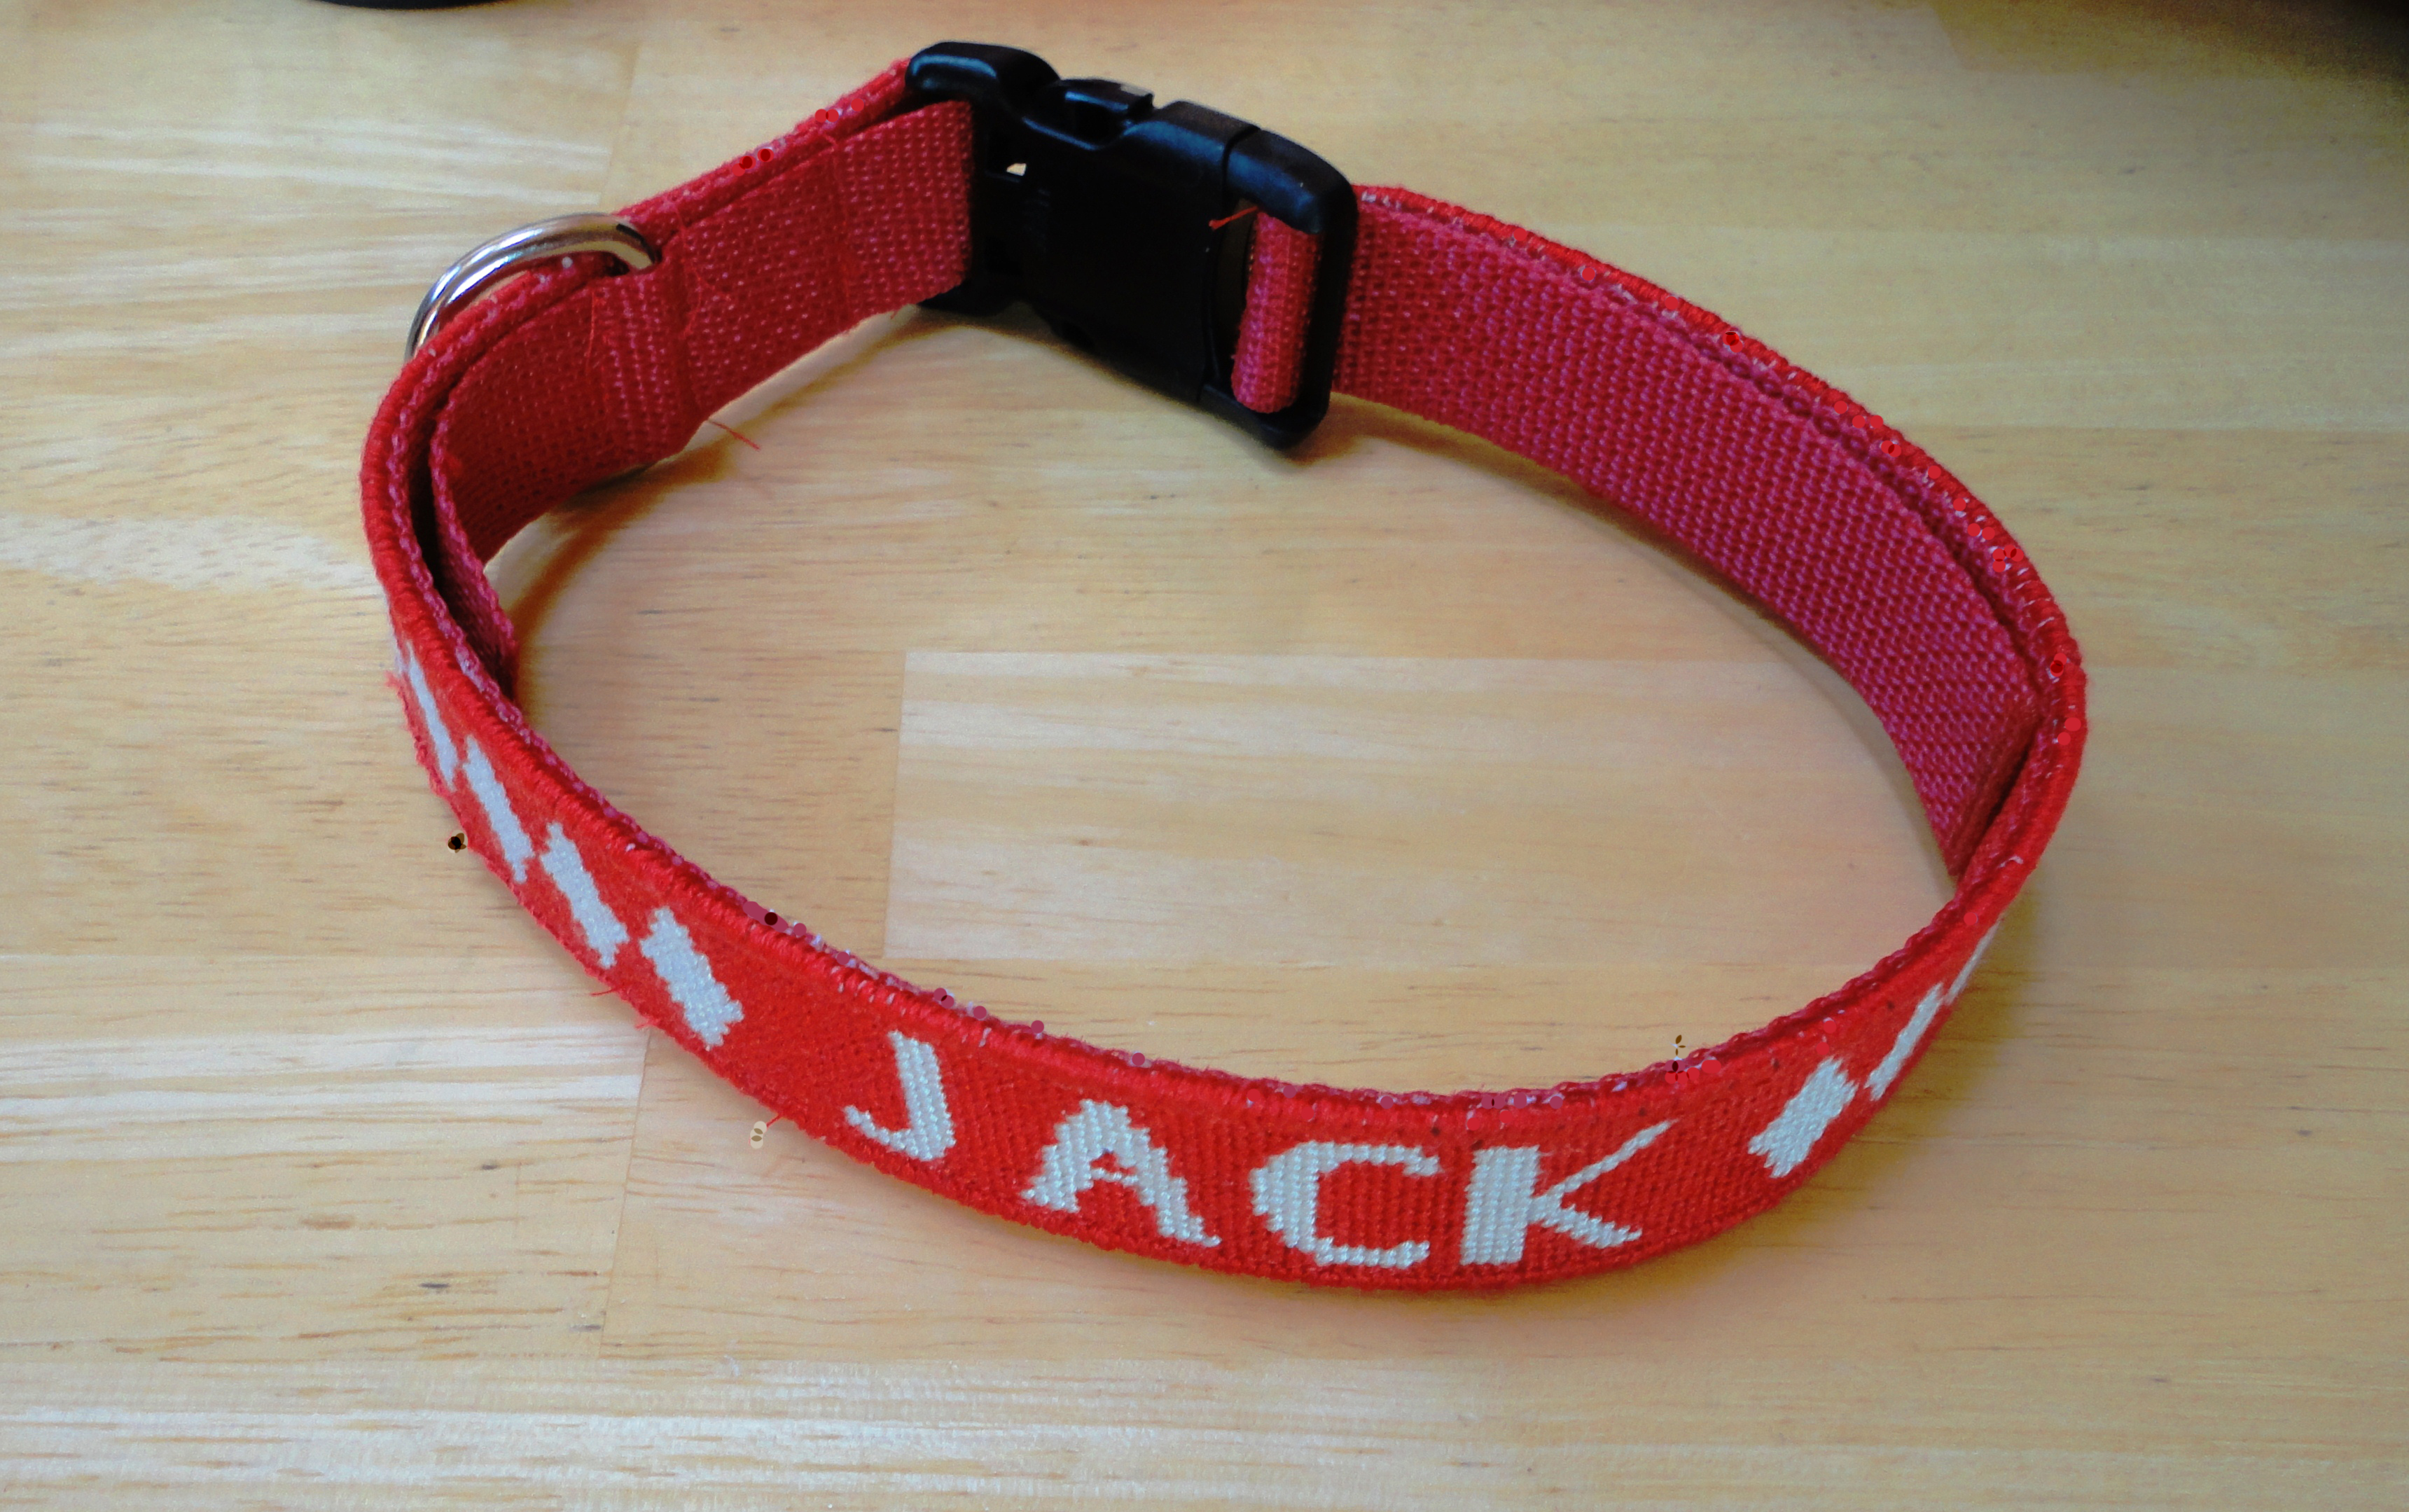
The Neeplepoint kits come with thread and matching canvas. Email us if you would like a Clip and D ring shown in the images. Position the finished collar in the center of the polyester strap. There should be 6 inches on each side of the collar. Sew in collar in place. Insert the left end of the strap into the side of the buckle with a single bar. Adjust so that the finished needlepoint is snug with the face of the buckle. Sew through all thicknesses as close to the buckle as possible. Side the D-ring onto the collar and position approximately 2 inches from where the collar is attached to the buckle. Sew through all thickness on each side of the D-ring.
The other side of the buckle can be adjustable when threaded as shown below. Optionally it can also be sewn making the collar a fixed size.


Recent Comments